
If you're thinking about starting an online business in 2025, Shopify is one of the best platforms to do it. Whether you're launching a side hustle, scaling an existing brand, or finally turning that idea into income, this guide will walk you through everything you need to know to build your Shopify store from scratch.
I. What Is Shopify?
Shopify is an all-in-one e-commerce platform that allows anyone to create, customize, and manage an online store. You don’t need to be a web developer or designer. With just a few clicks, you can launch a store, sell products, manage inventory, and accept payments—without writing a single line of code.
It powers millions of stores globally, from first-time entrepreneurs to global brands.
1.1. Why Use Shopify?
Here’s why Shopify is ideal for beginners:
- No technical experience needed – it’s plug-and-play.
- All-in-one – includes hosting, SSL security, a shopping cart, analytics, and support.
- Mobile-ready – your store works great on phones and tablets right out of the box.
- Scalable – perfect for growing businesses. Start small, expand when you're ready.
- Massive ecosystem – thousands of themes, apps, and integrations.
- 24/7 support – live chat, phone, email, and help docs when you need help.
1.2. How Much Does It Cost to Build a Shopify Store?
Here’s a breakdown of Shopify pricing in 2025:
Other possible costs:
- Custom domain: ~$14/year if bought through Shopify.
- Paid theme (optional): One-time cost, usually $150–$400.
- Apps: Some free, others charge monthly fees.
You can start with a free trial, explore the features, and only pay once you’re ready to go live.
Explore more: Shopify POS Pricing
II. Shopify Tutorial for Beginners: Step-by-Step
Let’s walk through how to go from nothing to a fully functional Shopify store.
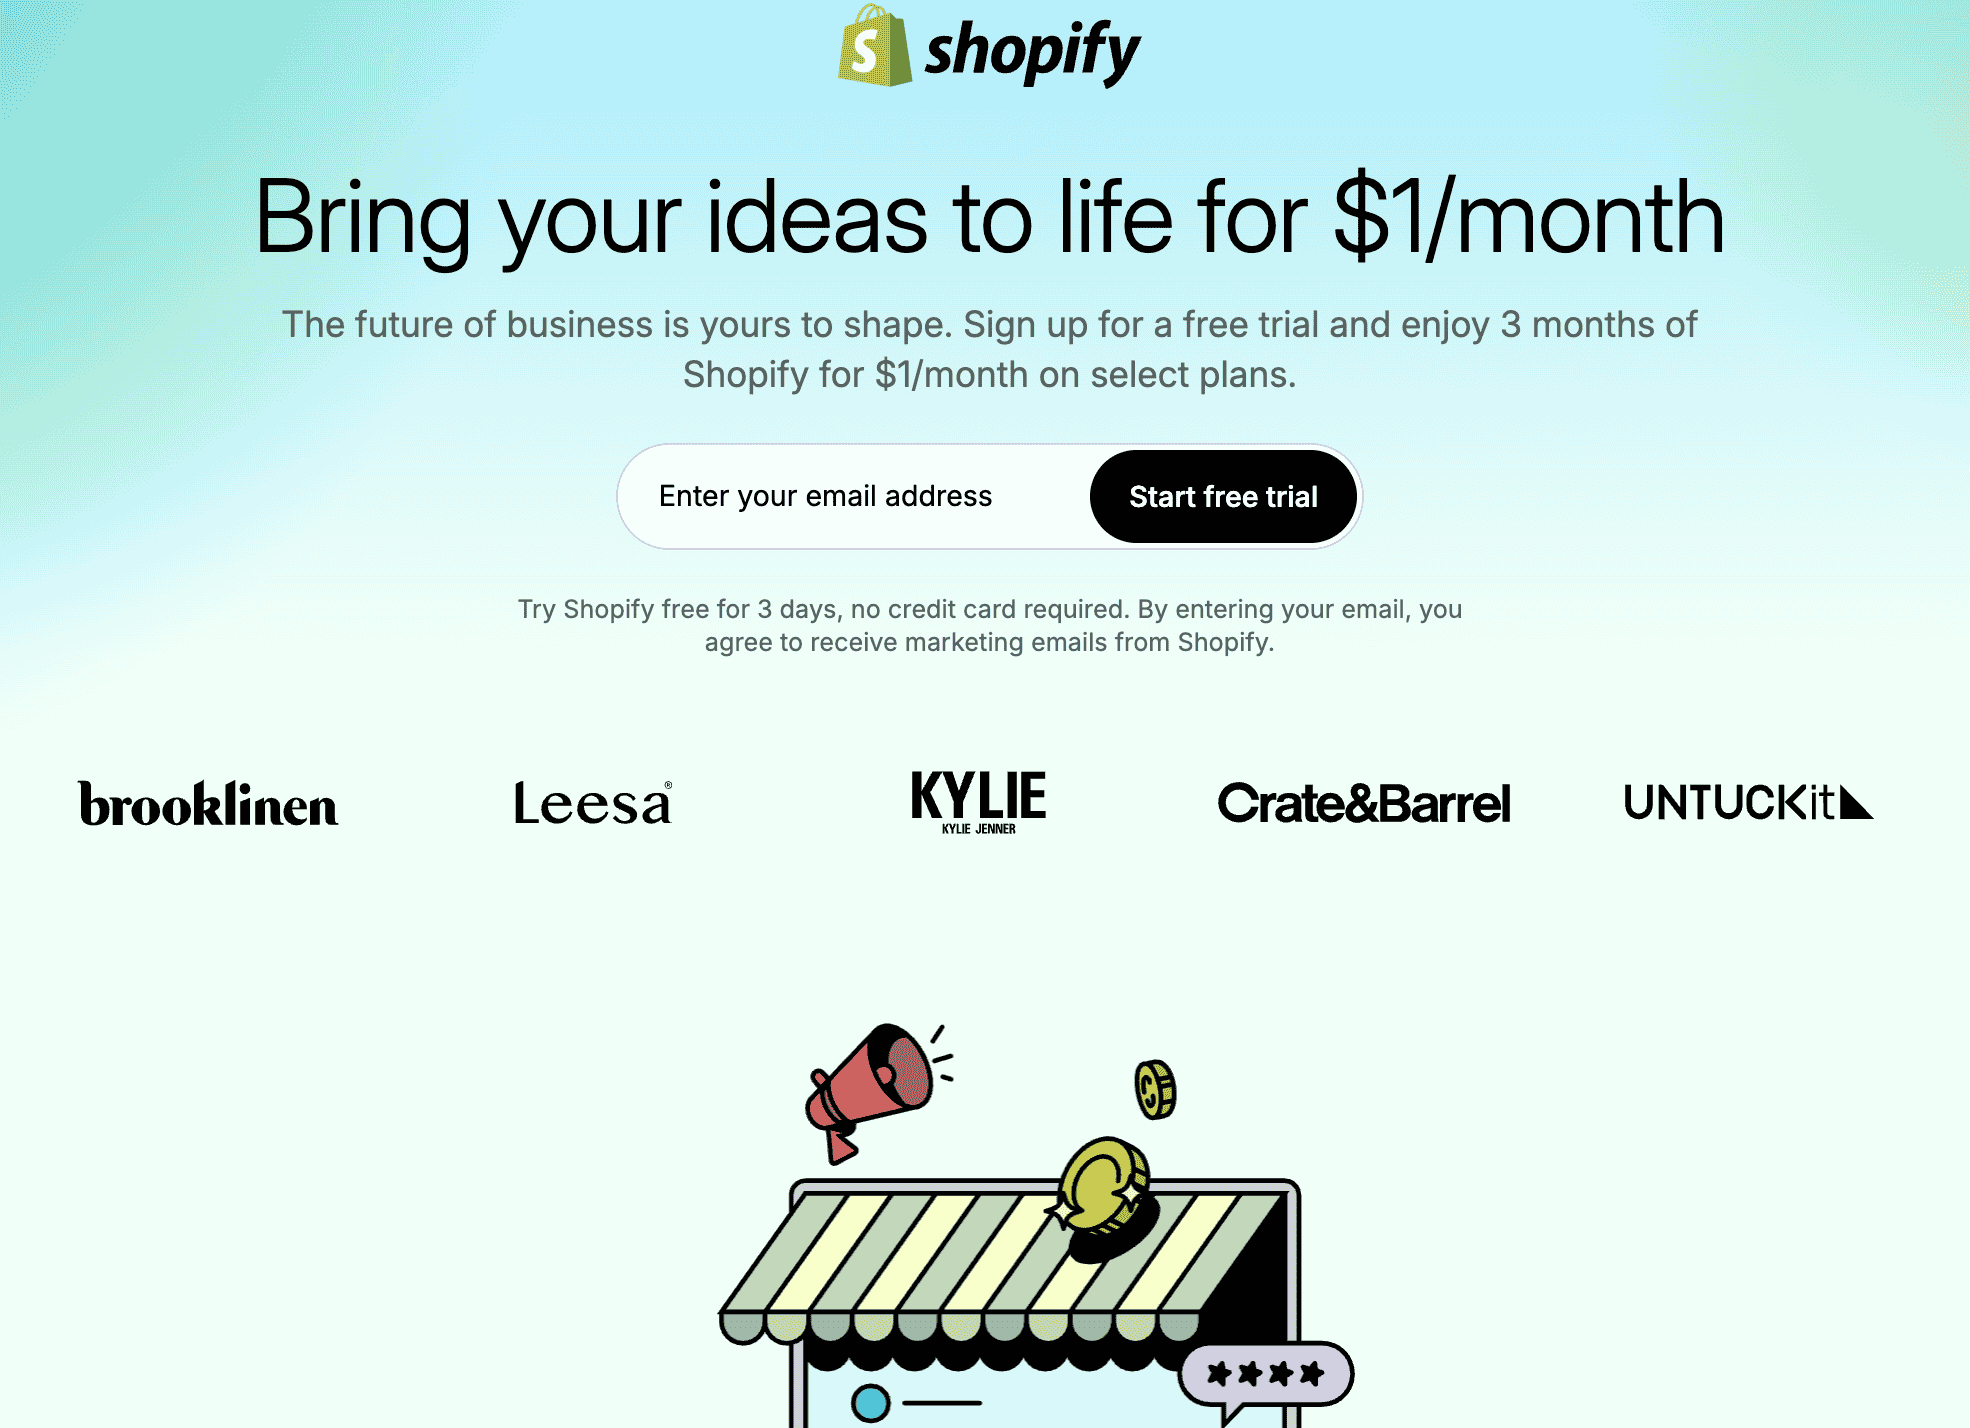
Step 1: Create a Shopify Account
Go to shopify.com and click “Start Free Trial.”
You’ll be asked:
- Your email address
- A password
- Your store name (this can be changed later)
- Some basic questions about what you're selling
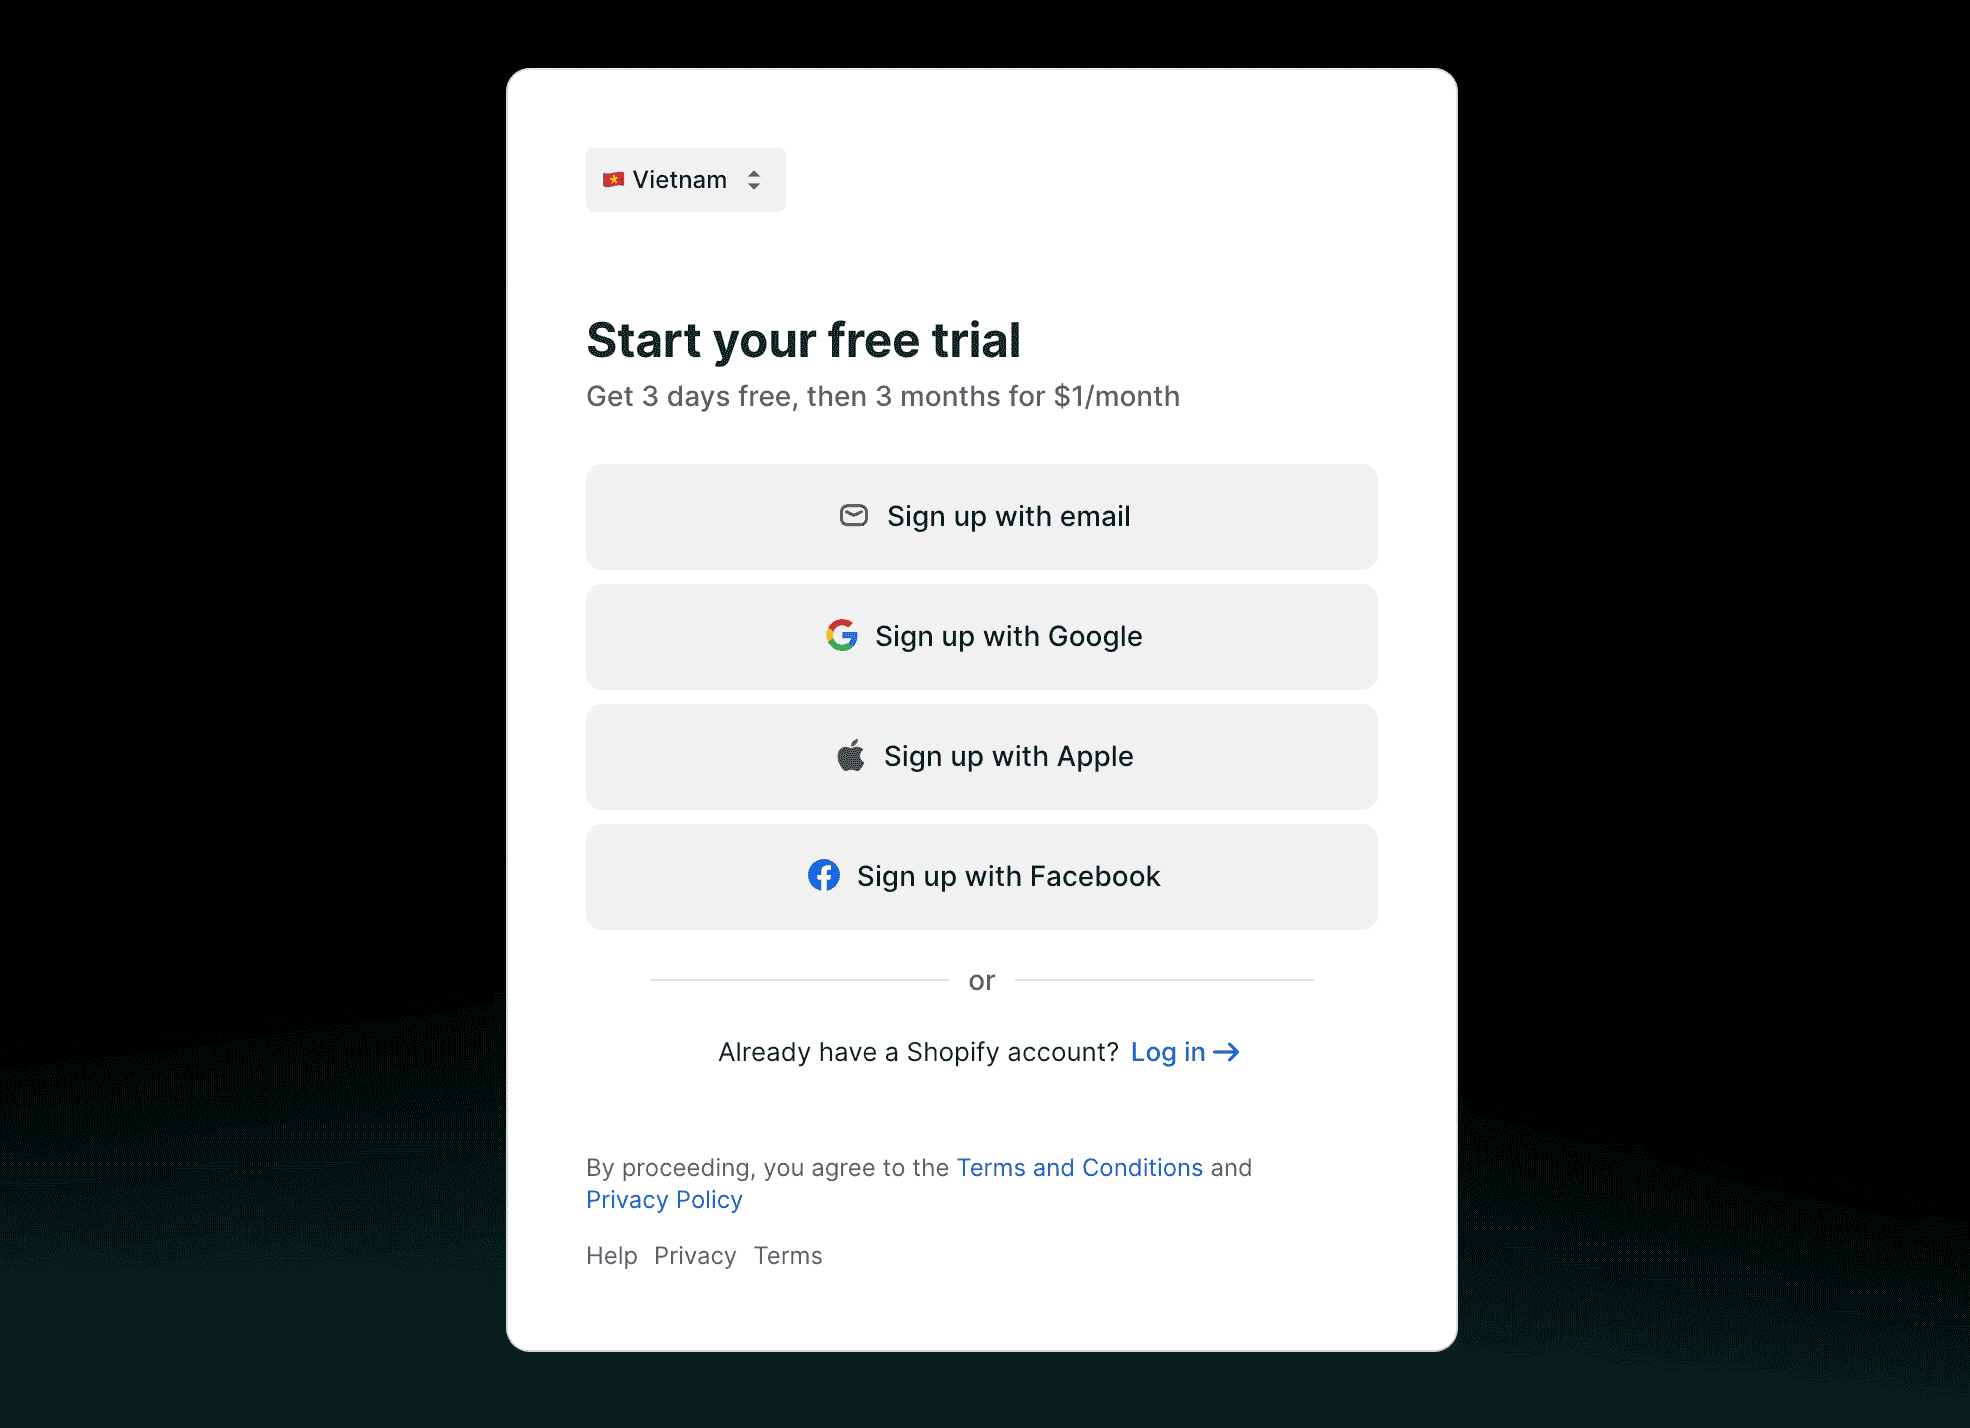 Once that’s done, you’ll land in your Shopify dashboard.
Step 2: Explore the Dashboard
Take a few minutes to familiarize yourself with the admin panel. Key areas:
- Home – Quick overview and tips.
- Products – Where you manage your items.
- Orders – Track purchases.
- Customers – View buyer info.
- Online Store – Customize your website.
- Settings – Control payments, shipping, taxes, and more.
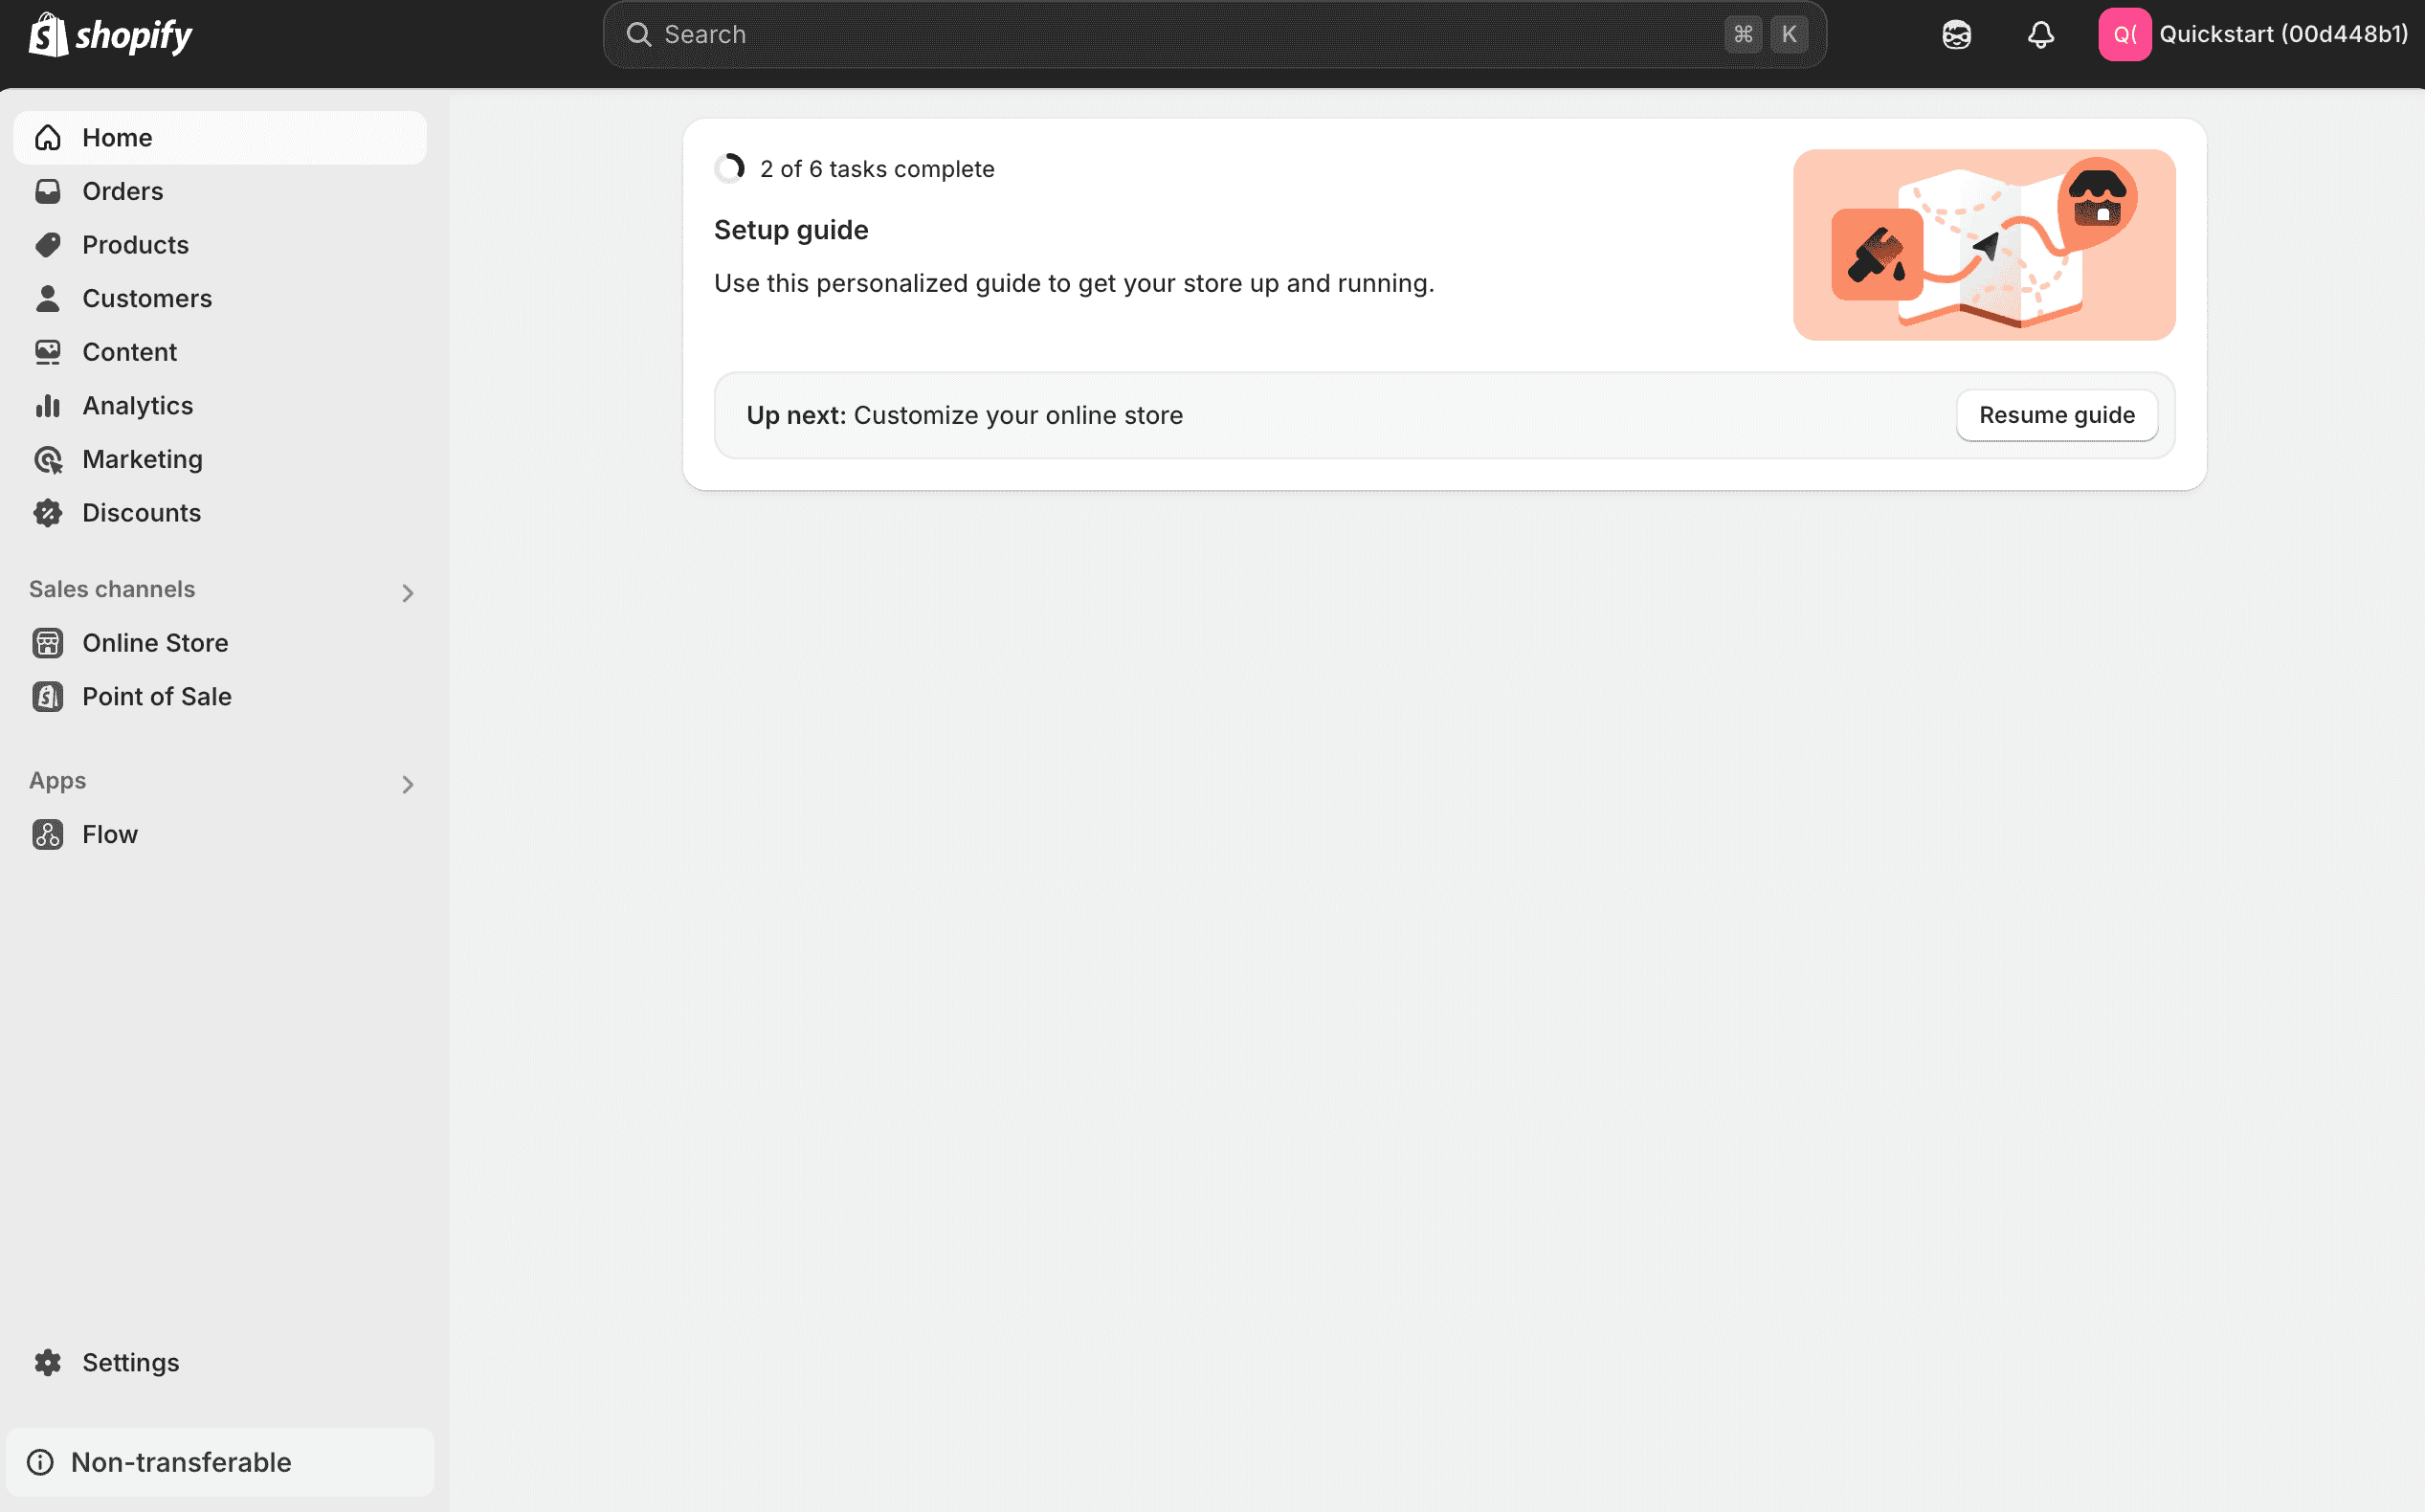
Everything is laid out logically, and tooltips help guide you through.
Step 3: Add Your First Product
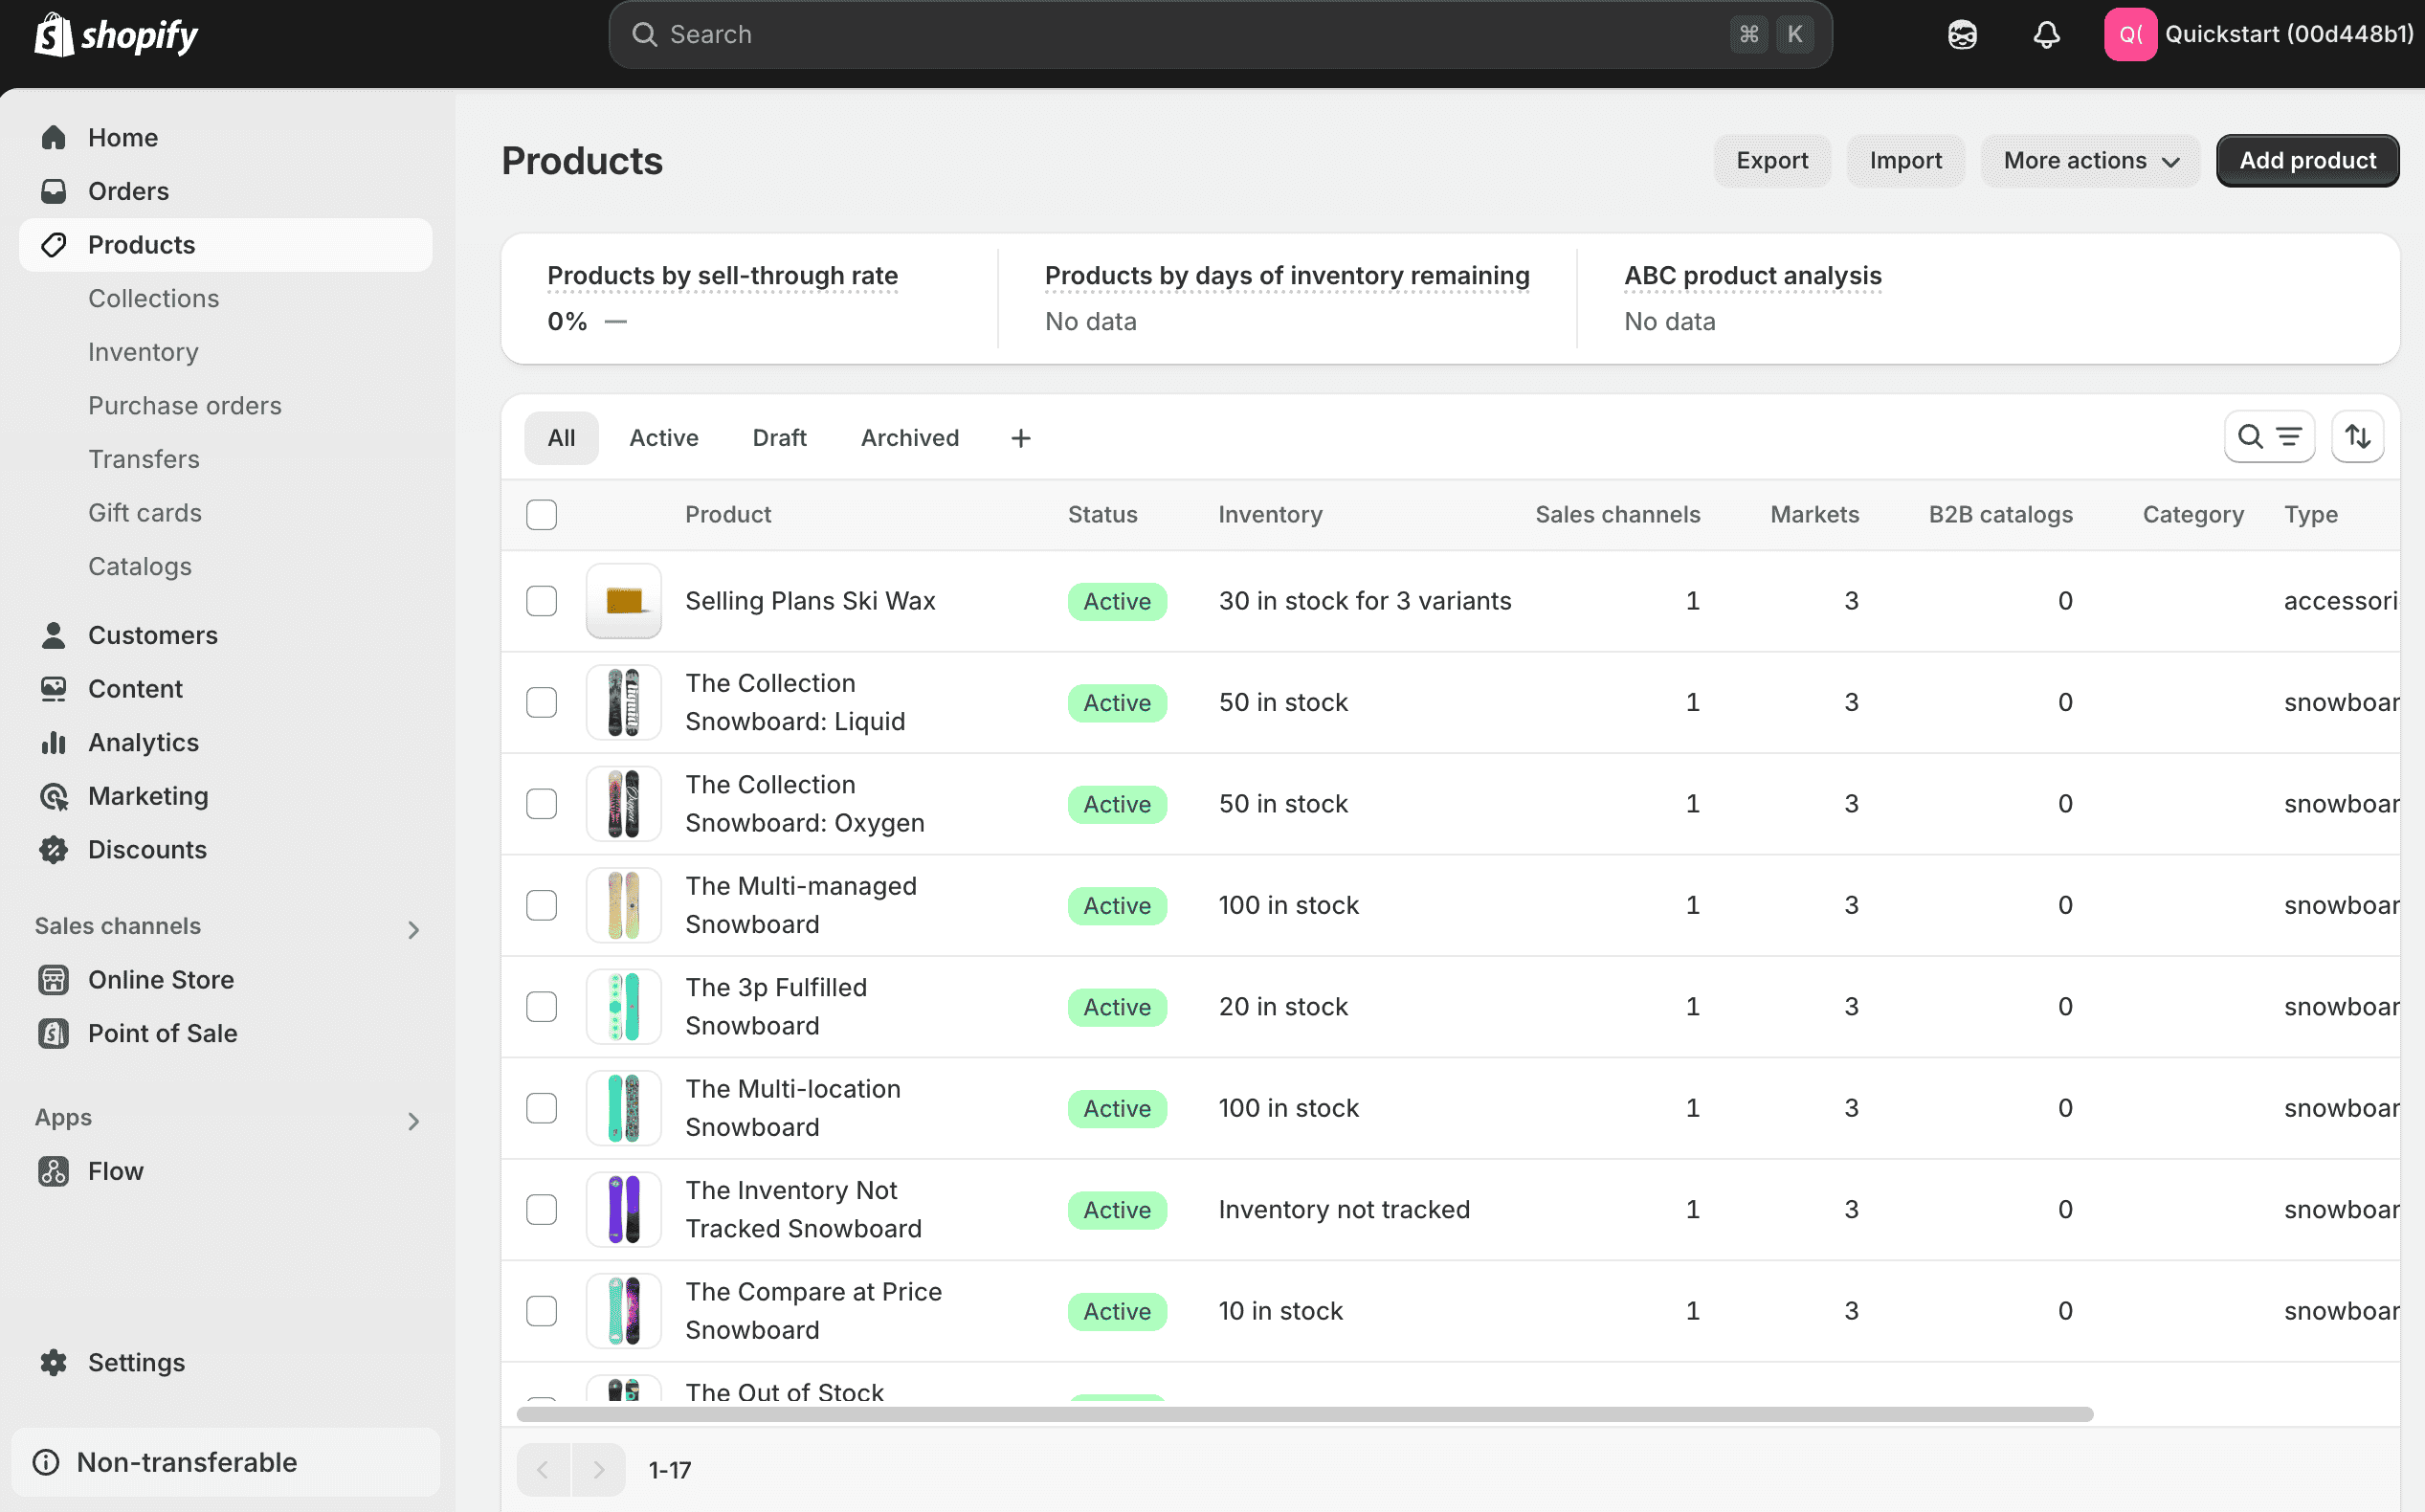 Go to Products > Add product and fill in:
- Title
- Description
- Media (images or video)
- Pricing
- Inventory quantity
- Shipping weight
- Variants (size, color, etc.)
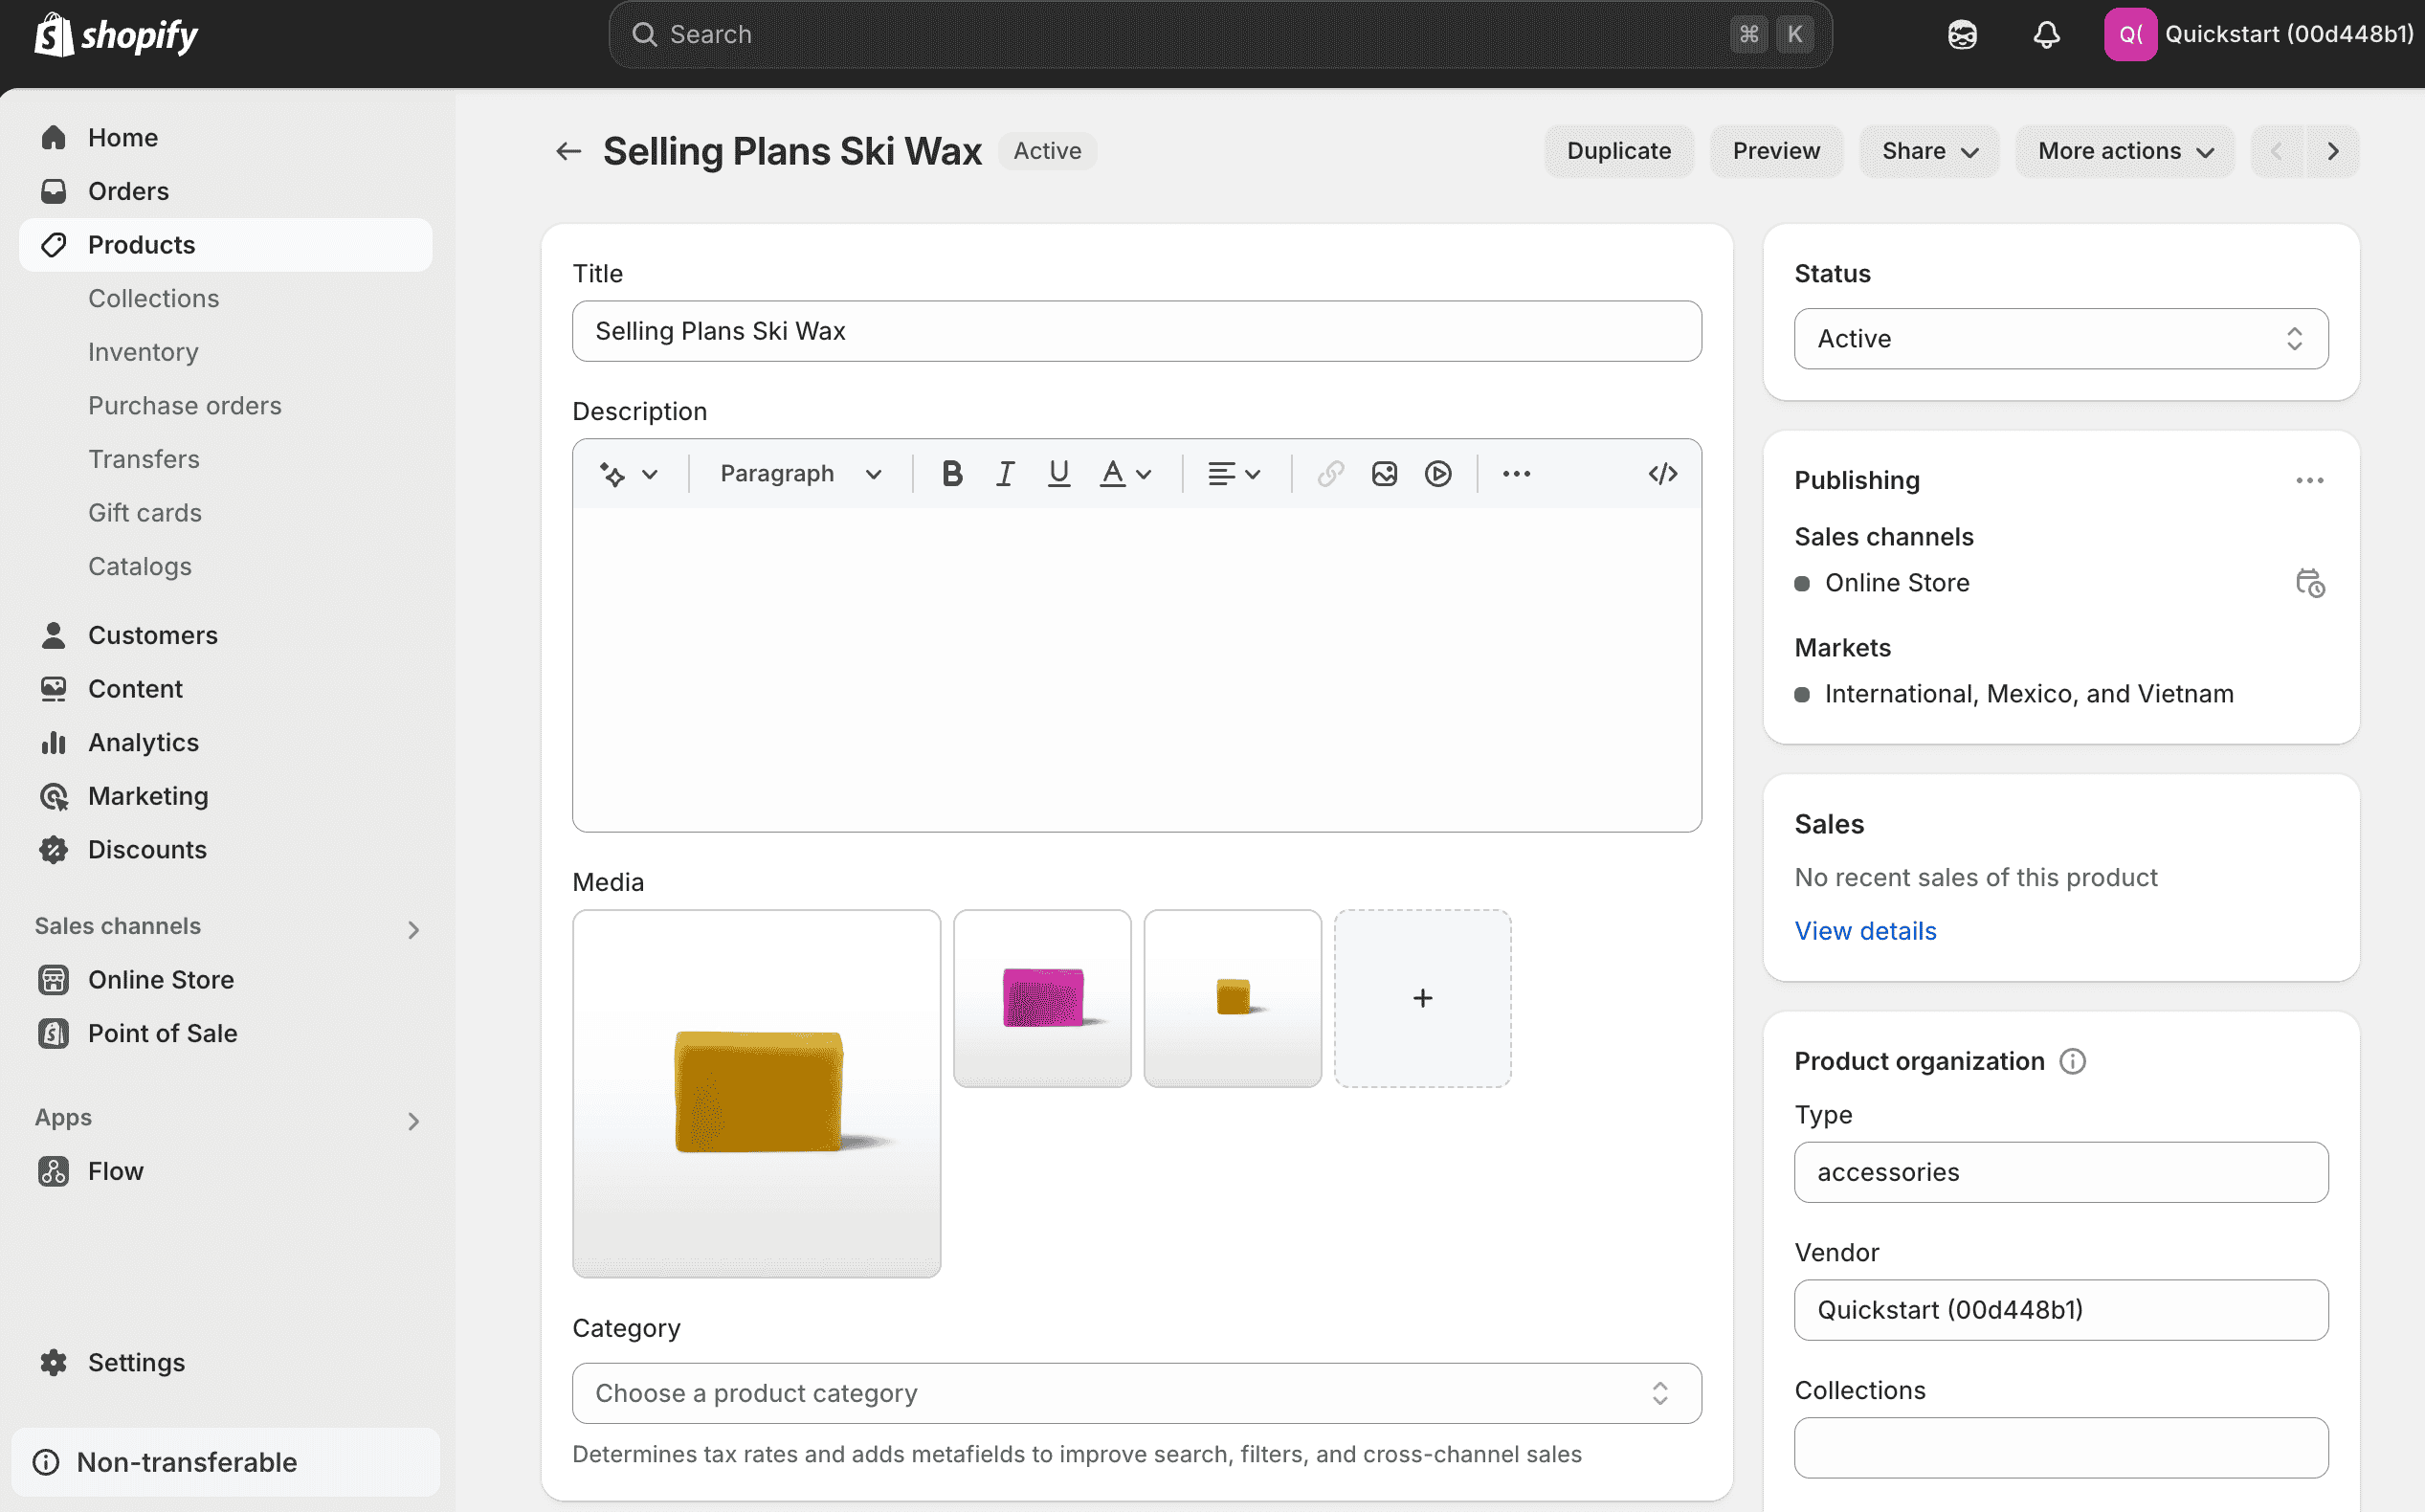
Tip: Use clear, benefit-driven descriptions and sharp, professional photos.
Step 4: Choose a Storefront Theme
Go to Online Store > Themes.

- Start with a free theme like Dawn (lightweight and flexible).
- Click Customize to edit colors, layout, typography, sections, and more.
- Preview everything before publishing.
If you want something unique, consider buying a premium theme from the Shopify Theme Store.
Step 5: Add a Custom Domain
Instead of your-store.myshopify.com, a custom domain builds trust and looks professional.
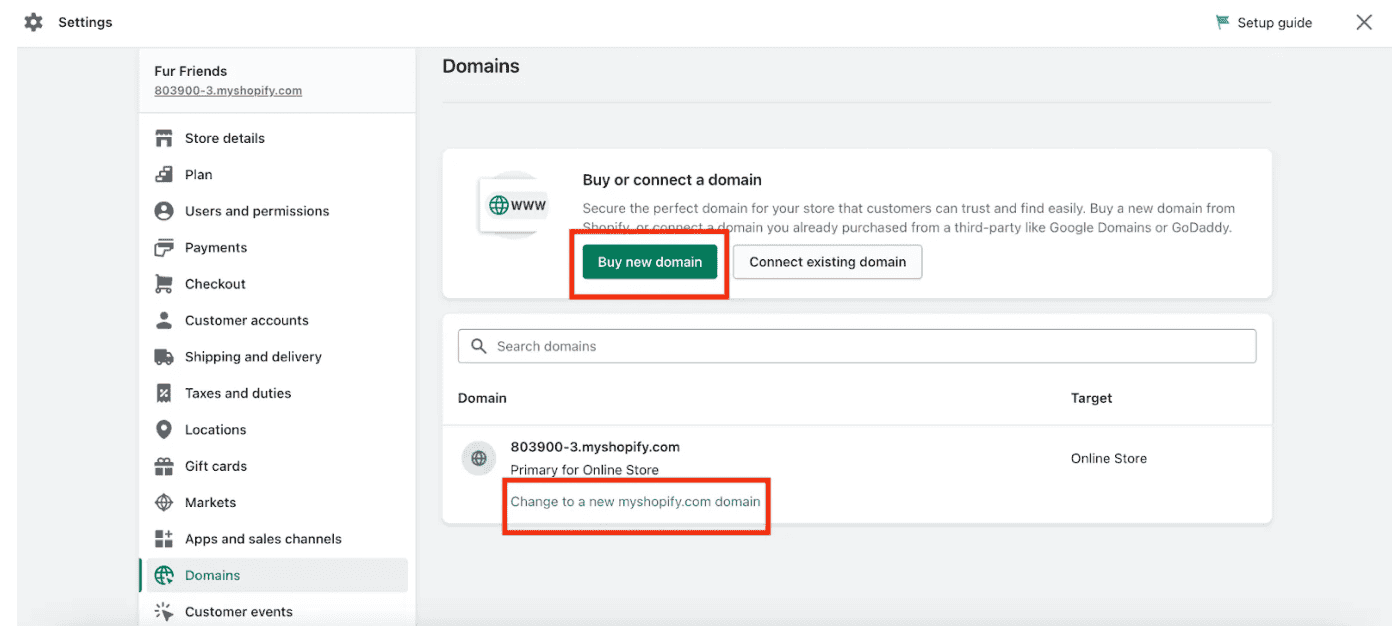
Go to Settings > Domains and either:
- Buy a domain directly from Shopify, or
- Connect a domain you own from another registrar
Shopify walks you through both options.
Step 6: Name Your Store
If you didn’t set the perfect name when signing up, now’s the time to refine it.
 Go to Settings > Store details to edit your:
- Store name
- Legal business name (if different)
- Contact info
Make sure it reflects your brand and resonates with your target customers.
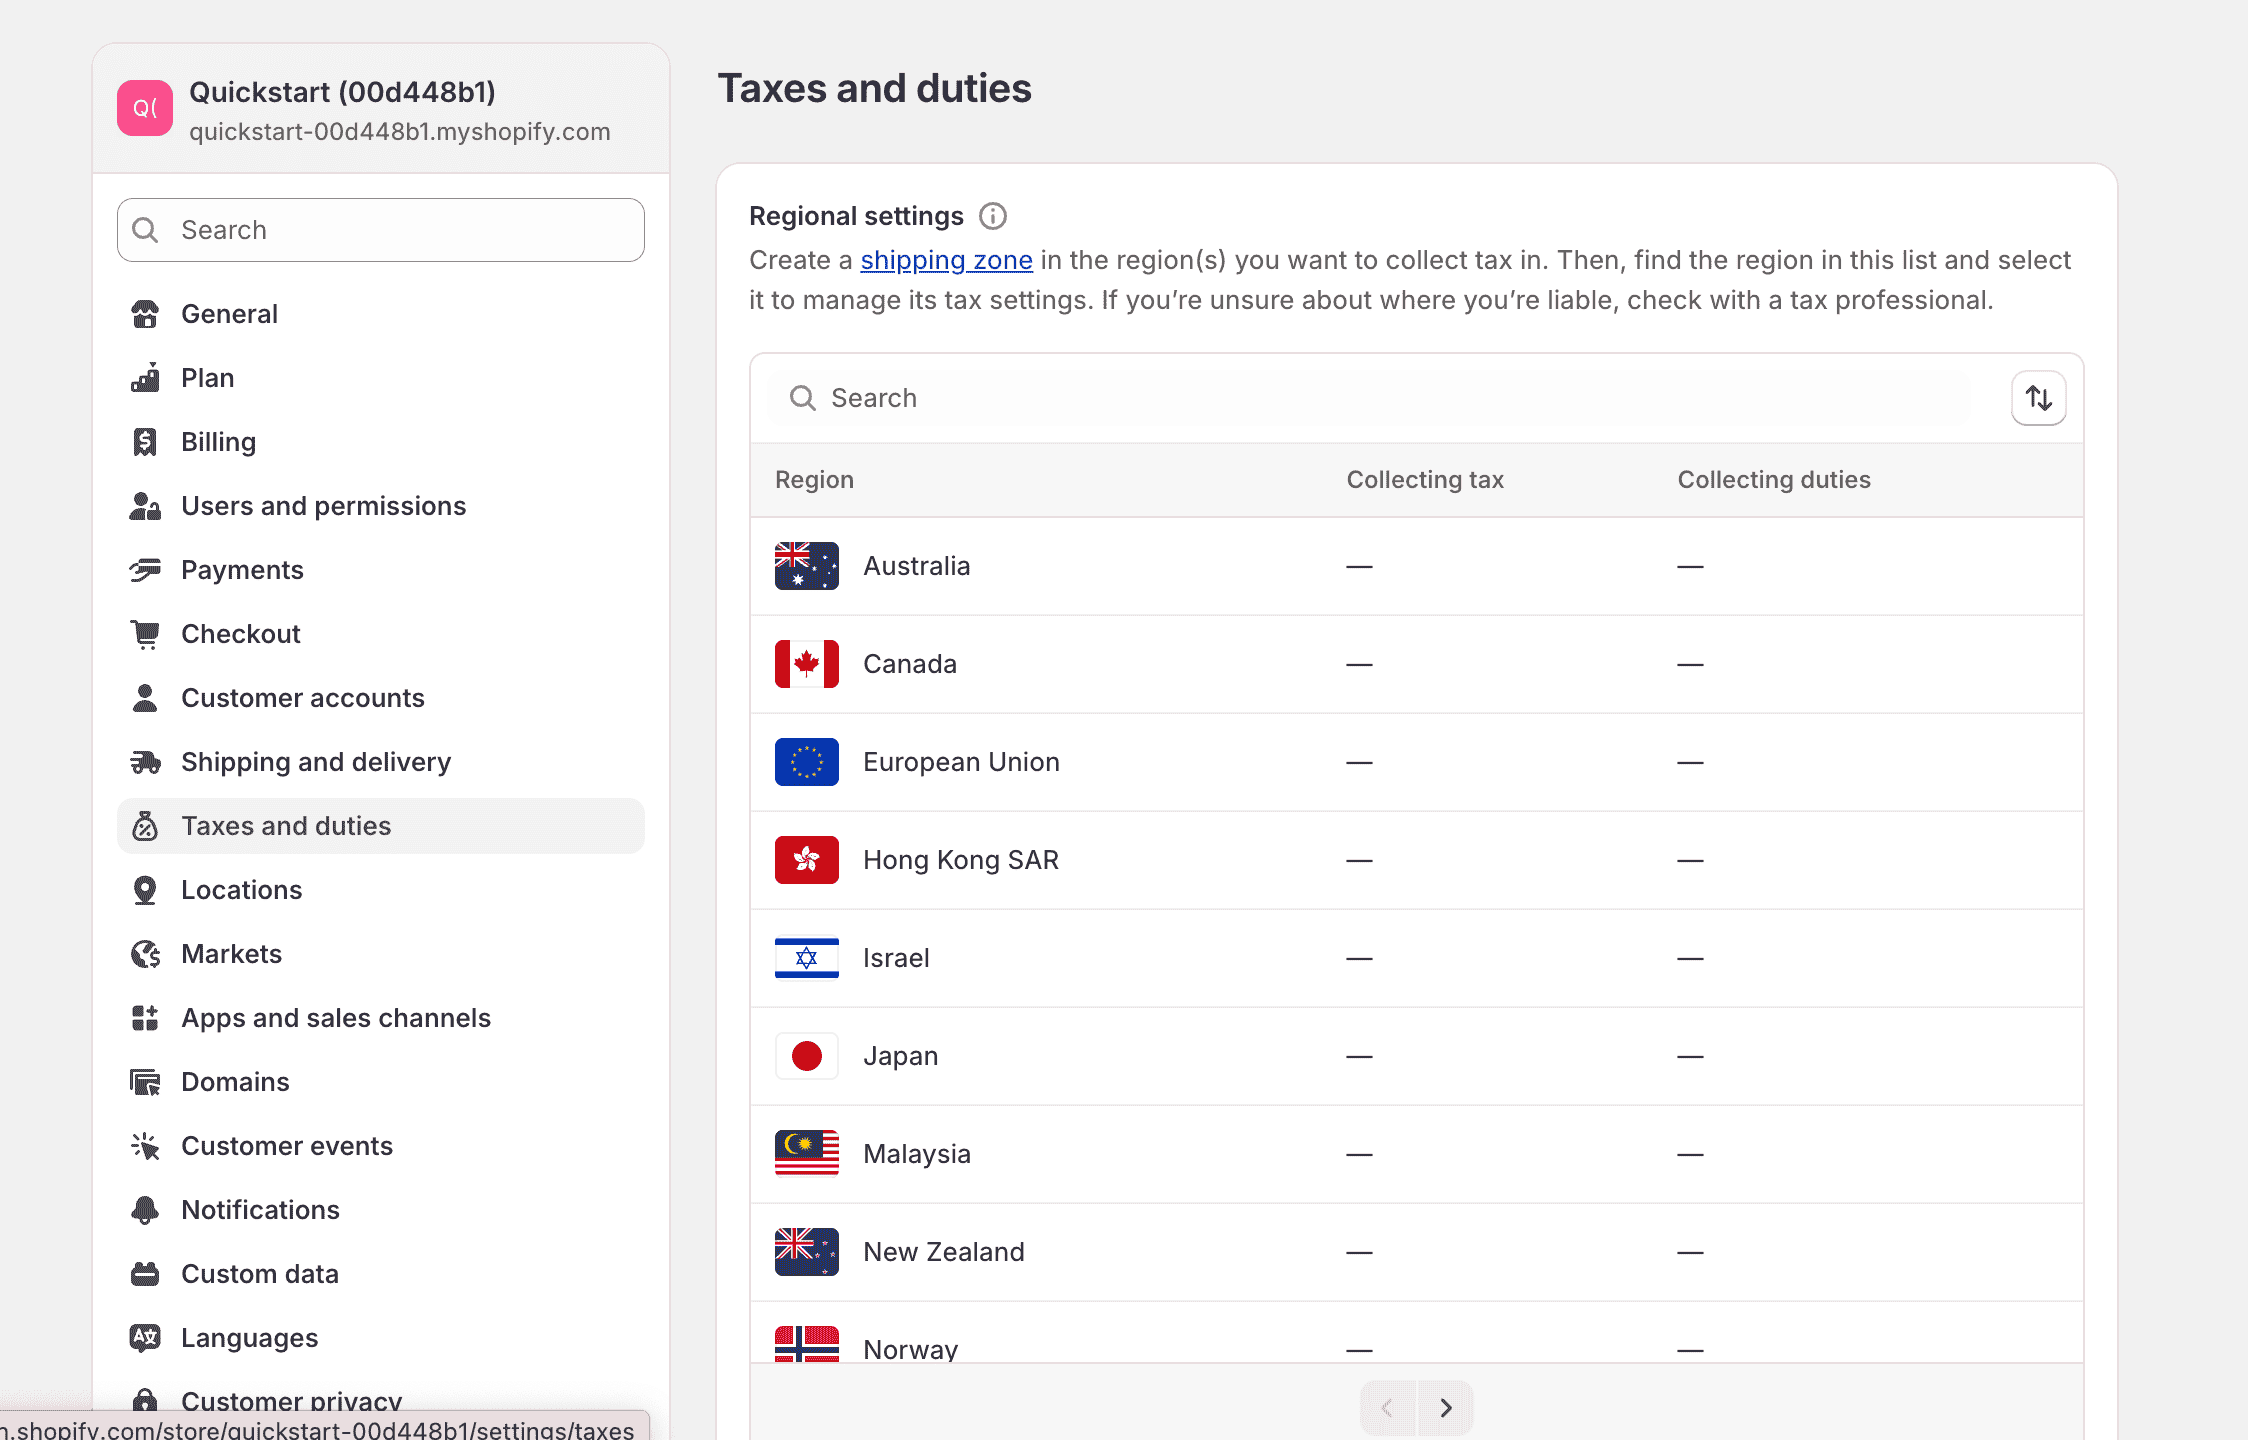
Step 7: Configure Essential Settings
A few critical things to set before launch:
- Payment gateways: Go to Settings > Payments to set up Shopify Payments, PayPal, Stripe, etc.
- Shipping: Under Settings > Shipping and delivery, define zones, rates, and carriers.
- Taxes: Shopify can auto-calculate based on your location. Review settings under Taxes and duties.
- Policies: Generate or write your own refund, privacy, and terms of service under Settings > Policies.
Step 8: Place a Test Order
Before going live, test the buying experience.
- Enable test mode under Settings > Payments
- Buy one of your products as if you were a customer
- Go through the full checkout process
This lets you catch errors before real customers show up.
Step 9: Pick a Plan and Start the Business!
Once everything’s ready, choose a plan to activate your store. Shopify won’t charge you during the free trial, but to accept payments and go live, you’ll need to select a plan.
Use your trial period to test, build, and refine.
Step 10: Optimize the Store with Shopify Apps
Go to the Shopify App Store to browse tools that can help with:
- Email marketing (Klaviyo, Omnisend)
- Reviews (Loox, Judge.me)
- Upselling (Frequently Bought Together)
- SEO (Plug In SEO)
- Inventory management, dropshipping, and more
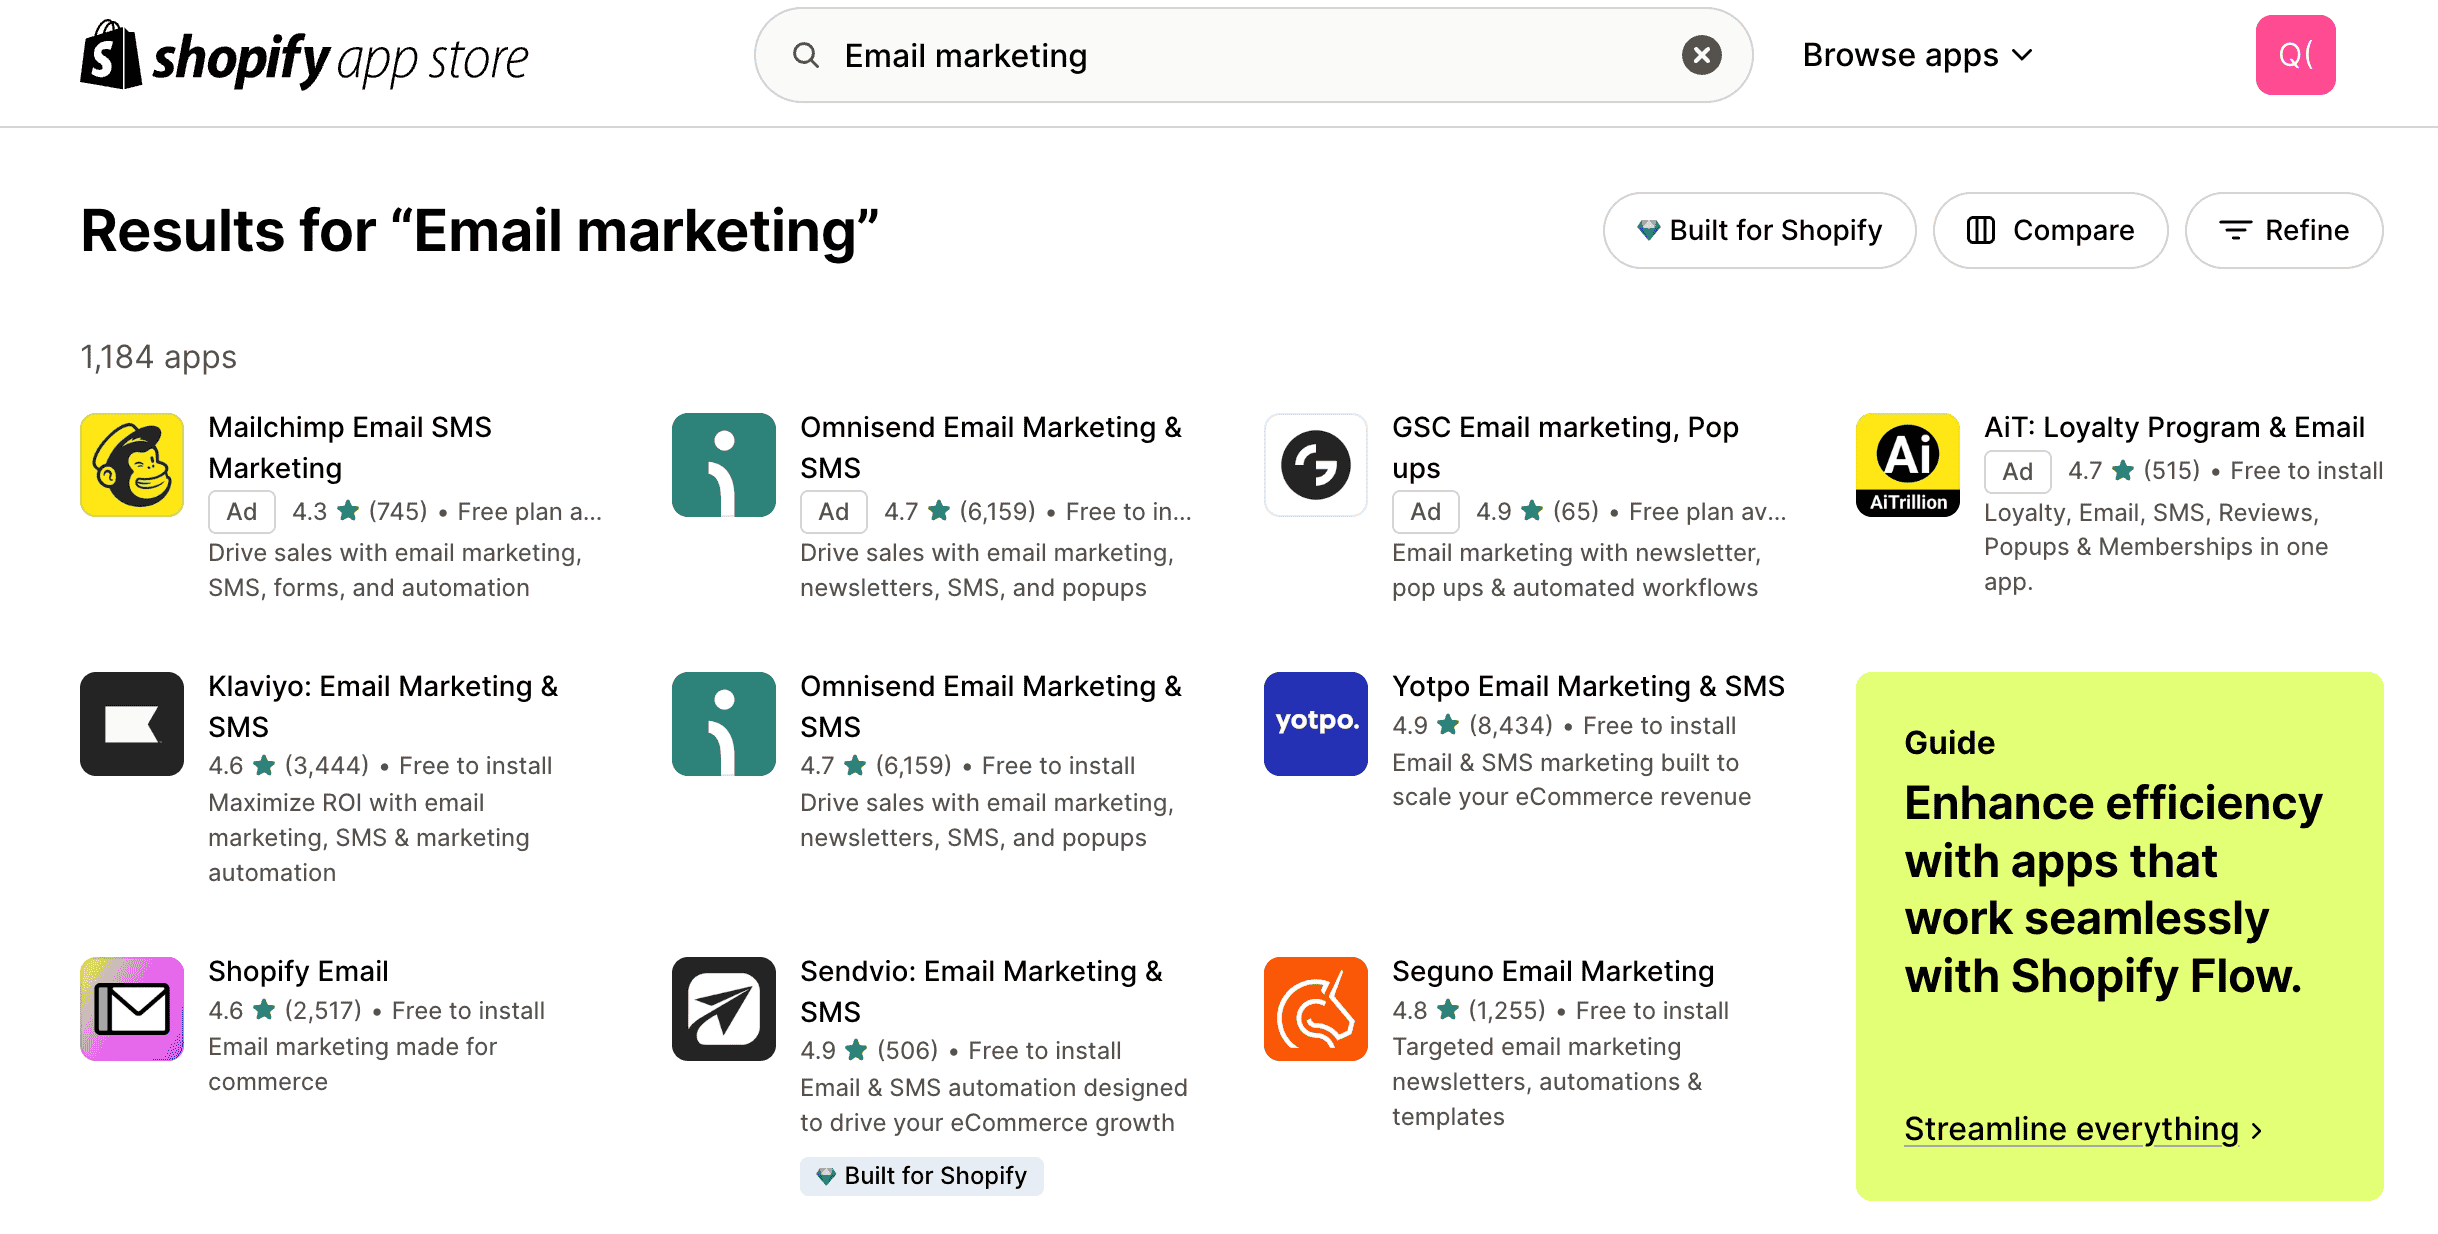
Don’t go overboard—only install what you truly need.
Explore: Shopify Apps: Essential Tools to Grow Your Store
III. What’s Next After Launch?
Congrats, your store is live. Now it’s time to grow it.
Here’s what to focus on post-launch:
-
Marketing: Start with simple strategies like:
- Instagram and TikTok content
- Email newsletters
- Running ads on Meta or Google
- Influencer collaborations
-
Analytics: Use Shopify Analytics and Google Analytics to understand traffic, conversions, and trends.
-
Customer experience: Offer fast shipping, honest communication, and easy returns.
-
Continuous optimization:
- A/B test your product pages
- Improve mobile speed
- Tweak your homepage to highlight bestsellers
-
Build a brand: Think long-term. Your store is more than a product catalog—it’s a brand experience. Design a logo, define your voice, and be consistent.
Final Thoughts
Shopify gives anyone the ability to build and run a serious online business in 2025. It’s fast, flexible, and beginner-friendly—but success still depends on your execution.
Don’t aim for perfect—aim for live. You can always improve along the way.
Take the leap. Build your store. Start selling. And if you ever get stuck, come back to this guide—or ask for help. You’ve got this.