In today’s ecommerce environment, speed and stability are the core elements that determine whether a brand can convert visitors into paying customers. As businesses transition to a Shopify Headless architecture, performance becomes even more critical because the frontend and backend operate independently. During peak traffic events such as Black Friday, Cyber Monday, flash sales or major ad campaigns, even a one-second delay can cause significant drops in conversion rates.
Load testing helps merchants evaluate the capacity of their Headless Shopify stores under different traffic conditions, optimize performance, and prevent system failures before they occur. This article provides a comprehensive guide on how to conduct load testing and stress testing for Shopify Headless stores to ensure consistent performance at all traffic levels.
I. Understanding Load Testing for Shopify Headless

1.1 What is Load Testing
Load testing measures how a system performs under a specific expected load. For Shopify Headless stores, this means simulating the number of users accessing the frontend and the volume of API requests hitting Shopify and other backend services.
1.2 Why Load Testing is Critical for Headless Architecture
A Headless Shopify setup offers speed, flexibility and scalability, but performance depends on multiple independent components such as:
- Custom frontend (React, Next.js, Hydrogen)
- Shopify Storefront API
- Third party APIs including CMS, search, recommendation engines
- CDN or edge networks
A bottleneck in any of these layers can slow the entire shopping experience or even crash the system.
1.3 Difference Between Load Testing and Stress Testing
- Load testing: Assessing the system at expected load
- Stress testing: Pushing the system beyond limits
- Spike testing: Measuring response to sudden traffic surges
- Endurance testing: Evaluating long-running performance
All four types are essential when working with Shopify Headless.
II. Key Performance Factors for Headless Shopify Stores
III. Preparing Your Shopify Headless Store for Load Testing
3.1 Create a Staging Environment
Never run load tests on production. The staging environment should mirror production settings including:
- Frontend configuration
- API connections
- CDN behavior
- Database or middleware setup
3.2 Enable Performance Monitoring
Prepare your monitoring stack:
- Shopify analytics
- Cloudflare logs
- Datadog or New Relic
- Frontend performance logs
- API dashboards
3.3 Identify Critical User Journeys
Essential flows to test include:
- Landing on the homepage
- Browsing product collections
- Viewing product detail pages
- Adding items to cart
- Creating checkout sessions
- Searching products
- Logging in
3.4 Define Target Traffic
Determine:
- Concurrent users (e.g., 1000 active users)
- Expected requests per second
- Target response times
IV. Tools for Load Testing Shopify Headless Stores
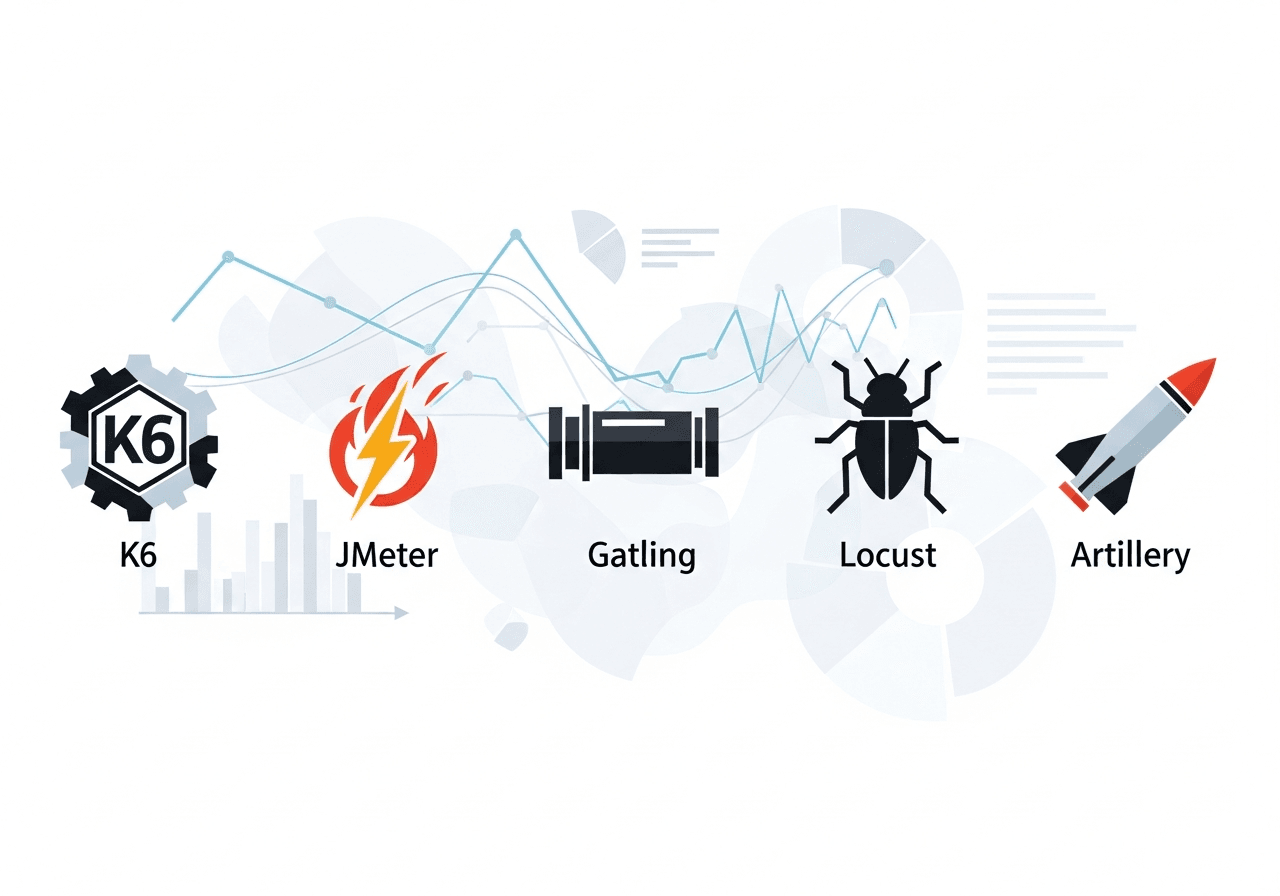
4.1 K6
- Ideal for API-level load testing
- JavaScript scripting
- Powerful visual reports
- Best suited for Shopify Storefront API
4.2 JMeter
- Highly scalable
- Large plugin ecosystem
- Multi-protocol support
- Suitable for complex test scenarios
4.3 Gatling
- High performance
- Efficient scripting
- Advanced dashboards
4.4 Artillery
- Node.js based
- Supports real user simulation
- Lightweight and fast
4.5 Locust
- Python-based
- Easy for modeling user behavior
V. How to Conduct Load Testing for Shopify Headless Stores
#Step 1: Map All API Endpoints
Critical endpoints include:
- Shopify Storefront API
- Cart and checkout APIs
- Product and collection queries
- CMS content APIs
- Payment sandbox APIs
- Search or recommendation APIs
#Step 2: Create Realistic Traffic Models
Different traffic conditions include:
- Normal load: 200 users
- Peak load: 1500 users
- Stress load: 3000 users
- Spike load: sudden jump from 100 to 1500 users in 2 seconds
#Step 3: Build Test Scripts
Typical scenarios include:
- User opening a product page
- Storefront API product fetch
- Add to cart
- Create checkout draft
#Step 4: Run Tests Gradually
Do not immediately start with peak load. Phases include:
- Warm up
- Ramp up
- Peak load
- Cool down
#Step 5: Monitor All Layers
Frontend Layer
- SSR rendering time
- CDN performance
- Cache hit ratio
Shopify Layer
- API throttling
- GraphQL cost usage
- Error rate
External APIs
- Slow responses
- Timeout issues
- Caching inefficiencies
#Step 6: Identify Bottlenecks
Common bottlenecks:
-
Slow server-side rendering: SSR becomes heavy under large traffic.
-
API throttling: Shopify may return 429 errors when rate limits are exceeded.
-
Slow CMS responses: CMS servers may struggle during peak load.
-
Inefficient caching strategy: Low cache hit ratio increases backend load.
-
Oversized GraphQL queries: Fetching unnecessary fields increases API cost.
#Step 7: Optimize and Retest
Ways to optimize:
- Increase cache TTL
- Use edge rendering
- Simplify GraphQL queries
- Enable aggressive CDN caching
- Switch from SSR to static rendering where possible
- Reduce unnecessary API calls
After optimization, rerun the load tests to verify improvements.
VI. Best Practices for Shopify Headless Load Testing
-
Use Static Rendering for Non Dynamic Pages: Static pages reduce server load significantly.
-
Maximize CDN Caching: The fewer requests hitting origin servers, the better.
-
Reduce GraphQL Query Weight: Fetch only necessary data.
-
Use Parallel Testing: Simulate multiple endpoints simultaneously.
-
Implement Canary Deployment: Release features gradually to detect potential failures early.
-
Test Before Major Sales Periods: Load test before Black Friday, Christmas, Lunar New Year campaigns.
VII. Common Mistakes to Avoid
Conclusion
Load testing is an essential step for any Shopify Headless store, particularly ahead of peak traffic campaigns, seasonal promotions, or major feature releases. By proactively assessing performance under simulated load conditions, businesses can identify potential bottlenecks, optimize infrastructure, and ensure that the store remains stable even during periods of heavy traffic. This preparation helps prevent unexpected downtime that could impact sales and customer satisfaction.
Proper load testing also delivers measurable benefits, including reduced API and infrastructure costs, faster page load times, improved conversion rates, and a consistent user experience across all devices. Ultimately, a Headless Shopify store only achieves its full potential when it can reliably handle peak traffic, providing a seamless shopping experience for every visitor.
Read more: