In today's competitive e-commerce landscape, owning an online store is just the beginning. To truly succeed, you need to ensure your store is visible to your target audience, track its performance, and optimize it for search engines. This is where Google's powerful tools come into play. For businesses using Shopify, integrating this platform with Google Merchant Center, Google Analytics, and Google Search Console is an indispensable strategy for driving growth and achieving business objectives.
This article will delve into each Google tool and guide you through integrating them with your Shopify store in detail. We'll explore why each tool is crucial, how to set them up, and how to leverage the data they provide to make informed decisions.
I. Why Is Integrating Shopify with Google Tools Important?
Before diving into the technical specifics, let's understand why this integration is essential for any Shopify business:
-
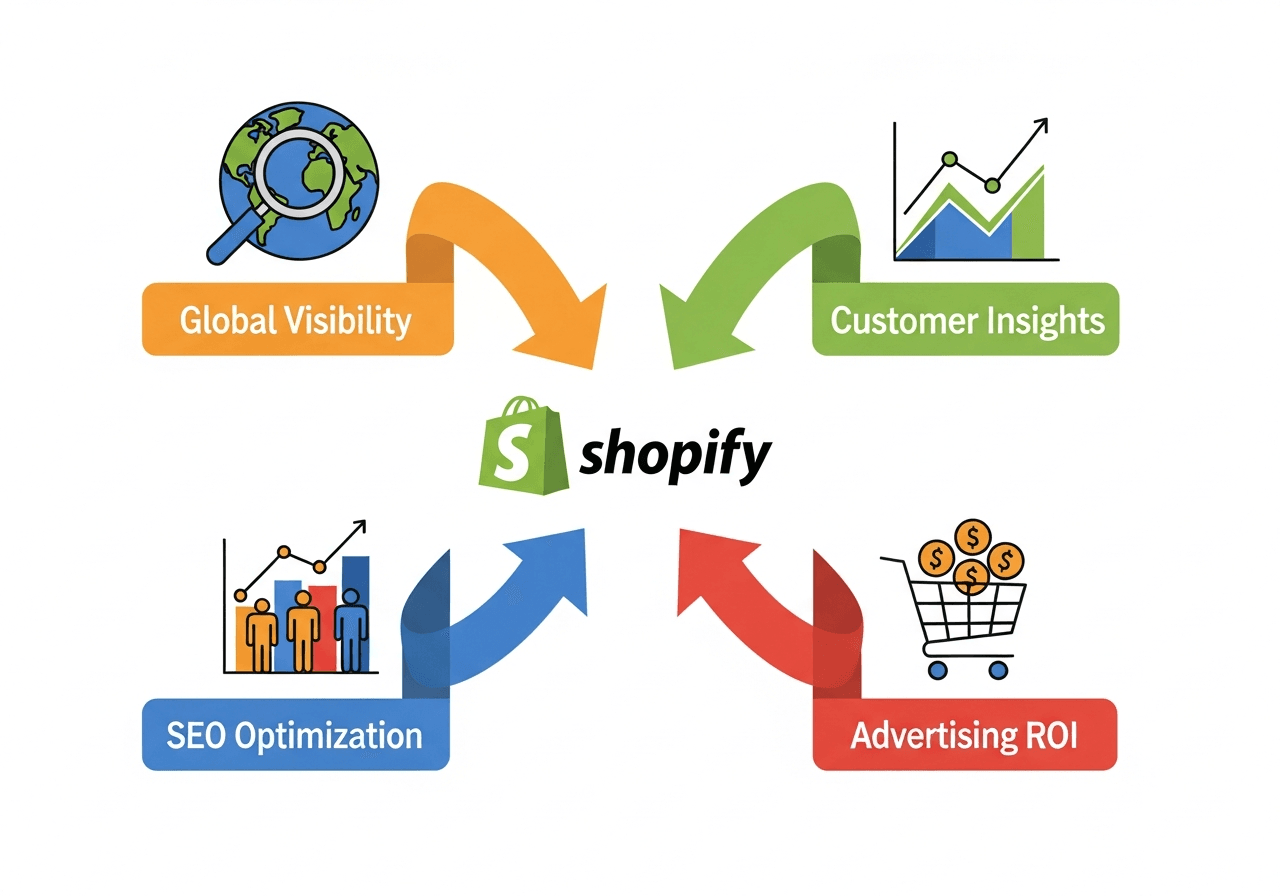
Increased Visibility and Traffic: Google is the world's largest search engine. Integrating your store with Google's tools helps your products appear in search results, shopping ads, and other Google platforms, attracting more potential customers.
-
Understanding Customer Behavior: Google Analytics provides deep insights into how customers interact with your store. You can track visitor numbers, pages viewed, time spent, and actions taken, helping you optimize the user experience.
-
SEO Optimization: Google Search Console helps you monitor your store's SEO performance, identify technical issues, and understand how Google indexes your site. This allows you to improve search rankings and attract organic traffic.
-
Effective Advertising: Google Merchant Center is the bridge between your products and Google Shopping Ads. By providing accurate product data, you can create effective ad campaigns, reaching the right customers looking for your products.
-
Data-Driven Decision Making: All these tools provide valuable data you can use to make strategic business decisions, from optimizing product pages to adjusting marketing strategies.
Now, let's explore each tool individually.
II. Integrating Shopify with Google Merchant Center
Google Merchant Center is a free platform that helps you upload your product data to display in Google's shopping services, including Google Shopping Ads, Google Shopping, and free listings on Google. This is an incredibly important tool for any e-commerce store looking to promote its products on Google.
1. Why Is Google Merchant Center Important?
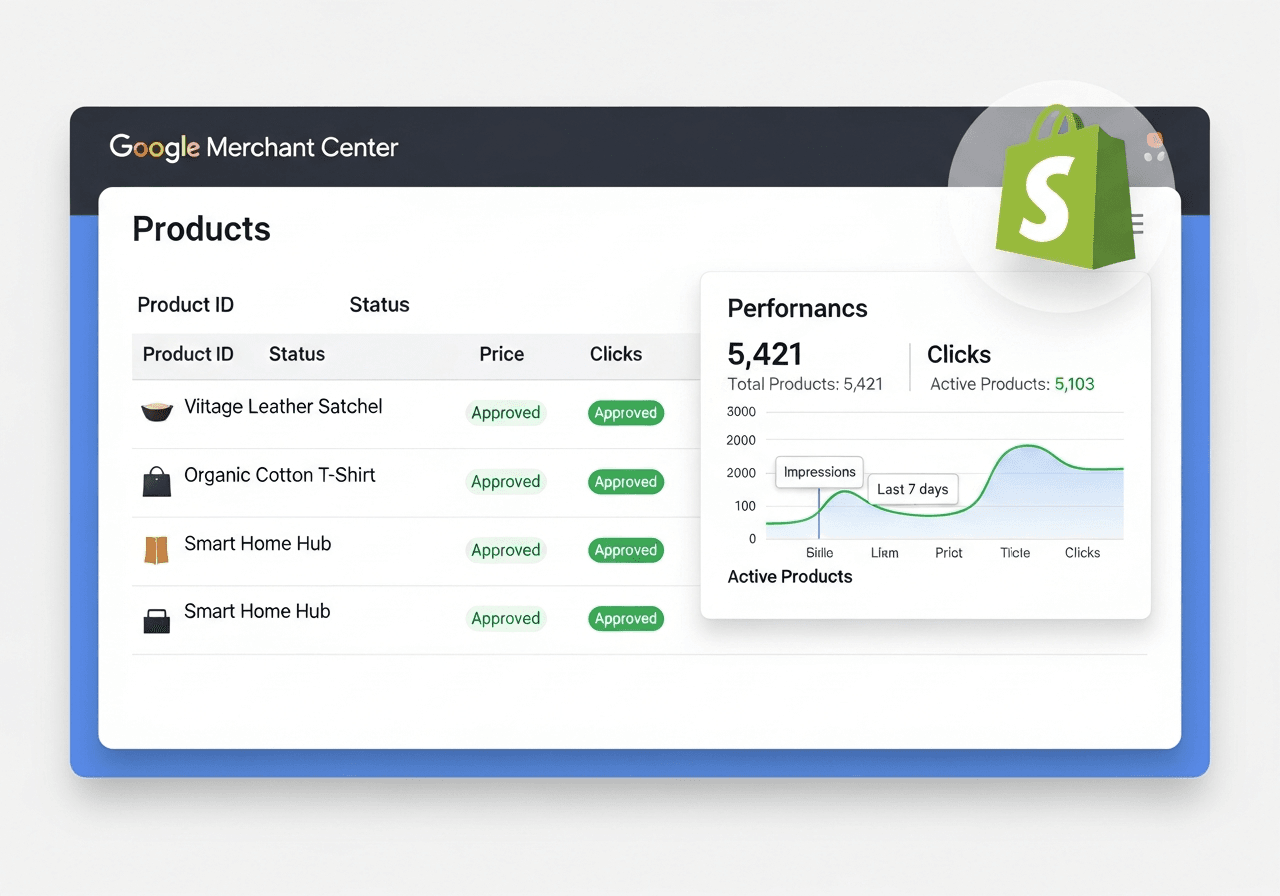
- Display Products on Google Shopping: This is the primary benefit. Google Merchant Center is a prerequisite for running Google Shopping ads, putting your products directly in front of people searching for them.
- Free Listings on Google: Even if you don't run paid ads, Merchant Center still helps your products appear in free shopping results on Google, increasing visibility without cost.
- Centralized Product Information Management: You can manage all your product information (price, availability, description, images) in one central place.
- Provides Accurate Data to Google: Google uses data from Merchant Center to display the most relevant product information to users. Accurate data helps improve click-through rates (CTR) and conversions.
2. How to Set Up Google Merchant Center for Shopify
To integrate Shopify with Google Merchant Center, you can use the Google & YouTube app available on the Shopify App Store or set it up manually.
Method 1: Using Shopify's Google & YouTube App (Recommended)
This is the simplest and most recommended method for most Shopify stores.
-
Install the app:
- In your Shopify admin, go to Sales channels and click Add sales channel.
- Search for Google & YouTube and click Add sales channel.
- Follow the instructions to install the app.
-
Connect your Google account:
- Once installed, you'll be prompted to connect your Google account. Select the Google account you want to link to Merchant Center.
- The app will automatically create a new Google Merchant Center account for you or connect to an existing one.
-
Sync products:
-
The app will begin syncing your products from Shopify to Google Merchant Center. This process may take some time depending on the number of products you have.
-
You need to ensure that all your products meet Google's product data requirements. The app will display any errors or warnings that need to be addressed.
-
Common fields that often need to be filled in are GTIN (Global Trade Item Number like UPC, EAN, ISBN) or MPN (Manufacturer Part Number) and Brand. For custom or handmade products without a GTIN, you can mark them as
identifier_exists = false.
-
-
Set up other settings:
- You'll need to verify ownership of your website in Merchant Center (usually done automatically through the app).
- Set up shipping and tax information in Merchant Center to ensure accurate prices are displayed to customers.
- Ensure you comply with all Google Shopping policies, including return policies, clear contact information, and a secure checkout page.
Method 2: Manual Setup (Less Common with Shopify)
If you don't want to use the Google & YouTube app or have a specific use case, you can create a product feed manually:
- Create a Google Merchant Center account: Go to merchants.google.com and sign up for an account.
- Verify and claim your website: Follow Google's instructions to verify your website (e.g., by adding an HTML tag to your Shopify theme or using Google Analytics).
- Create a product feed:
- In Google Merchant Center, go to Products > Feeds.
- Select the Plus sign (+) to add a new feed.
- You can choose to upload a file (CSV, XML) or set up a scheduled fetch from a URL. To get a feed URL from Shopify, you might need to use a third-party app specializing in feed generation or manually create a CSV file from your Shopify product reports.
- With Shopify, you can export products as a CSV and then adjust the column headers to match Google Merchant Center's requirements. This is a manual process and prone to errors if you have many products.
- Review and fix errors: Once the feed is uploaded, Google will review it and report any errors. You'll need to fix these errors for your products to appear.
Important Note: Regardless of the method you use, regularly check your Google Merchant Center account for product errors or policy violations. Google is very strict about data quality.
III. Integrating Shopify with Google Analytics
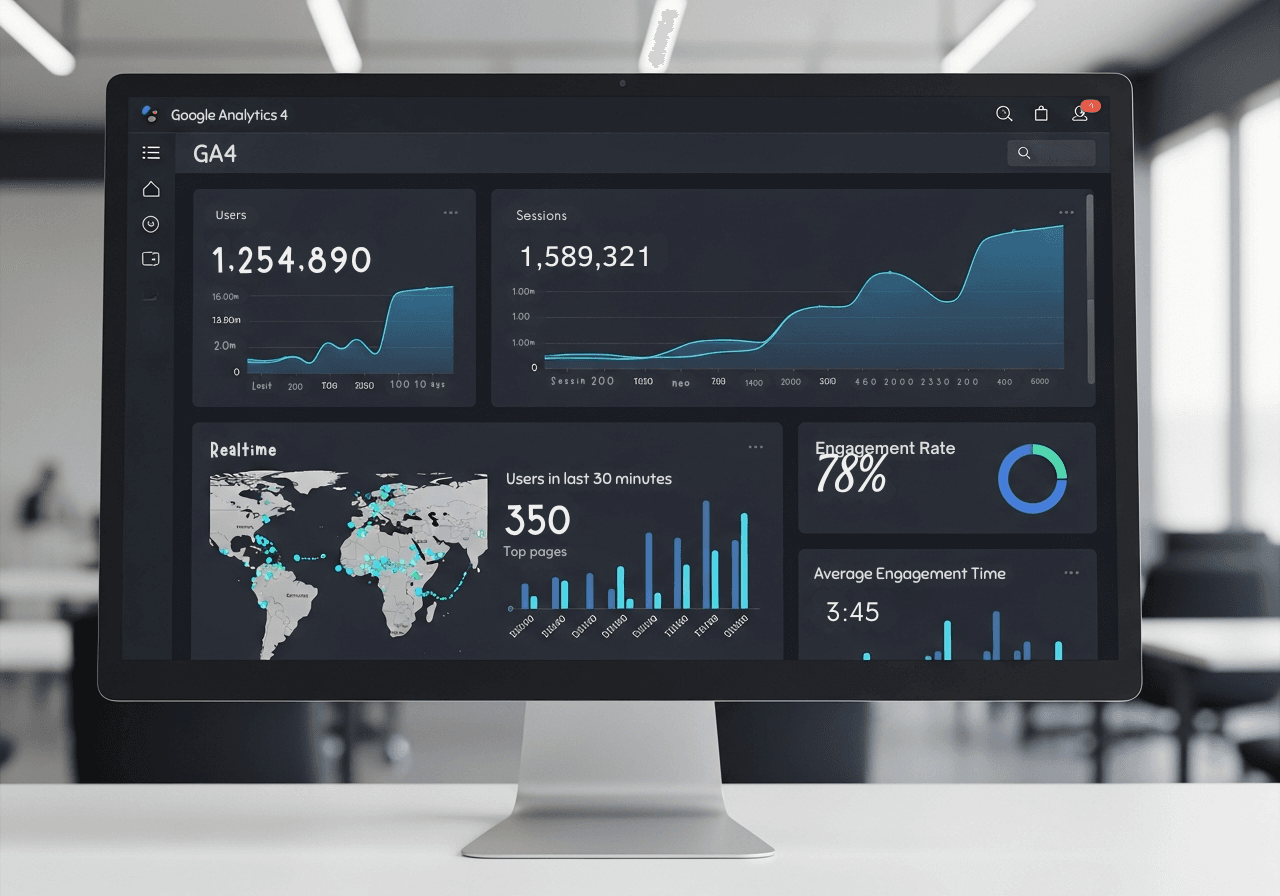 Google Analytics is a free yet powerful web analytics tool that provides detailed insights into your website traffic and user behavior. With Google Analytics, you can track visitor numbers, their origin, pages viewed, time spent, conversion rates, and much more vital data.
Currently, Google is transitioning from Universal Analytics (UA) to Google Analytics 4 (GA4). You should set up GA4 for your Shopify store.
1. Why Is Google Analytics Important?
- Understand Customers: Grasp who is visiting your site, where they come from, and what they do on your site.
- Evaluate Performance: Track the performance of marketing campaigns, conversion rates, and revenue.
- Identify Issues: Detect pages with high bounce rates or bottlenecks in the purchase journey.
- Optimize User Experience: Use data to improve website design, content, and checkout processes.
- Measure ROI: Determine the effectiveness of your marketing investments.
2. How to Set Up Google Analytics 4 (GA4) for Shopify
Integrating GA4 with Shopify is slightly different from the previous UA. Shopify currently does not have a native GA4 integration in its preference settings. You will need to use Google Tag Manager (GTM) or edit your theme to implement GA4 comprehensively.
Method 1: Using Google Tag Manager (Recommended for Comprehensive Implementation)
Google Tag Manager is a free tag management system from Google that allows you to easily add and manage code snippets (tags) on your website, including Google Analytics code, Google Ads conversion tracking code, and other marketing tags without directly editing your website code.
-
Create a Google Tag Manager account:
- Go to tagmanager.google.com and sign in with your Google account.
- Create a new Account (e.g., your business name) and a new Container (e.g., your Shopify store domain). Select Web as the target platform.
-
Install Google Tag Manager into Shopify:
-
After creating the container, you will receive a GTM code snippet. This snippet includes two parts: one that needs to be placed in the
headand one that needs to be placed immediately after thebody. -
In your Shopify admin, go to Online Store > Themes.
-
Find your current theme and click Actions > Edit code.
-
Open the
theme.liquidfile. -
Paste the first GTM code snippet (usually starting with
!-- Google Tag Manager -->) immediately after theheadtag. -
Paste the second GTM code snippet (usually starting with
noscript) immediately after thebodytag. -
Save the changes.
-
-
Create a Google Analytics 4 property:
-
If you don't already have one, create a new GA4 property in Google Analytics (analytics.google.com).
-
Go to Admin > Create Property.
-
Name the property, select your time zone and currency.
-
In the next step, select Web as the platform and enter your Shopify store URL. Name the data stream.
-
You will receive a Measurement ID (e.g.,
G-XXXXXXXXXX).
-
-
Set up the GA4 tag in Google Tag Manager:
-
Go back to Google Tag Manager.
-
Create a new Tag.
-
Select Tag Configuration as Google Analytics: GA4 Configuration.
-
Paste your GA4 Measurement ID into the Measurement ID field.
-
Select Triggering as All Pages so this tag fires on every page.
-
Save the tag and Submit changes in GTM to publish the new container.
-
-
Set up Enhanced Ecommerce tracking for GA4:
-
To track detailed purchase events like add to cart, product view, begin checkout, and purchase, you will need to implement data layers in Shopify.
-
Shopify provides a basic data layer on the checkout thank you page. However, for more advanced tracking throughout the store, you will need to customize the theme code or use a third-party app to push e-commerce events into the data layer in a format that GA4 can understand.
For core events (e.g., purchase):
- In your Shopify admin, go to Settings > Checkout.
-
In the Additional scripts section, you can add code snippets to push purchase events to the data layer for GA4. This code will need to access the
Shopify.checkoutobject to retrieve order information. -
You will then need to create a GA4 Event tag in GTM, with a custom trigger that fires when the purchase event is pushed to the data layer.
-
This is the most complex part and usually requires knowledge of JavaScript and GA4's data layer API. If you're not comfortable with coding, consider using a dedicated Shopify app for this (e.g., Elevar, Littledata) or hiring a developer.
Method 2: Install GA4 Directly via Shopify Theme (Less Flexible)
You can add the GA4 code directly to your Shopify theme without GTM, but this method is less flexible for managing other tags and doesn't easily support enhanced e-commerce tracking.
1. Create a GA4 property and get the Measurement ID as described above.
2. Edit the 'theme.liquid' file:
-
In your Shopify admin, go to Online Store > Themes.
-
Find your current theme and click Actions > Edit code.
-
Open the
theme.liquidfile. -
Paste the following code snippet immediately after the
headtag:
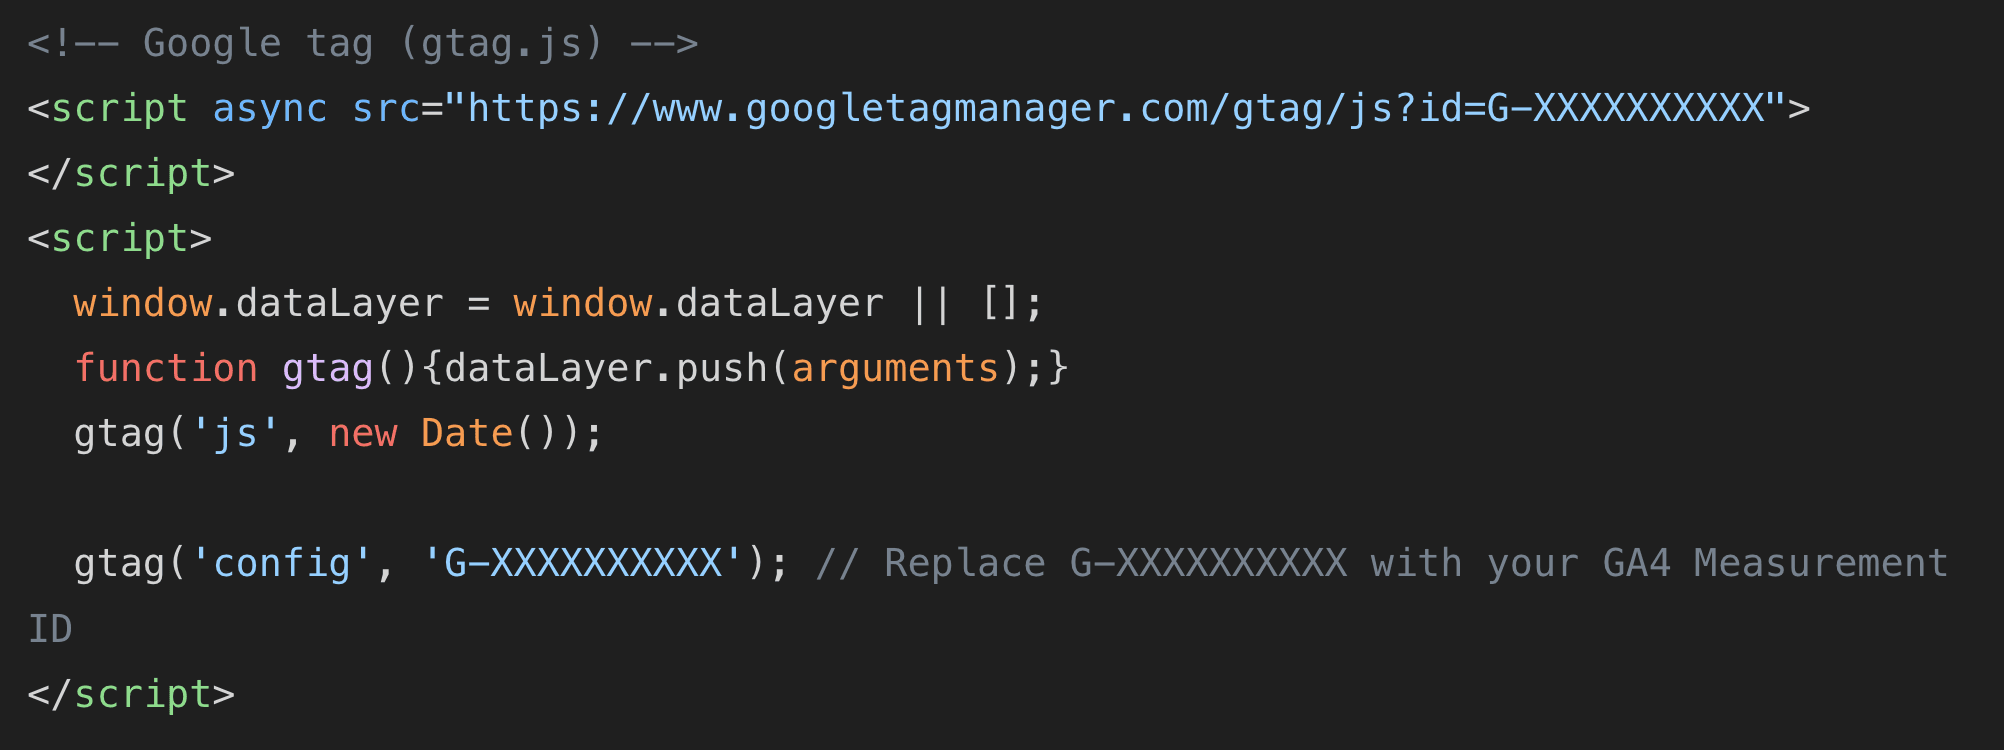
- Save the changes.
3. For purchase tracking: You will need to write custom JavaScript to push purchase events to the dataLayer on the thank you page and then use gtag('event', 'purchase', { ... }); to send that data to GA4. This still requires editing in the checkout's Additional scripts section and is quite complex.
Verify Google Analytics Installation:
After installation, visit your website. Open Google Analytics > Realtime Reports. If you see your activity, GA4 has been successfully installed. For e-commerce events, perform a test transaction and check if the purchase event appears in the real-time reports or DebugView of GA4.
IV. Integrating Shopify with Google Search Console
 Google Search Console (formerly Google Webmaster Tools) is a free service from Google that helps you monitor your Shopify store's performance in Google search results. It provides insights into how Google indexes your site, the keywords users use to find you, crawl errors, and security issues.
1. Why Is Google Search Console Important?
- Monitor Search Performance: Track impressions, clicks, CTR, and average position of your store in Google search results.
- Understand Keywords: See which keywords are bringing users to your store and their performance.
- Find and Fix Errors: Detect crawl errors, indexing issues, and mobile usability issues that could affect your SEO rankings.
- Submit Sitemaps: Help Google discover all important pages on your store more easily.
- Receive Security Notifications: Be alerted if your store is hacked or has malware issues.
- Optimize SEO: Use data from Search Console to optimize content, website structure, and link building.
2. How to Set Up Google Search Console for Shopify
- Add your Shopify store to Google Search Console:
-
Go to search.google.com/search-console and sign in with your Google account.
-
Click Add property in the left-hand dropdown menu.
-
You will have two options:
-
Domain: This is the recommended method. Enter your root domain (e.g.,
yourstore.com). This method requires verification via DNS records. -
URL prefix: Enter the full URL of your Shopify store (e.g.,
https://www.yourstore.com). This method offers more verification options and is generally easier to implement with Shopify.
-
-
Select URL prefix and enter your Shopify store URL. Click Continue.
-
- Verify ownership:
-
You will be provided with several verification methods. The most common methods for Shopify are:
-
HTML tag: This is often the easiest way.
-
Copy the provided meta tag (e.g., 'meta name="google-site-verification" content="XXXXXXXXX" /').
-
In your Shopify admin, go to Online Store > Themes.
-
Find your current theme and click Actions > Edit code.
-
Open the
theme.liquidfile. -
Paste the copied meta tag within the
section of the file, immediately after the openingheadtag. -
Save the changes.
-
Go back to Google Search Console and click Verify.
-
-
Google Analytics: If you have Google Analytics (UA or GA4) installed using the same Google account, you can verify this way. However, it requires you to have administrative access to the GA account.
-
Google Tag Manager: If you have GTM installed on Shopify using the same Google account, you can verify via GTM.
-
-
After successful verification, you will see a congratulatory message.
-
- Submit your sitemap:
-
Shopify automatically generates an XML sitemap for your store. You can find it at
yourstore.com/sitemap.xml. This sitemap includes links to products, collections, blog posts, and other pages. -
In Google Search Console, go to Sitemaps in the left navigation bar.
-
In the "Add a new sitemap" section, enter
sitemap.xmlin the field and click Submit. -
Google will begin processing your sitemap. This process may take some time. You can check the status here to ensure there are no errors.
-
After setting up Search Console:
- Regularly check performance reports: View search queries, top pages, and performance by device.
- Check indexing reports: Ensure all your important pages are indexed and there are no errors preventing it.
- Check page experience reports: Ensure your store is mobile-friendly and has good Core Web Vitals.
- Fix errors: If Search Console reports any errors, prioritize fixing them to improve your visibility.
V. Best Practices When Integrating Shopify with Google Tools
Once you have all the tools set up, it's important to use them effectively.
- Check Regularly:
- Google Merchant Center: Check your account daily or weekly for product errors, warnings, or policy violations. Google can disapprove products or suspend accounts if there are serious issues.
- Google Analytics: Regularly review reports to track performance, identify trends, and look for improvement opportunities. Set up custom dashboards and reports to monitor key KPIs.
- Google Search Console: Check weekly for new errors, search performance trends, and usability issues.
- Use Data to Make Decisions:
- From Merchant Center: Use product performance information to optimize product descriptions, titles, and images for ads.
- From Analytics: Identify high-bounce-rate pages to improve content. Track the conversion funnel to find points where customers drop off. Analyze demographics to better understand your audience.
- From Search Console: Identify keywords where you rank low but have high potential to create content or optimize existing pages. Use HTML improvements reports to optimize meta tags and descriptions.
- Optimize Products and Website:
- Product descriptions: Write detailed, unique, and keyword-rich descriptions.
- High-quality images: Use high-resolution, clear, multi-angle product images.
- Website speed: Shopify is generally fast, but check your website speed with Google PageSpeed Insights and optimize images, use speed-boosting apps if needed.
- On-page SEO: Optimize page titles, meta descriptions, image alt tags, and URL structure.
- Stay Updated: Google's tools are constantly being updated. Follow Google's blogs and reliable SEO/e-commerce sources to keep up with changes and new features.
Conclusion
Integrating Shopify with Google Merchant Center, Google Analytics, and Google Search Console is a foundational strategy for modern ecommerce growth. Each tool serves a distinct purpose, but together they form a powerful ecosystem that enhances visibility, performance measurement, and optimization.
While the initial setup may require technical effort, the long term benefits far outweigh the complexity. With accurate data, merchants can make confident decisions, scale marketing efforts, and improve customer experience.
For businesses seeking expert guidance on Shopify Google integration and performance optimization, TrueStorefront provides the technical expertise and strategic insight needed to unlock the full potential of the Shopify platform.
Read more: