Shopify is one of the leading eCommerce platforms, empowering entrepreneurs and businesses to create and manage their online stores. While Shopify provides a powerful out-of-the-box solution, businesses often require additional functionality through custom apps to enhance their store's features. Shopify App Node is one such powerful framework for creating custom apps that integrate seamlessly with Shopify.
In this extended guide, we will dive deeper into Shopify App Node, exploring its capabilities, benefits, detailed implementation steps, key features, and best practices for building scalable and high-performance Shopify apps.
I. Overview of the Shopify App Node
At its core, Shopify App Node refers to the development of custom Shopify apps using Node.js, an open-source JavaScript runtime. Node.js allows developers to build scalable, high-performance backend applications, making it a perfect fit for creating Shopify apps.
Node.js is particularly useful in building apps that need to handle multiple requests and manage large volumes of data, such as syncing products, processing orders, or managing customer data. Shopify App Node is designed to help developers create apps that interact with Shopify’s vast set of APIs and can extend the platform’s functionality to meet the unique needs of each store.
With Node.js, you can build apps that:
-
Handle real-time data syncing
-
Integrate with Shopify’s Storefront API
-
Offer custom checkout experiences
-
Manage customer and order data securely
-
Provide real-time notifications, live chat, or advanced analytics
II. Why you should integrate App Node to your Shopify?
Node.js has become one of the most popular choices for backend development, particularly when building apps for eCommerce platforms like Shopify. Let’s break down the key advantages of using Shopify App Node:
Performance and scalability
Shopify stores often experience traffic spikes during sales or promotions. Apps built with Node.js are designed to scale with growing businesses, thanks to its asynchronous, non-blocking architecture.
Node.js excels at handling multiple concurrent requests, ensuring that your app can handle high traffic loads without compromising performance. This makes Shopify App Node ideal for businesses with large inventories, high-volume transactions, or real-time data processing needs.
Real-time data handling
Node.js allows for real-time communication between the server and the client. This is critical for Shopify apps that need to update in real-time, such as:
- Stock level updates
- Live chat or messaging
- Order status updates
- Inventory synchronization
With the event-driven, non-blocking I/O model in Node.js, the app can handle requests and push updates to the user interface with minimal latency, resulting in an efficient and smooth user experience.
Unified JavaScript development
Node.js enables developers to use JavaScript for both frontend and backend development. This unification streamlines development by reducing context-switching between languages, enabling quicker feature iterations and easier maintenance. Shopify app developers can leverage their JavaScript expertise across the entire tech stack, making it easier to build and maintain custom apps.
Extensive ecosystem
Node.js has a large ecosystem of open-source libraries and modules available through npm (Node Package Manager). These modules save development time by offering pre-built solutions for common functionalities such as authentication, email delivery, payment processing, and API integrations. The npm registry also includes Shopify-specific libraries, making it easier to interact with Shopify's API.
Community support
Node.js has a thriving developer community, ensuring plenty of resources, tutorials, forums, and documentation for those new to the framework. If you run into challenges while developing a Shopify app, there are ample solutions, including troubleshooting guides and ready-made packages, to help you overcome them.
III. Key features of Shopify App Node
Let's go through the essential features you get when building Shopify apps using Node.js:
Shopify API Integration
One of the key features of Shopify App Node is seamless integration with Shopify’s API, including the Storefront API, Admin API, and Webhooks. These integrations allow you to build apps that interact with Shopify stores in meaningful ways, such as:
- Accessing and managing product data
- Creating and managing customer accounts
- Retrieving and processing orders
- Updating inventory and pricing
- Managing promotions and discounts
Custom User Authentication
With Shopify apps, user authentication is vital for ensuring that only authorized users can access sensitive store data. Shopify App Node supports OAuth 2.0 authentication, which allows users to securely log in to Shopify stores and authorize your app to interact with their data. OAuth 2.0 ensures that customer data is secure and protected while maintaining a smooth login experience.
Real-time data syncing
As mentioned earlier, real-time data syncing is a critical feature for Shopify apps. Whether you need to sync inventory between Shopify stores and third-party warehouses or push real-time updates to the storefront, Node.js makes this process seamless. This feature is essential for ensuring that your app can update product availability, order statuses, and pricing in real time.
Customizable webhooks
Shopify Webhooks are HTTP callbacks that notify your app of events like new orders, product updates, or inventory changes. Using Node.js, you can listen for specific Shopify events and trigger automated actions based on those events. This allows your app to stay updated with real-time store changes.
Data management and storage
Node.js is highly compatible with databases like MongoDB, MySQL, and PostgreSQL, allowing developers to design custom data storage solutions for Shopify apps. Whether you’re storing customer data, app settings, or analytics, Node.js provides a flexible and reliable backend architecture for managing large datasets.
Webhook Event Handling
Node.js can be used to handle webhook events, enabling apps to react to changes in Shopify stores automatically. For example, an app can trigger an email notification when a new order is created or update the product page when an inventory level changes. Webhooks allow your app to stay in sync with the store without requiring constant polling.
IV. Who should sse App Node for Shopify?
V. How to develop a Shopify App with Node.js: Step-by-step Guide
Building a Shopify app using Node.js can seem challenging, but with the right tools and knowledge, it becomes a straightforward process. Node.js is a popular choice for backend development, especially for building scalable apps that need to interact with Shopify’s APIs in real-time.
Below is a detailed guide to help you create a Shopify app with Node.js, from setting up your environment to deploying your app.
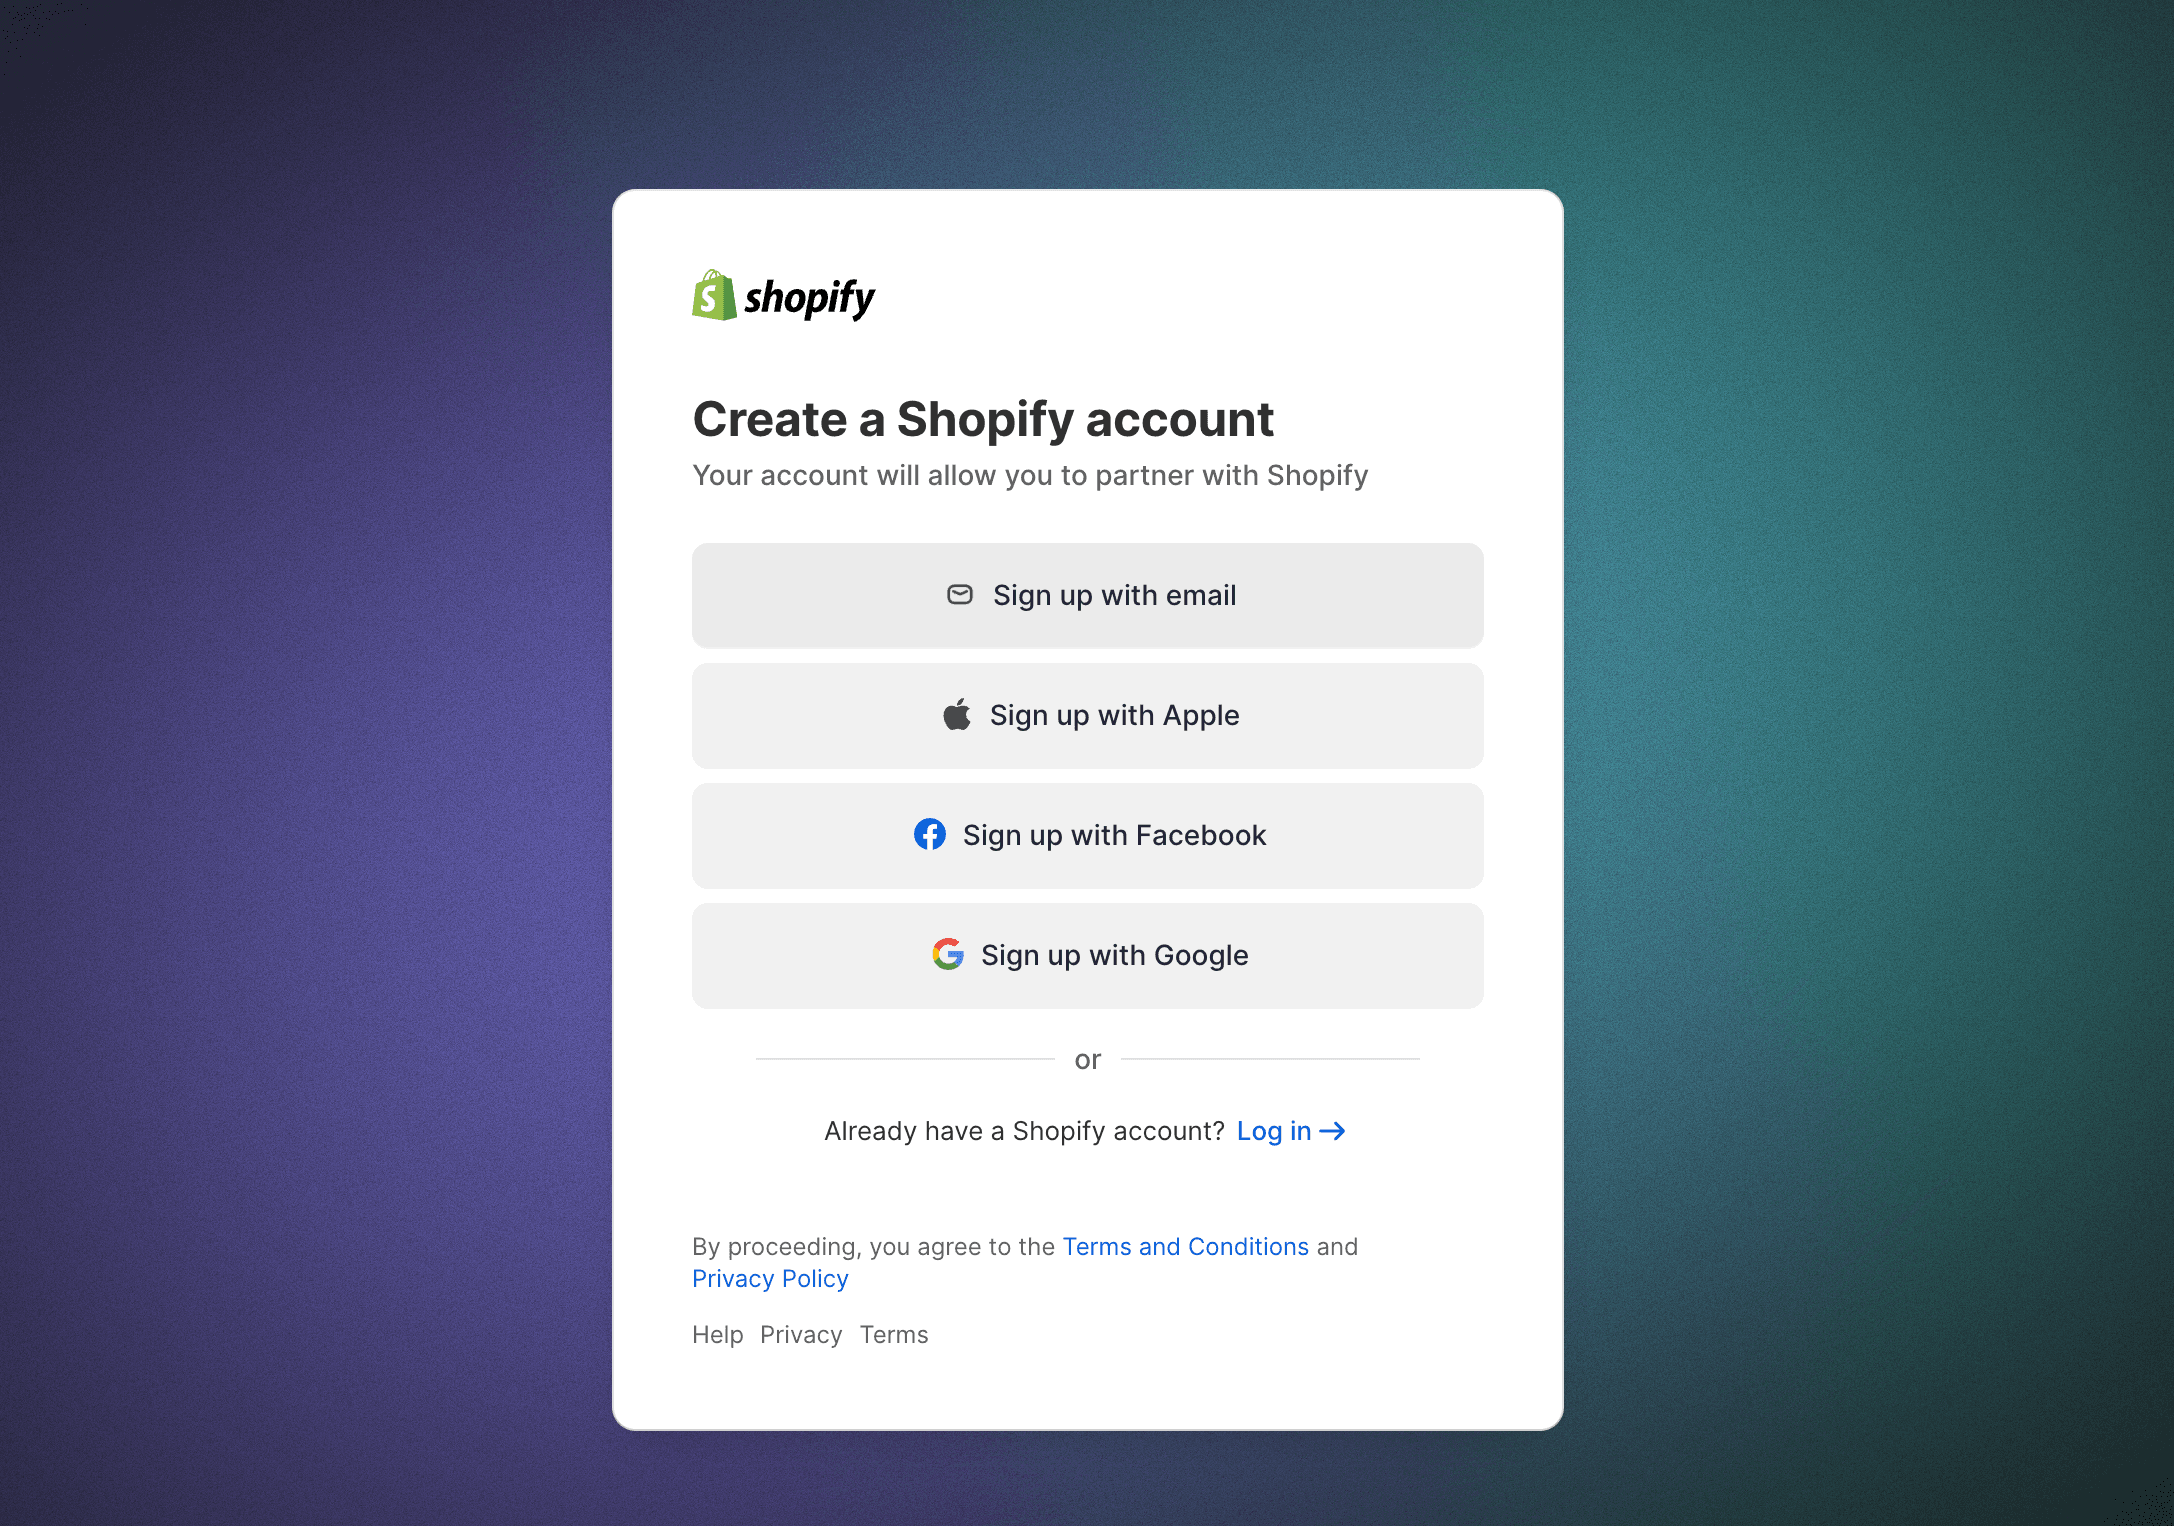
Step 1: Sign up and create a development store
- Sign up for a Shopify Partner Account at Shopify Partners.

- Create a new development store** to test your app:
- Go to your Partner Dashboard > Stores > Add store > Development store.
- Fill in the necessary details and create the store.
Step 2: Install Node.js and set up the development environment
-
Install Node.js on your computer by downloading it from the official Node.js website. This will install npm as well.
-
Create a directory for your app project:
mkdir shopify-node-app cd shopify-node-app -
Initialize the project with npm:
npm init -y -
Install Dependencies:
You'll need a few npm packages for your app to interact with Shopify:
➡️ express: A minimal web framework for Node.js. ➡️ shopify-api-node: Shopify’s API wrapper for Node.js. ➡️ dotenv: To manage environment variables.
-
Install them with npm:
npm install express shopify-api-node dotenv
Step 3: Create the Shopify App structure
-
Create an
.envfileto store your API credentials:SHOPIFY_API_KEY=your-api-key SHOPIFY_API_SECRET=your-api-secret SHOPIFY_SCOPES=read_products,write_orders SHOPIFY_APP_URL=http://localhost:3000 -
Create a basic server file (e.g.,
server.js) with the following code:const express = require('express'); const dotenv = require('dotenv'); const { Shopify } = require('shopify-api-node'); dotenv.config(); const app = express(); const PORT = 3000; const shopify = new Shopify({ shopName: 'your-shop-name.myshopify.com', apiKey: process.env.SHOPIFY_API_KEY, password: process.env.SHOPIFY_API_SECRET, }); // Basic route app.get('/', (req, res) => { res.send('Hello Shopify!'); }); app.listen(PORT, () => { console.log(`Server is running on port ${PORT}`); }); -
shopify-api-nodeis initialized with your store's credentials. -
You can access Shopify data like products, orders, etc., using the
shopifyobject
Step 4: Set up OAuth Authentication
Shopify apps use OAuth 2.0 for authentication. When a user installs your app, Shopify needs to authorize it to access their store’s data.
-
Add OAuth routes in
server.js:const session = require('express-session'); const crypto = require('crypto'); const queryString = require('querystring'); app.use(session({ secret: 'your-secret', resave: false, saveUninitialized: true })); // Redirect to Shopify's OAuth page app.get('/auth', (req, res) => { const { SHOPIFY_API_KEY, SHOPIFY_SCOPES, SHOPIFY_APP_URL } = process.env; const shop = req.query.shop; const state = crypto.randomBytes(16).toString('hex'); const redirectUri = `${SHOPIFY_APP_URL}/auth/callback`; const url = `https://${shop}/admin/oauth/authorize?${queryString.stringify({ client_id: SHOPIFY_API_KEY, scope: SHOPIFY_SCOPES, redirect_uri: redirectUri, state: state })}`; res.redirect(url); }); // Handle OAuth callback app.get('/auth/callback', (req, res) => { const { shop, code, state } = req.query; const { SHOPIFY_API_KEY, SHOPIFY_API_SECRET, SHOPIFY_APP_URL } = process.env; // Verify state, then exchange the code for a token const accessTokenUrl = `https://${shop}/admin/oauth/access_token`; const accessTokenData = { client_id: SHOPIFY_API_KEY, client_secret: SHOPIFY_API_SECRET, code: code }; request.post({ url: accessTokenUrl, form: accessTokenData }, (error, response, body) => { const accessToken = JSON.parse(body).access_token; req.session.accessToken = accessToken; // Redirect to the app's home page res.redirect('/dashboard'); }); }); -
Handling the OAuth flow:
When users visit /auth, they will be redirected to Shopify's authentication page.
After the user approves the app, Shopify will call the /auth/callback route, where you’ll exchange the authorization code for an access token. This token allows your app to make API calls on behalf of the store.
Step 5: Build the Core Functionality of your app
-
Create routes for interacting with the Shopify API. For example, retrieving products or creating new products:
// Retrieve products app.get('/products', async (req, res) => { try { const products = await shopify.product.list(); res.json(products); } catch (err) { res.status(500).send(err.message); } }); -
Add more routes for other Shopify functionalities like orders, customers, collections, etc., depending on your app’s requirements.
Step 6: Test the Shopify App Locally Using ngrok
-
Install ngrok to expose your local development environment to the internet:
npm install -g ngrok -
Start ngrok to tunnel your local app:
ngrok http 3000 -
Use the generated ngrok URL to test your app on a real Shopify store.
Step 7: Deploy your Shopify App Node
Once your app is tested and working locally, you’ll need to deploy it to a production environment:
-
Choose a hosting provider: Popular options include Heroku, AWS, DigitalOcean, or Google Cloud.
-
Deploy your app following the provider's instructions.
-
Update the app's URL in your Shopify Partner Dashboard to the production URL.
VI. Shopify App Node pricing and costs
Shopify App Node typically offers multiple pricing tiers, depending on the features you need. Pricing plans may include:
-
Free Plan: A limited version of the app with basic integrations and automations.
-
Paid Plans: These plans offer more advanced features, including additional API integrations, more workflows, and more customization options.
For the most up-to-date pricing information, it’s recommended to check the Shopify App Store or the official Node app website.
Conclusion
Shopify App Node is a powerful framework for creating custom Shopify apps that enhance the functionality of Shopify stores. With the performance, scalability, and real-time capabilities of Node.js, developers can build robust apps that integrate seamlessly with Shopify's API and provide valuable features for store owners. Whether you are building an app for inventory management, customer engagement, or order processing, Shopify App Node offers the flexibility and tools you need to succeed.
By following best practices and leveraging Node.js’s capabilities, you can create apps that not only meet the needs of Shopify store owners but also provide a competitive edge in the ever-evolving eCommerce landscape.
