In the competitive world of e-commerce, a strong email marketing strategy is paramount. It’s the direct line to your customers, a powerful tool for building loyalty, driving sales, and fostering community. When you combine the robust e-commerce capabilities of Shopify with the versatile email marketing features of Mailchimp, you create a synergy that can elevate your online store to new heights.
This comprehensive guide will walk you through everything you need to know about integrating Mailchimp with Shopify. From the initial setup to advanced segmentation techniques and automation workflows, we’ll empower you to leverage this powerful combination for unparalleled email marketing success. Whether you're a budding entrepreneur or an established e-commerce brand, mastering this integration is a crucial step towards a more personalized, effective, and profitable marketing approach.
I. Why Integrate Mailchimp with Shopify? The Unbeatable Advantages

Before we dive into the "how," let's explore the compelling "why." Understanding the benefits will not only motivate you but also help you strategize your integration for maximum impact.
- Centralized Customer Data: With integration, your customer data flows seamlessly between Shopify and Mailchimp. This means that purchase history, browsing behavior, and demographic information from Shopify are automatically available in Mailchimp, allowing for incredibly precise targeting.
- Enhanced Personalization: Imagine sending an email to a customer reminding them about an item they left in their cart, or offering a discount on products similar to their past purchases. This level of personalization is not just a nicety; it’s a necessity. Integrated data makes it possible to tailor every email to individual customer preferences and actions.
- Automated Workflows: The power of automation cannot be overstated. From welcome series for new subscribers to abandoned cart reminders and post-purchase follow-ups, Mailchimp's automation features, fueled by Shopify data, save you time and ensure timely, relevant communication.
- Improved Segmentation: Go beyond basic segmentation. With integrated data, you can segment your audience based on purchase history, average order value, products viewed, customer lifetime value, and much more. This allows you to create highly targeted campaigns that resonate with specific customer groups.
- Consistent Branding: By managing your customer communication and sales data in a connected ecosystem, you can ensure a consistent brand experience across all touchpoints, from your Shopify store to your Mailchimp emails.
- Streamlined Operations: No more manual data exports and imports. The integration automates the transfer of crucial customer information, freeing up your time to focus on strategic initiatives rather than administrative tasks.
- Data-Driven Decisions: With all your data in one place, you gain a holistic view of your customer journey. This allows you to analyze campaign performance, identify trends, and make informed decisions to optimize your marketing efforts and drive better results.
In essence, integrating Mailchimp with Shopify transforms your email marketing from a generic broadcast tool into a dynamic, personalized, and highly effective sales and relationship-building engine.
II. Preparing for Integration – What You Need Before You Start
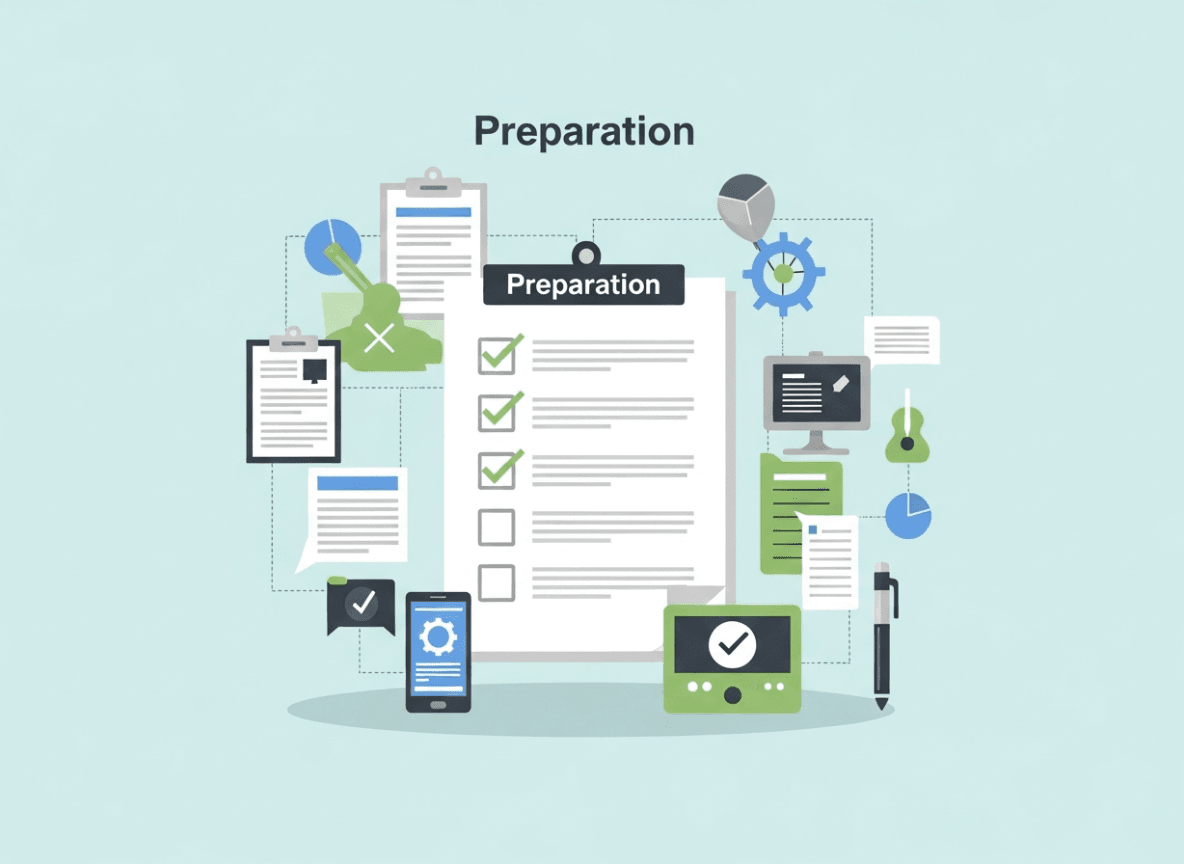
A successful integration begins with proper preparation. Taking these preliminary steps will ensure a smooth process and prevent common pitfalls.
1. Shopify Account Setup:
- Active Store: Ensure your Shopify store is fully set up, with products listed, payment gateways configured, and shipping options defined. Mailchimp will pull product and customer data from your active store.
- Admin Access: You will need full administrator access to your Shopify store to install apps and manage permissions.
2. Mailchimp Account Setup:
- Active Account: If you don't already have one, sign up for a Mailchimp account. They offer various plans, including a free tier that's excellent for getting started.
- Audience (List) Selection: Mailchimp calls its subscriber lists "audiences." You should have an audience ready where you want your Shopify customer data to sync. If you're starting fresh, you might want to create a new audience specifically for your Shopify customers.
- Basic Information: Ensure your Mailchimp account profile, including your business name and address, is complete. This is legally required for email marketing.
3. Understanding Data Syncing:
- What Syncs: Typically, customer names, email addresses, order history, product views, and cart information will sync from Shopify to Mailchimp.
- One-Way vs. Two-Way: Most integrations are primarily one-way, from Shopify to Mailchimp, for customer and order data. However, some advanced features or third-party apps might offer more complex data flows. It's crucial to understand the direction of data flow for your chosen integration method.
- Initial Sync vs. Ongoing Sync: The first sync will transfer existing data. Subsequent syncs will keep the data updated in real-time or near real-time, depending on the integration method.
4. Reviewing Existing Integrations (If Any):
- If you've previously tried to integrate Mailchimp or another email marketing service with Shopify, ensure any old connections are properly disconnected to avoid conflicts or duplicate data.
5. Setting Clear Goals:
- What do you hope to achieve with this integration? Do you want to reduce abandoned carts, increase repeat purchases, or build a stronger community? Having clear objectives will help you configure your automation and campaigns effectively.
By addressing these preparatory steps, you lay a solid foundation for a successful and impactful integration of Mailchimp and Shopify.
III. Step-by-Step Integration Methods
There are several ways to connect Mailchimp with Shopify, each with its own nuances. We'll cover the two primary methods: using the official Mailchimp for Shopify app and integrating via Shopify's native apps section.
Method 1: Using the Official Mailchimp for Shopify App (Recommended)
This is the most straightforward and recommended method, as it's designed specifically for seamless integration and offers the most comprehensive features.
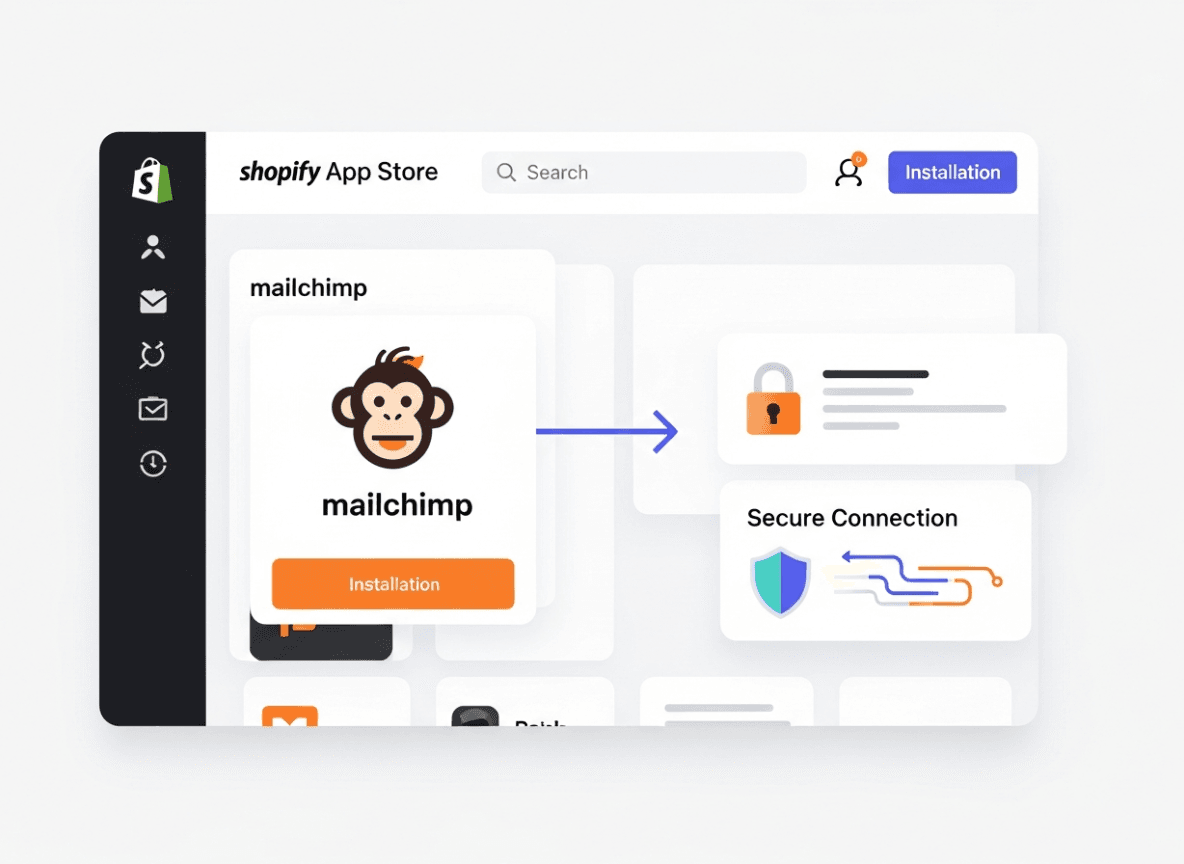
Step 1: Access the Shopify App Store
- Log in to your Shopify admin panel.
- On the left sidebar, click on "Apps."
- Click "Customize your store" or "Visit the Shopify App Store."
Step 2: Search for Mailchimp
- In the Shopify App Store search bar, type "Mailchimp."
- Locate the official "Mailchimp for Shopify" app. Ensure it's the official app from Mailchimp.
Step 3: Install the App
- Click on the Mailchimp for Shopify app.
- Click the "Add app" button.
- Shopify will then ask you to confirm the permissions the app requires. Review them and click "Install app."
Step 4: Connect Your Mailchimp Account
- After installation, you'll be redirected to a page within your Shopify admin or to Mailchimp directly, prompting you to connect your Mailchimp account.
- Click "Connect Account" or "Log in to Mailchimp."
- Enter your Mailchimp username and password.
- Authorize the connection. You may be asked to select which Mailchimp audience you want to connect to your Shopify store. Choose the appropriate audience (or create a new one if necessary).
Step 5: Configure Sync Settings
- Once connected, you'll usually be presented with configuration options. This is where you define how data syncs.
- Audience Selection: Confirm the Mailchimp audience your Shopify customer data will sync to.
- Customer Sync: Decide whether all existing Shopify customers should be synced, or only new ones moving forward. It’s usually best to sync existing customers to get a complete picture.
- Order Data: Ensure order data, including product information and purchase history, is enabled for syncing.
- Abandoned Carts: Crucially, enable abandoned cart tracking. This allows Mailchimp to see when customers leave items in their cart without purchasing.
- Marketing Permissions: Mailchimp will typically respect your Shopify store's customer marketing preferences. If a customer opts out of marketing emails on Shopify, they won't be synced for marketing purposes to Mailchimp.
Step 6: Initiate the First Sync
- After configuration, the app will usually begin its initial data sync. This might take some time depending on the size of your Shopify customer base and product catalog.
- You'll typically see a confirmation once the sync is complete or an indication of its progress.
Method 2: Integrating via Mailchimp's Built-in Integrations (Older Method, May Vary)

While the official app is preferred, sometimes you might look for integrations directly from Mailchimp's platform. This method often points you back to the app store but is worth knowing.
Step 1: Log in to Mailchimp
- Go to your Mailchimp dashboard.
Step 2: Navigate to Integrations
- Click on your profile icon (usually in the bottom left or top right corner), then select "Integrations" or "Connected Sites."
Step 3: Find Shopify
- Search for "Shopify" in the list of available integrations.
Step 4: Connect
- Click on Shopify and follow the prompts. This will typically redirect you to your Shopify store to install the Mailchimp for Shopify app, essentially leading you back to Method 1.
Important Considerations for Both Methods:
- Permissions: Always review the permissions an app requests. Ensure you're comfortable with the data it will access.
- Troubleshooting: If you encounter issues, check Mailchimp's knowledge base or Shopify's app support for the Mailchimp app. Common issues include incorrect Mailchimp account credentials or conflicts with other apps.
- Testing: After integration, perform a test. Make a dummy purchase on your Shopify store with a new email address, and check if that contact appears in your Mailchimp audience with the associated purchase data. Also, test the abandoned cart functionality by adding items and leaving them.
Successfully completing these steps means your Shopify store is now communicating with your Mailchimp account, laying the groundwork for sophisticated email marketing campaigns.
IV. Leveraging Integrated Data – Beyond the Basic Sync
The true power of integrating Mailchimp with Shopify lies in how you utilize the synced data. This chapter explores key strategies for turning raw data into compelling and effective email campaigns.
1. Audience Segmentation: The Foundation of Targeted Marketing
Generic emails yield generic results. With Shopify data flowing into Mailchimp, you can create highly specific segments.
- Purchase History:
- First-time buyers: Welcome them, educate them, and encourage a second purchase.
- Repeat customers: Reward their loyalty, offer exclusive previews, or upsell/cross-sell related products.
- High-value customers (VIPs): Give them special treatment, early access to sales, or personalized recommendations.
- Customers who haven't purchased in X days/months: Win-back campaigns with special offers or reminders of popular products.
- Product-Based Segmentation:
- Customers who purchased Product X: Recommend complementary products or offer support/tips related to Product X.
- Customers who viewed Product Y but didn't purchase: Send reminders, reviews, or a small discount for Product Y.
- Customers who purchased from a specific collection: Target them with new arrivals in that collection.
- Demographic/Geographic Segmentation:
- If you collect this data in Shopify (e.g., through signup forms), use it for localized promotions or gender-specific product recommendations.
- Engagement Segmentation:
- Segment based on how frequently customers open your emails or click links. Re-engage inactive subscribers, or reward highly engaged ones.
- Customer Lifetime Value (CLV):
- Identify your most valuable customers and tailor exclusive content or offers to them.
How to create segments in Mailchimp:
- Navigate to "Audience" > "Segments."
- Click "Create Segment."
- Use the "Contacts match ANY/ALL of the following conditions" to set your criteria, drawing from the Shopify e-commerce data that is now available in Mailchimp.
2. Automated Workflows (Customer Journeys): Set It and Forget It (Almost)
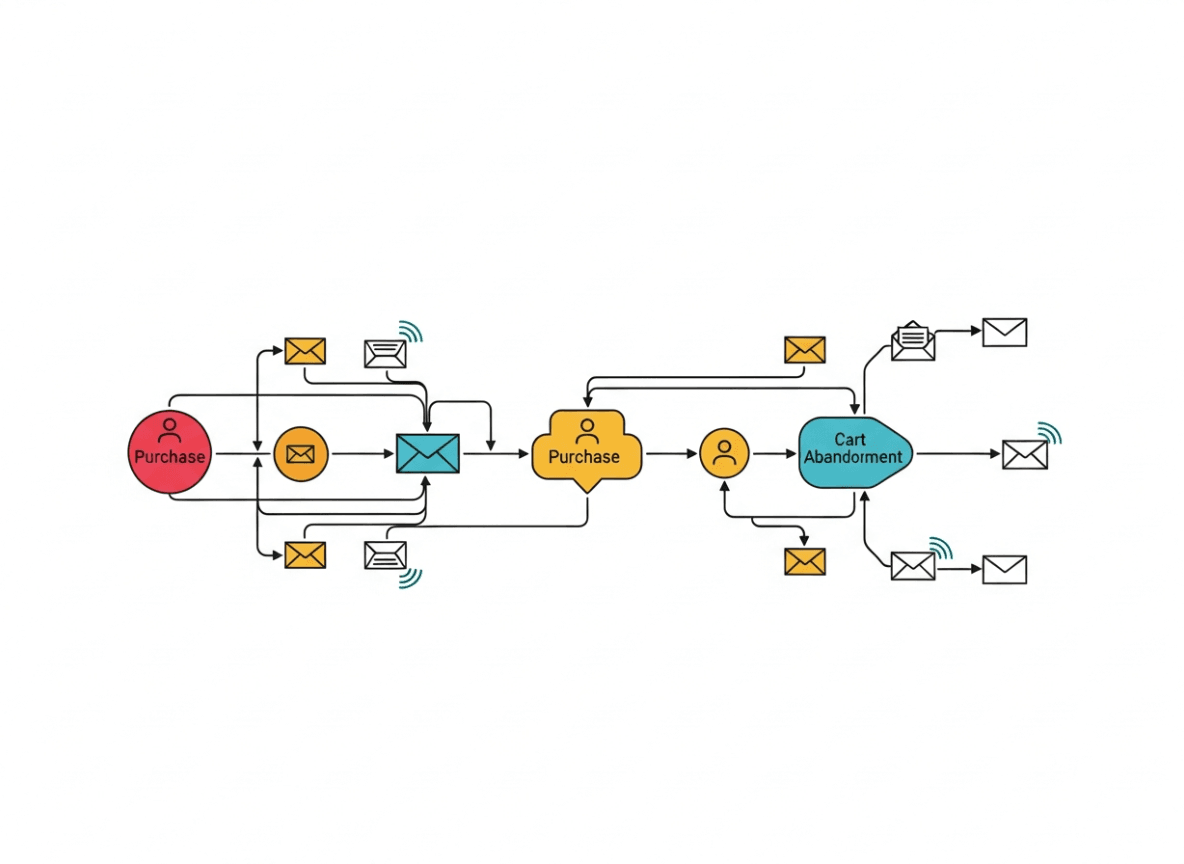
Mailchimp's Customer Journeys (formerly Automations) are where integrated data truly shines. These automated email sequences trigger based on specific customer actions or data changes from Shopify.
- Abandoned Cart Recovery: This is a non-negotiable automation. When a customer leaves items in their Shopify cart, Mailchimp automatically sends a series of emails reminding them, perhaps offering a small incentive to complete the purchase.
- Email 1 (1 hour after abandonment): "Still thinking about it?"
- Email 2 (24 hours after abandonment): "Don't miss out! Here's a 10% discount."
- Welcome Series for New Customers: When a customer makes their first purchase on Shopify, trigger a series of emails.
- Email 1: Thank you, order confirmation (if not handled by Shopify directly), and brand introduction.
- Email 2: Tips for using their new product, links to social media.
- Email 3: Introduce other popular products or collections.
- Post-Purchase Follow-ups:
- Email 1 (X days after purchase): "How are you liking your new [Product Name]?" Request a review.
- Email 2 (Y weeks after purchase): Suggest complementary products or remind them to reorder if it's a consumable.
- Win-Back Campaigns: For customers who haven't purchased in a long time.
- Email 1: "We miss you! Here's what's new."
- Email 2: "A special offer just for you."
- Birthday/Anniversary Emails: If you collect this data in Shopify, send a personalized greeting with a special offer.
Setting up Customer Journeys in Mailchimp:
- Go to "Automations" > "Customer Journeys."
- Click "Create Journey" and choose a starting point (e.g., "Makes a purchase," "Adds to cart").
- Design your journey with steps, delays, and conditional splits based on customer data.
3. Product Recommendations & Dynamic Content
Leverage Mailchimp's ability to pull product data directly from your Shopify store.
- Dynamic Product Blocks: Include product recommendations in your emails based on a customer's browsing history, past purchases, or popular items. Mailchimp's e-commerce content blocks can display these dynamically.
- Personalized Content: Use merge tags to insert customer names, recent purchase details, or other personalized information into your emails, making each message feel unique.
4. Syncing Subscriber Activity from Mailchimp to Shopify (Less Common, but Useful)
While the primary sync is from Shopify to Mailchimp, some advanced setups or third-party apps can push Mailchimp activity back to Shopify. This allows you to:
- See if a customer is subscribed to your newsletter directly in their Shopify customer profile.
- Tag customers in Shopify based on their Mailchimp engagement (e.g., "Email Engaged," "Opened Last 5 Emails").
5. A/B Testing Your Campaigns
With integrated data, you have more variables to test. A/B test:
- Subject lines: To improve open rates.
- Call-to-action buttons: To increase click-through rates.
- Email content and layout: To see what resonates best with different segments.
- Send times: To optimize for specific customer groups.
By systematically applying these strategies, you're not just sending emails; you're engaging in highly targeted, data-driven conversations that nurture customer relationships and significantly boost your e-commerce sales. The integration is the pipeline; these strategies are the fuel.
V. Optimizing Your Mailchimp Shopify Integration for Maximum Impact
Integrating Mailchimp with Shopify is just the beginning. To truly maximize its potential, you need to continuously optimize your setup and campaigns.
1. Refining Your Audience Segmentation
- Micro-segmentation: As your data grows, look for opportunities to create even smaller, more specific segments. For example, instead of just "repeat customers," try "repeat customers who purchased outdoor gear and haven't bought in 60 days."
- Exclusion Segments: Don't forget to exclude certain segments from campaigns. For instance, if you're sending a "first-time buyer discount" email, exclude existing customers. If a customer has already made a purchase through an abandoned cart email, exclude them from the rest of the abandoned cart series.
- Segment Health: Regularly review your segments. Are they still relevant? Are they growing or shrinking? Adjust them based on new product launches, seasonal trends, or changes in customer behavior.
2. Enhancing Your Automated Workflows (Customer Journeys)
- Multi-Step Journeys: Don't settle for single-email automations. Build comprehensive multi-step journeys with conditional logic. For example, in an abandoned cart series, if a customer makes a purchase after the first reminder, they should exit the journey and not receive subsequent emails.
- Branching Paths: Use Mailchimp's branching capabilities based on customer actions (e.g., "opened email," "clicked link," "made purchase"). This allows for highly personalized follow-ups.
- Experiment with Timing: Test different delays between emails in your automation series. Is 1 hour after abandonment ideal, or is 3 hours better? What about 3 days for a review request?
- A/B Test Journey Steps: Test different subject lines or content within individual emails of an automation to see which performs better over time.
- Integrate SMS (If Applicable): For critical messages like abandoned carts, consider integrating SMS through a third-party app with Mailchimp if your audience is receptive and regulations allow.
3. Leveraging Mailchimp's E-commerce Features
- Product Content Blocks: Mailchimp offers dynamic product content blocks that pull product images, descriptions, and links directly from your Shopify store. Use these to showcase new arrivals, bestsellers, or personalized recommendations based on customer data.
- Promo Codes: Generate unique promo codes in Shopify and integrate them into your Mailchimp campaigns for specific segments or automations (e.g., a birthday discount, abandoned cart offer).
- Pop-up Forms: Use Mailchimp's pop-up forms on your Shopify store to capture new subscribers. These forms can be highly customized and directly feed into your Mailchimp audience.
- Landing Pages: Create Mailchimp landing pages for specific promotions or lead generation, ensuring the data captured integrates with your main audience.
4. Advanced Personalization with Merge Tags and Dynamic Content
- Beyond First Name: While "Hi [FNAME]" is good, explore other merge tags like last purchase date, product purchased, or even custom fields you've added in Shopify that sync to Mailchimp.
- Conditional Content Blocks: Use Mailchimp's conditional content blocks to show different content to different segments within the same email. For example, show women's products to female customers and men's products to male customers.
- RSS-to-Email (for Blogs): If you regularly publish blog content on Shopify, use Mailchimp's RSS-to-email feature to automatically send out summaries of new posts to your subscribers. This keeps your audience engaged and drives traffic back to your store.
5. Monitoring and Analytics
- Campaign Reports: Regularly review Mailchimp's campaign reports. Look at open rates, click-through rates, conversion rates (especially for e-commerce campaigns), and unsubscribe rates.
- E-commerce Performance: Pay close attention to the e-commerce section of your Mailchimp reports. This will show you exactly how much revenue each email campaign and automation is generating.
- Shopify Analytics: Correlate your Mailchimp performance with your Shopify analytics. Are your email campaigns driving traffic? Are those visitors converting?
- A/B Testing Insights: Learn from your A/B test results. What subject lines perform best? What calls to action are most effective? Apply these learnings to future campaigns.
- Audience Growth: Track the growth of your Mailchimp audience. Are your signup forms effective? Is your integration bringing in new contacts from Shopify?
6. Staying Updated
- Mailchimp Updates: Mailchimp frequently updates its features and interface. Stay informed about new capabilities that could enhance your integration.
- Shopify Updates: Similarly, Shopify evolves. Ensure your Mailchimp app is always up-to-date within your Shopify admin.
By continuously monitoring, testing, and refining your Mailchimp Shopify integration and your email marketing strategies, you can unlock a compounding effect that drives significant growth and fosters lasting customer relationships for your e-commerce business.
VI. Common Challenges and Troubleshooting for Mailchimp Shopify Integration
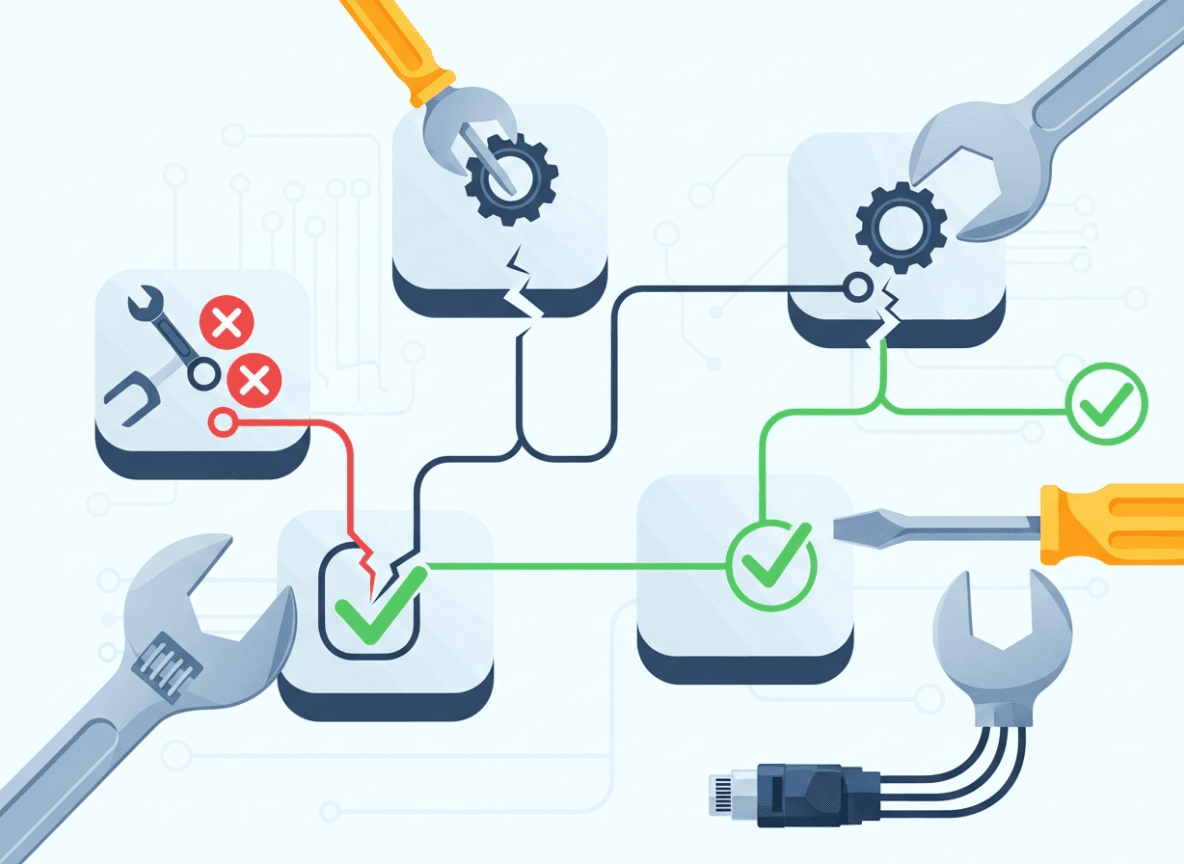
While the integration process is generally smooth, you might encounter some common challenges. Knowing how to troubleshoot them will save you time and frustration.
1. Data Sync Issues:
- Problem: New customers or orders from Shopify aren't appearing in Mailchimp, or the data seems outdated.
- Troubleshooting:
- Check Connection Status: Go to your Shopify admin > Apps > Mailchimp for Shopify. Ensure the app shows "Connected" and there are no error messages. Also, check within Mailchimp's Integrations section.
- Manual Sync Trigger: Some app versions allow you to manually trigger a sync. Look for an option like "Sync Now" within the Mailchimp app settings in Shopify.
- Review App Permissions: Verify that the Mailchimp app has the necessary permissions to read customer and order data from Shopify.
- Mailchimp Audience Settings: Ensure the correct Mailchimp audience is selected for the integration. Check that the audience isn't "archived" or has specific settings preventing new subscribers.
- Customer Opt-in Status: Remember that Mailchimp respects Shopify's customer marketing preferences. If a customer explicitly opted out of marketing emails on Shopify, they won't be synced to Mailchimp for marketing purposes.
- Data Volume: For very large stores with thousands of customers/orders, the initial sync can take a long time. Be patient.
- Contact Support: If persistent, contact Mailchimp or Shopify support.
2. Duplicate Subscribers:
- Problem: Customers appear multiple times in your Mailchimp audience.
- Troubleshooting:
- Multiple Signup Sources: This often happens if customers subscribe through different forms (e.g., Mailchimp pop-up, Shopify checkout, a separate landing page) and the integration isn't properly merging them. Mailchimp typically handles duplicates based on email address, updating existing profiles rather than creating new ones.
- Old Integrations: If you had a previous integration method or another app, ensure it's completely disconnected.
- Mailchimp's De-duplication: Mailchimp's system usually prevents true duplicates (same email twice). What you might be seeing are different audience tags or groups associated with the same contact. This is usually fine, as it enriches the contact profile. If you're seeing actual duplicate email addresses, this is rare and indicates a deeper issue.
3. Abandoned Cart Emails Not Sending:
- Problem: Customers are abandoning carts on Shopify, but they aren't receiving your Mailchimp abandoned cart emails.
- Troubleshooting:
- Enable in Mailchimp App: Crucially, ensure abandoned cart tracking is explicitly enabled within the Mailchimp for Shopify app settings in your Shopify admin.
- Mailchimp Customer Journey Status: Check your "Abandoned Cart" customer journey in Mailchimp. Is it turned "On" or "Running"?
- Contact Eligibility:
- Did the customer provide their email address during checkout or were they logged in? Mailchimp needs an email to send the reminder.
- Are they subscribed to your marketing emails? If they've opted out, Mailchimp won't send them marketing automations.
- Is there a minimum cart value set in Mailchimp that the abandoned cart didn't meet?
- Are you testing with the same email repeatedly? Mailchimp often has a cool-down period for abandoned cart emails to prevent spamming.
- Check Shopify Themes: Sometimes custom Shopify themes can interfere with the abandoned cart script. If issues persist, temporarily switch to a default Shopify theme to rule this out.
4. Product Information Not Displaying Correctly:
- Problem: Product images, prices, or descriptions aren't showing up correctly in your Mailchimp emails (e.g., in product blocks or abandoned cart emails).
- Troubleshooting:
- Product Availability: Ensure the products are still active and visible on your Shopify store.
- Image URLs: Check that product images have stable, publicly accessible URLs in Shopify.
- Integration Health: Reconfirm the connection between Mailchimp and Shopify. A broken link can prevent accurate data retrieval.
- Mailchimp Block Settings: Review the settings of the product content block in your Mailchimp email editor. Ensure it's configured to pull data correctly.
5. Mailchimp Functionality Unavailable:
- Problem: Certain Mailchimp e-commerce features (like revenue reporting or purchase history segmentation) are missing or greyed out.
- Troubleshooting:
- Integration Status: Confirm the integration is fully connected and healthy. These features rely on robust data syncing.
- Mailchimp Plan: Ensure your Mailchimp plan supports the e-commerce features you're trying to use. Some advanced features might be limited to higher-tier plans.
- Initial Sync Completion: Wait for the initial data sync to fully complete. Mailchimp needs a baseline of data to enable these features.
6. General Troubleshooting Steps:
- Clear Cache & Cookies: Sometimes browser cache issues can interfere with app interfaces.
- Try a Different Browser: Isolate if it's a browser-specific issue.
- Check Mailchimp Status Page: Visit Mailchimp's status page to see if there are any ongoing service outages.
- Re-authenticate: Disconnect and then reconnect your Mailchimp account from within the Shopify app. This can often resolve authentication token issues.
- Review App Reviews: Look at recent reviews for the Mailchimp for Shopify app in the App Store. Other users might be reporting similar issues and solutions.
By systematically going through these troubleshooting steps, you can quickly identify and resolve most common integration challenges, keeping your email marketing efforts running smoothly.
Conclusion: Mastering Your Mailchimp Shopify Integration for E-commerce Growth
The integration of Mailchimp with Shopify is more than just connecting two platforms; it's about building a dynamic, data-driven ecosystem for your e-commerce business. By seamlessly linking your store's robust sales capabilities with Mailchimp's powerful email marketing tools, you unlock a realm of possibilities for personalized customer engagement, streamlined operations, and ultimately, significant growth.
Throughout this guide, we've covered the essential steps, from preparing your accounts and executing the integration, to leveraging advanced segmentation and automation. We've emphasized the importance of turning raw data into actionable insights, allowing you to craft targeted campaigns that resonate deeply with your audience. We've also equipped you with the knowledge to troubleshoot common issues, ensuring your marketing efforts remain uninterrupted.
Remember, the e-commerce landscape is constantly evolving, and so should your marketing strategies. Continuous optimization, driven by the rich data flowing from your Shopify store into Mailchimp, will be your key to staying ahead. Experiment with new segments, refine your automated customer journeys, A/B test your content, and always keep an eye on your analytics.
By embracing the full potential of your Mailchimp Shopify integration, you're not just sending emails; you're cultivating relationships, driving repeat purchases, and building a loyal customer base that will propel your brand to new heights.
Ready to boost your email marketing and grow your online store?