Creating a Shopify store that stands out involves not just functionality but also a visually compelling design. If you're a designer working in Figma and want to transform your designs into a fully functional Shopify store, you're in the right place. This guide will show you how to seamlessly transition from Figma to Shopify, providing the steps, tools, and tips needed to make the process efficient and effective.
I. Things you need to know about Figma
1.1. What is Figma?
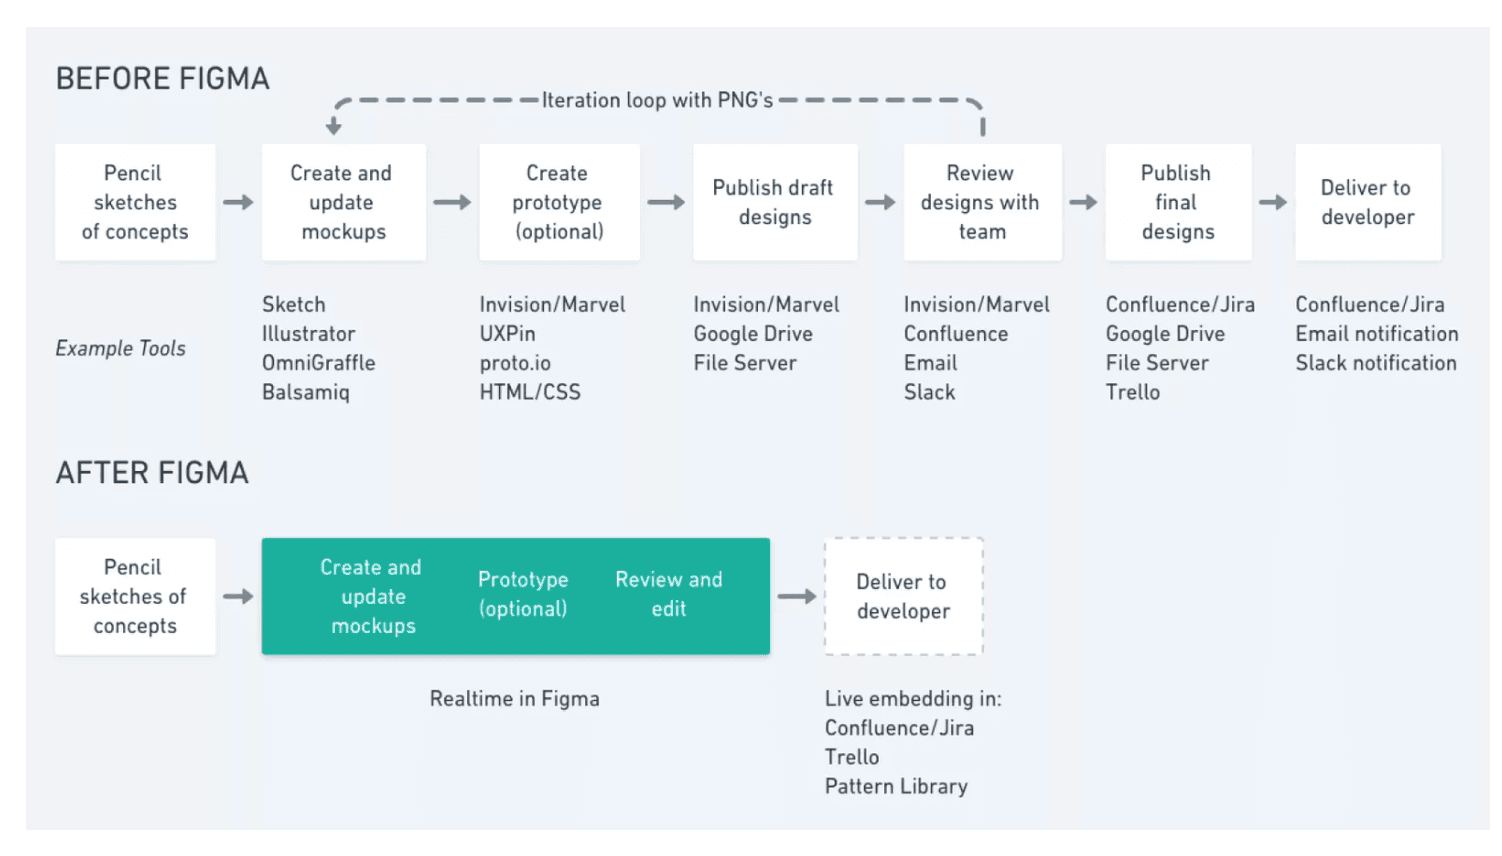
Figma is a cutting-edge, cloud-based design tool widely used by UI/UX designers for creating and collaborating on digital product designs. It’s a powerful platform that enables real-time collaboration, making it a favorite among teams working on complex design projects, including website and app interfaces. Unlike traditional design tools, Figma operates entirely in the browser, making it easy for designers to work from anywhere without needing to install software.
1.2. Key Features of Figma
-
Cloud-Based: No software installation is needed, and it works on multiple platforms, including Windows, MacOS, and Linux.
-
Real-Time Collaboration: Multiple users can simultaneously work on the same design file, providing instant feedback and streamlining communication.
-
Prototyping: Figma allows users to create interactive prototypes that simulate how a website or app will behave, helping to visualize user flows.
-
Vector Networks: Figma uses vector graphics, which means designs are scalable and resolution-independent, ideal for both web and mobile applications.
-
Design Systems: It supports the creation of shared libraries and reusable components, which ensure consistency across large design projects.
-
Developer Handoff: Figma includes features like code snippets, design specs, and asset export, making it easier for -developers to turn designs into working products.
Figma’s versatility and collaborative tools make it an essential tool for e-commerce store designs, especially for Shopify stores.
1.3. Who Can Use Figma?
Figma is designed to be accessible to a wide range of professionals, which is why it’s widely adopted across different industries. Here’s who can benefit from using Figma, particularly for Shopify store design:
-
UI/UX Designers UI/UX designers are the primary users of Figma, as it offers an array of tools for creating pixel-perfect designs and prototypes. Whether designing a homepage, product page, or shopping cart, Figma allows for the creation of visually compelling, user-friendly interfaces.
-
Developers Figma’s developer-friendly features, such as CSS code snippets, assets export, and design specs, make it a useful tool for developers. Once the design is ready, developers can use Figma to understand the structure, extract necessary code, and implement it into Shopify using the Liquid templating language.
-
Product Managers and Marketers These professionals can also use Figma to provide feedback on designs, collaborate with the design team, and ensure that the store aligns with business goals and brand guidelines. Marketers can use Figma to visualize the customer journey, helping to optimize the site for conversions.
-
Entrepreneurs and Business Owners For those who run their own Shopify store, Figma is a great tool to create a unique design without needing deep technical knowledge. Entrepreneurs can design their store’s look and feel, work with a design team, and even make basic edits themselves.
II. Why Figma is good for your Shopify e-commerce store?
Figma’s robust design and collaboration features make it particularly well-suited for creating e-commerce websites. Here are several reasons why Figma is a great choice for e-commerce store design, especially for platforms like Shopify:
III. Things You Should Have Before Converting Figma to Shopify Design
To ensure a smooth conversion process, it’s important to be well-prepared before beginning the transition from Figma to Shopify. Here’s a checklist of things you should have:
-
Complete and Finalized Figma Design: Your design should be comprehensive, covering all pages and components (headers, footers, product pages, etc.).
-
Exported Assets: Make sure all assets (images, logos, icons) are exported in the right formats.
-
Shopify Store Setup: Ensure your Shopify account is active and you have chosen an appropriate theme or plan.
-
Design System (if applicable): If you’re using design systems, ensure they are well-organized and ready for export.
-
Developer Resources: If you're not familiar with coding, you’ll need a Shopify developer who can take your Figma design and integrate it into the Shopify platform.
IV. Figma to Shopify Conversion: Step-by-Step
Figma to Shopify conversion refers to the process of taking a design created in Figma and translating it into a live, functional Shopify store. This is a critical step because Shopify, being a dynamic e-commerce platform, requires design elements to be implemented as code, which can then be manipulated to add functionality such as product pages, checkout systems, payment gateways, and more.
Let us show you how to integrate Figma to Shopify.
Step 1. Finalize Your Figma Design
Objective: Ensure that your Figma design is complete and ready for conversion.
-
Review the Layout: Double-check that all pages (Home, Product, Collection, Cart, Checkout) are designed. Ensure the structure and layout are clear and ready for development.
-
Responsive Design: Confirm that the design adapts well to different screen sizes (desktop, tablet, mobile). Figma has built-in options to preview the design on various devices, which should be thoroughly checked.
-
Design Specifications: Make sure to note important design specs like font sizes, colors, spacing, and button styles. Figma allows you to directly extract these details which will be helpful for developers during coding.
-
Assets Organization: Organize assets (logos, icons, images, fonts) in a clean, structured way in Figma. You’ll need these for export to Shopify.
Step 2. Export Design Assets from Figma
Objective: Extract images, icons, and other design elements from Figma to use in Shopify.
-
Export Images and Icons: Export all visual elements (like logos, icons, and background images) in suitable formats (SVG for icons, PNG/JPEG for images). Ensure images are optimized for web use to reduce load time.
-
Fonts: If custom fonts are used in the Figma design, ensure you have access to them and that they are web-friendly.
-
Design Specs: Figma allows developers to inspect and extract CSS styles, so make sure to extract information like colors, font families, and element spacing. This is essential for replicating the exact design on Shopify.
Step 3. Choose a Shopify Theme or Create a Custom One
Objective: Select or create a base theme that aligns with the Figma design.
-
Choose a Theme: If you’re working with an existing Shopify theme, select one that closely aligns with the Figma design in terms of layout and functionality. Choose themes that offer flexibility and customization options.
-
Custom Theme Creation: If your Figma design requires complete customization, you may need to create a custom Shopify theme. This will involve more complex coding, including Liquid, HTML, and CSS.
-
Understanding Shopify Structure: Familiarize yourself with Shopify’s architecture, which is based on Liquid (Shopify’s templating language), along with HTML, CSS, and JavaScript. Liquid allows you to display dynamic data like product details, pricing, and inventory.
Step 4. Convert Figma Design to HTML/CSS
Objective: Translate the visual design into code by using HTML and CSS.
-
HTML Structure: Begin by creating the basic structure of your Shopify store in HTML. Break the design down into sections like header, footer, product grid, and navigation menus.
-
CSS Styling: Use the design specifications from Figma (colors, fonts, spacing) to create styles that match the original design. Apply responsive design principles to ensure the site works well on mobile and desktop devices.
-
Grid Layout: Ensure the layout is responsive by using CSS grid or Flexbox for a flexible design that adapts to different screen sizes.
Step 5. Implement Liquid for Dynamic Content
Objective: Use Shopify’s Liquid code to bring dynamic elements to life.
-
Product Pages: Use Liquid to display dynamic product information such as title, price, description, images, and variants (size, color, etc.).
-
Collections: Implement collection pages by pulling product information dynamically using Liquid tags like
{% for product in collections %}. This ensures that as you add or update products in Shopify, they automatically appear in your collections. -
Navigation: Use Liquid to generate navigation menus dynamically. Shopify’s Liquid allows you to easily create menus that are automatically updated based on your store’s content.
-
Dynamic Cart: Implement Shopify’s cart features using Liquid to allow customers to add products, view their cart, and proceed to checkout.
Step 6. Add JavaScript for Interactivity
Objective: Enhance the user experience by adding interactivity with JavaScript.
-
Sliders and Galleries: Implement product image sliders or galleries using JavaScript. This adds interactivity, allowing customers to browse multiple product images without leaving the page.
-
Product Variant Switching: Add JavaScript to dynamically update product images and prices when customers select different variants (e.g., different colors, sizes).
-
Pop-ups and Modals: If your design includes features like modal windows or pop-ups (e.g., for a special offer or newsletter sign-up), use JavaScript to implement these elements.
-
Cart Updates: Use JavaScript to handle real-time cart updates (e.g., adding items, removing items) without refreshing the page.
Step 7. Test the Design on Shopify
Objective: Test the website to ensure functionality and design accuracy.
-
Cross-Browser Testing: Check the website on different browsers (Chrome, Firefox, Safari) to ensure consistent performance and appearance.
-
Mobile & Tablet Testing: Test the design on multiple devices to ensure responsiveness. Use Figma’s preview to see how the design should behave, and then check that it works as expected on Shopify.
-
Functional Testing: Test dynamic features like product pages, cart functionality, checkout process, and filtering options to ensure they work smoothly.
-
User Experience Testing: Test the overall user experience. Ensure easy navigation, a smooth checkout process, and fast page load times.
Step 8. Optimize the Store for Performance
Objective: Ensure that the store loads quickly and performs well across all devices.
-
Image Optimization: Compress images and use formats like WebP for better performance. Shopify has image optimization features built-in, but ensure all images are correctly sized and optimized.
-
Minify CSS and JavaScript: Minify CSS and JavaScript files to reduce file size and improve page loading speed.
-
Lazy Loading: Implement lazy loading for images to reduce initial load time, especially for pages with a lot of images (like product galleries).
-
SEO Optimization: Ensure that the website’s SEO elements, like meta descriptions, titles, and alt text for images, are correctly implemented for better search engine rankings.
Step 9. Launch and Monitor the Website
Objective: Launch your Shopify store and monitor its performance.
-
Launch: Once everything is tested and optimized, launch the store and make it live.
-
Monitor Analytics: Use tools like Google Analytics and Shopify’s built-in analytics to monitor site performance, track visitor behavior, and identify any potential issues.
-
Collect Feedback: After launch, gather user feedback and make any necessary adjustments. Monitor conversion rates, loading times, and user engagement to ensure that the store is performing at its best.
V. Recommended Tools for Figma to Shopify Conversion
Using the right tools during the conversion process can make the workflow smoother, more efficient, and accurate. Below is a list of recommended tools categorized by their purpose:
1. Design Inspection and Handoff Tools
These tools help in extracting CSS styles, design specs, and assets from Figma for developers.
#1. Figma Developer Mode
-
Figma’s built-in developer tools allow developers to inspect designs, copy CSS, and export assets.
-
Best for: Streamlining communication between designers and developers.
#2. Zeplin
-
A popular tool for design handoff that integrates with Figma. It provides an organized view of designs and offers features for exporting assets and generating code snippets.
-
Best for: Teams needing detailed specs and developer-friendly features.
2. Asset Optimization Tools
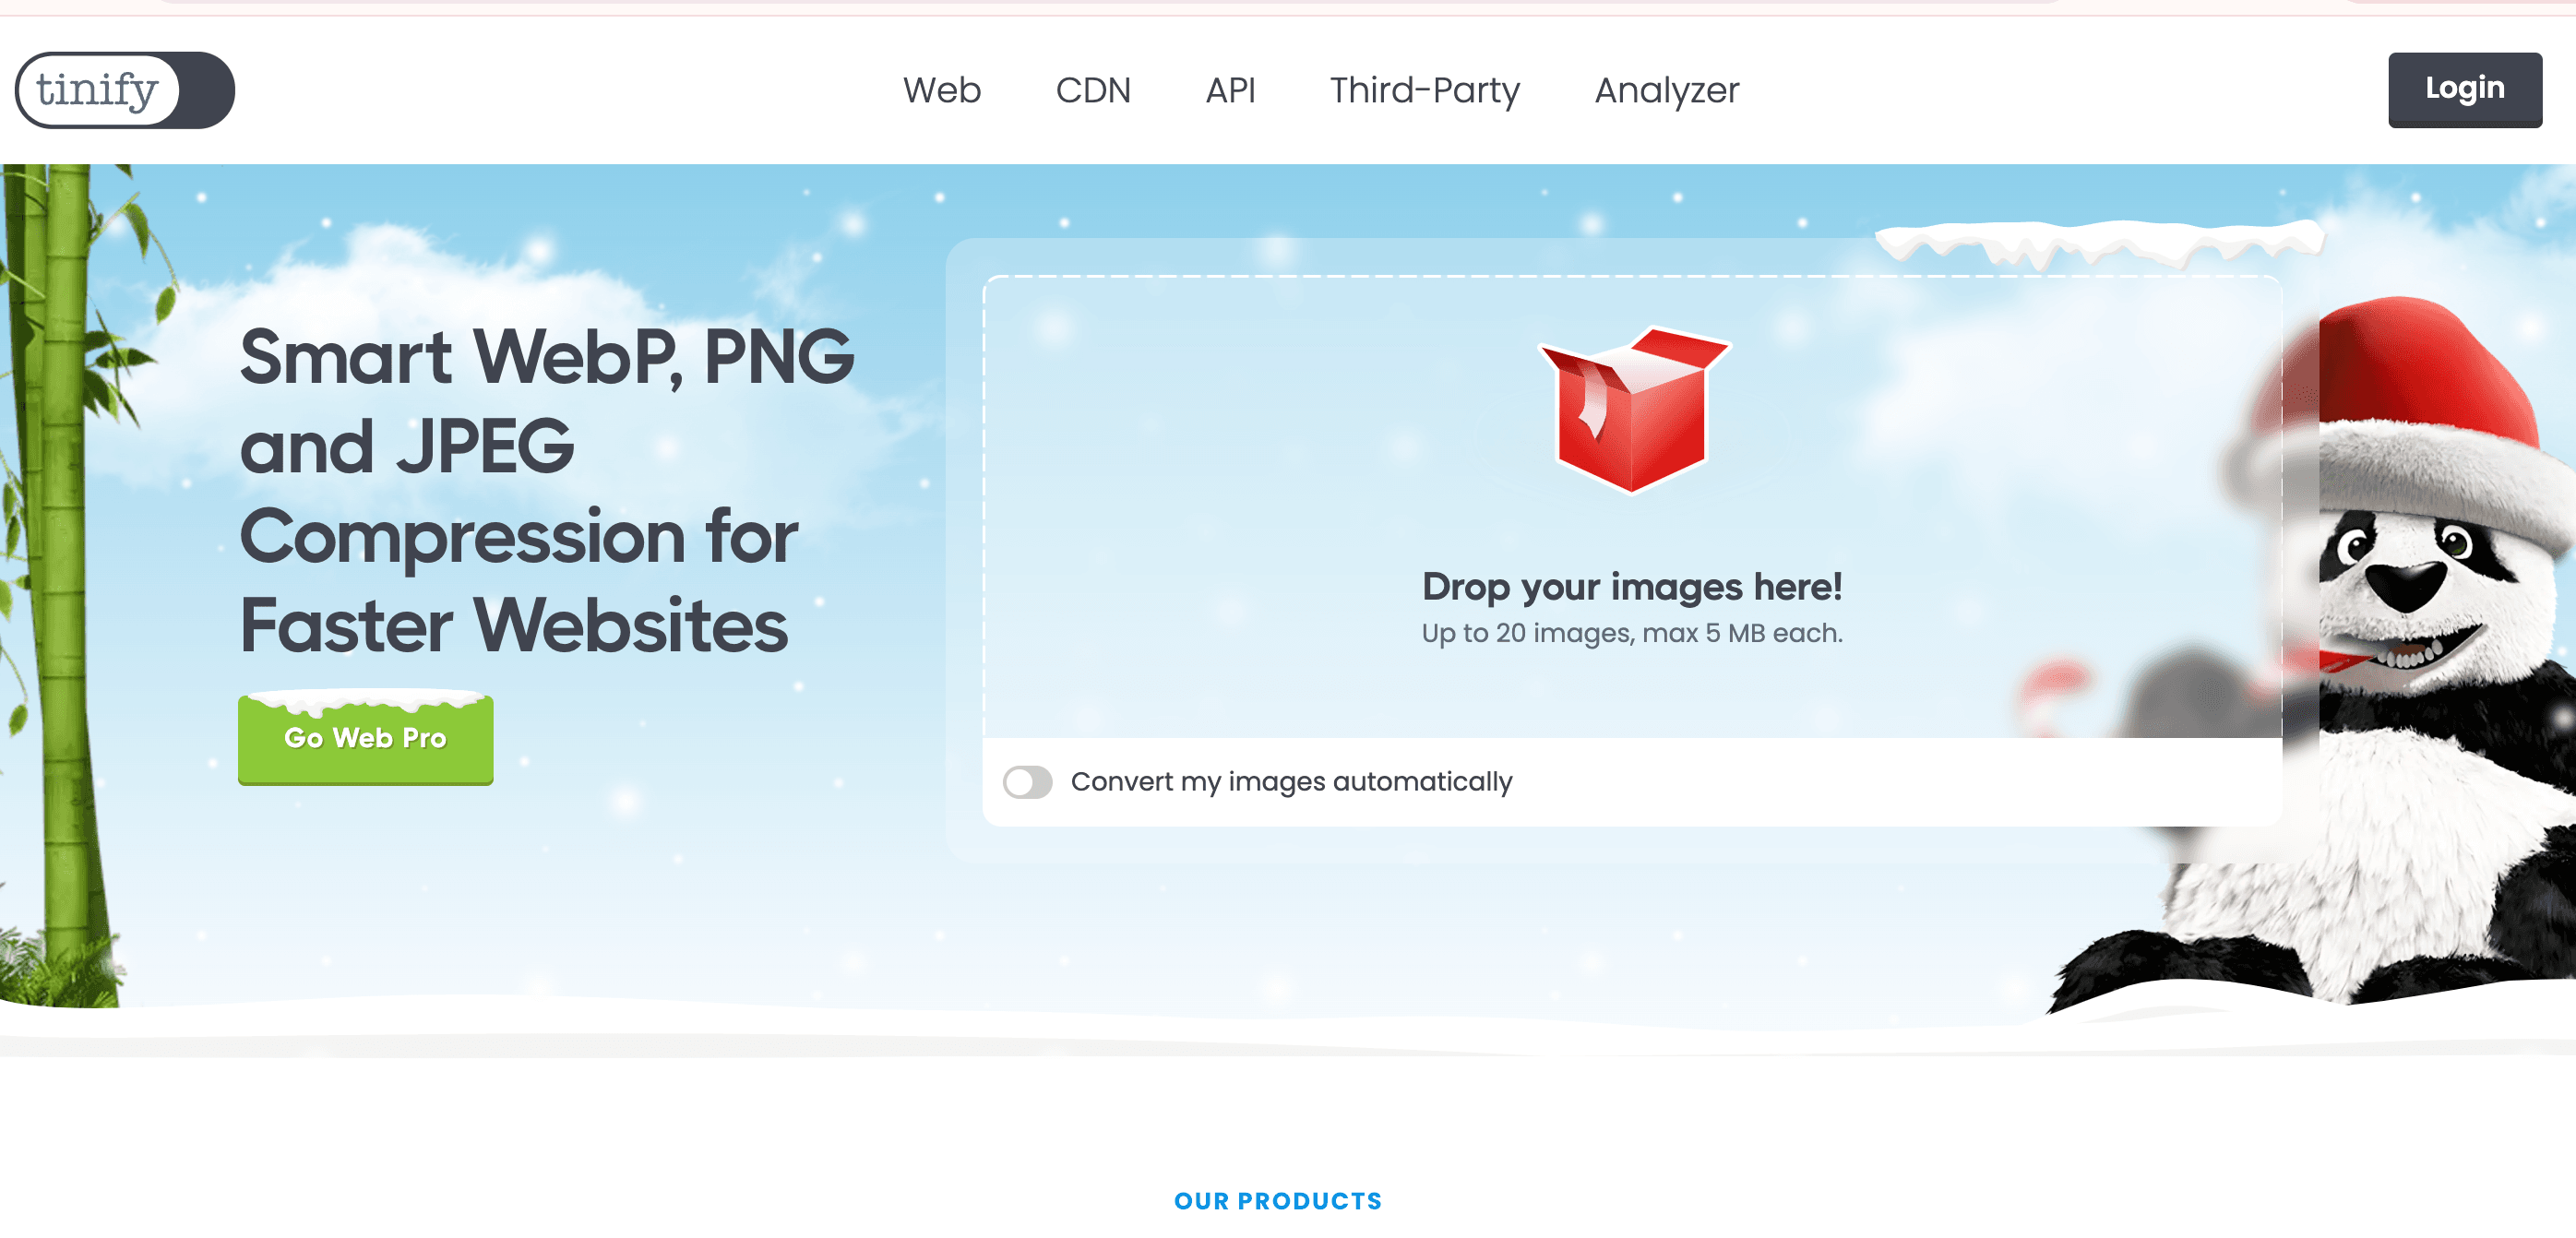
Efficient asset optimization ensures faster page load times on Shopify.
#1. TinyPNG
-
A web-based tool for compressing PNG and JPEG images without quality loss.
-
Best for: Optimizing exported assets from Figma before uploading to Shopify.
#2. ImageOptim
-
A desktop application that compresses images and removes unnecessary metadata.
-
Best for: Teams that need offline asset optimization.
3. Shopify Theme Development Tools
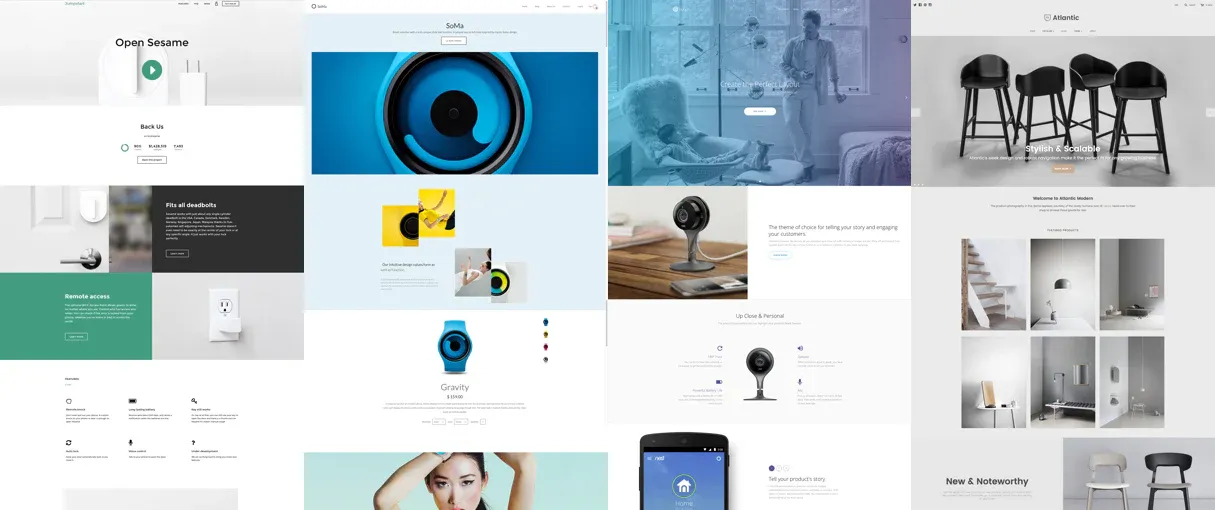
These tools help in creating, editing, and deploying Shopify themes from Figma designs.
#1. Shopify Theme Kit
-
A command-line tool for building and deploying Shopify themes. It allows local theme development and quick changes to Liquid, CSS, and JavaScript files.
-
Best for: Developers comfortable with coding and working on custom themes.
#2. Liquid Preview
-
A tool for testing and debugging Liquid code snippets before deploying to Shopify.
-
Best for: Ensuring dynamic content displays correctly.
#3. Shopify CLI
-
A comprehensive toolkit for Shopify theme development, enabling developers to create new themes, extensions, and apps.
-
Best for: Advanced developers working on custom Shopify projects.
4. Responsive Design Testing Tools
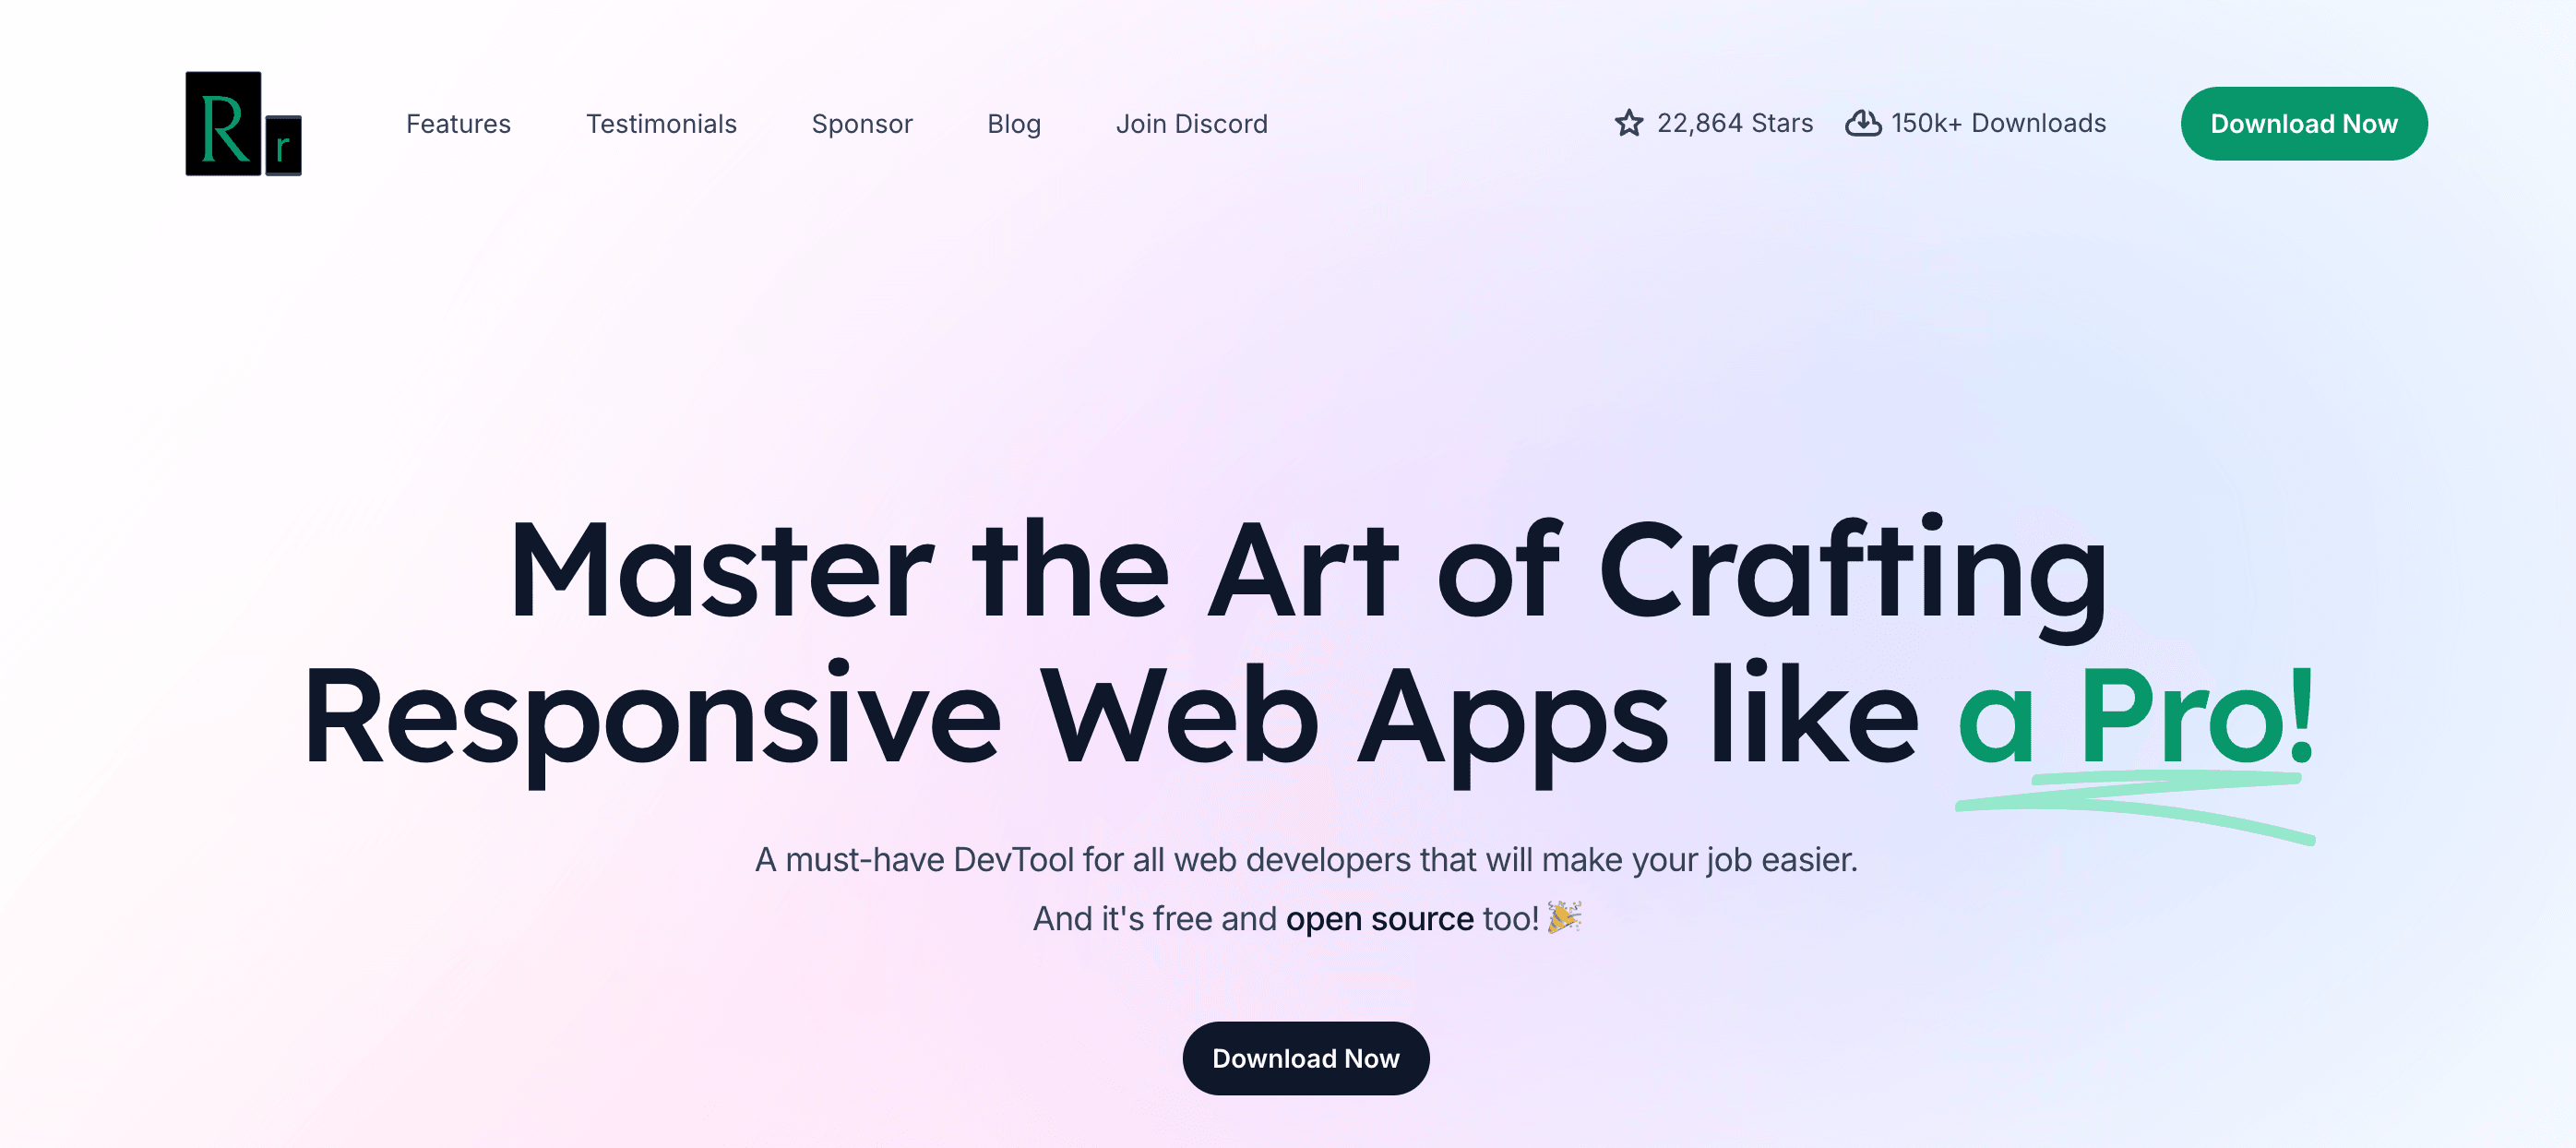
Ensuring that the Figma design is responsive is crucial for Shopify stores.
#1. Responsively App
-
A desktop application for testing how the design looks on multiple screen sizes simultaneously.
-
Best for: Teams focusing on mobile-first Shopify designs.
#2. BrowserStack
-
A cloud-based platform to test websites across different devices, browsers, and operating systems.
-
Best for: Cross-browser and device compatibility testing.
#3. Figma Mirror
-
A Figma feature that lets you preview designs on real mobile devices.
-
Best for: Validating responsiveness during the design phase.
5. Code Conversion Tools
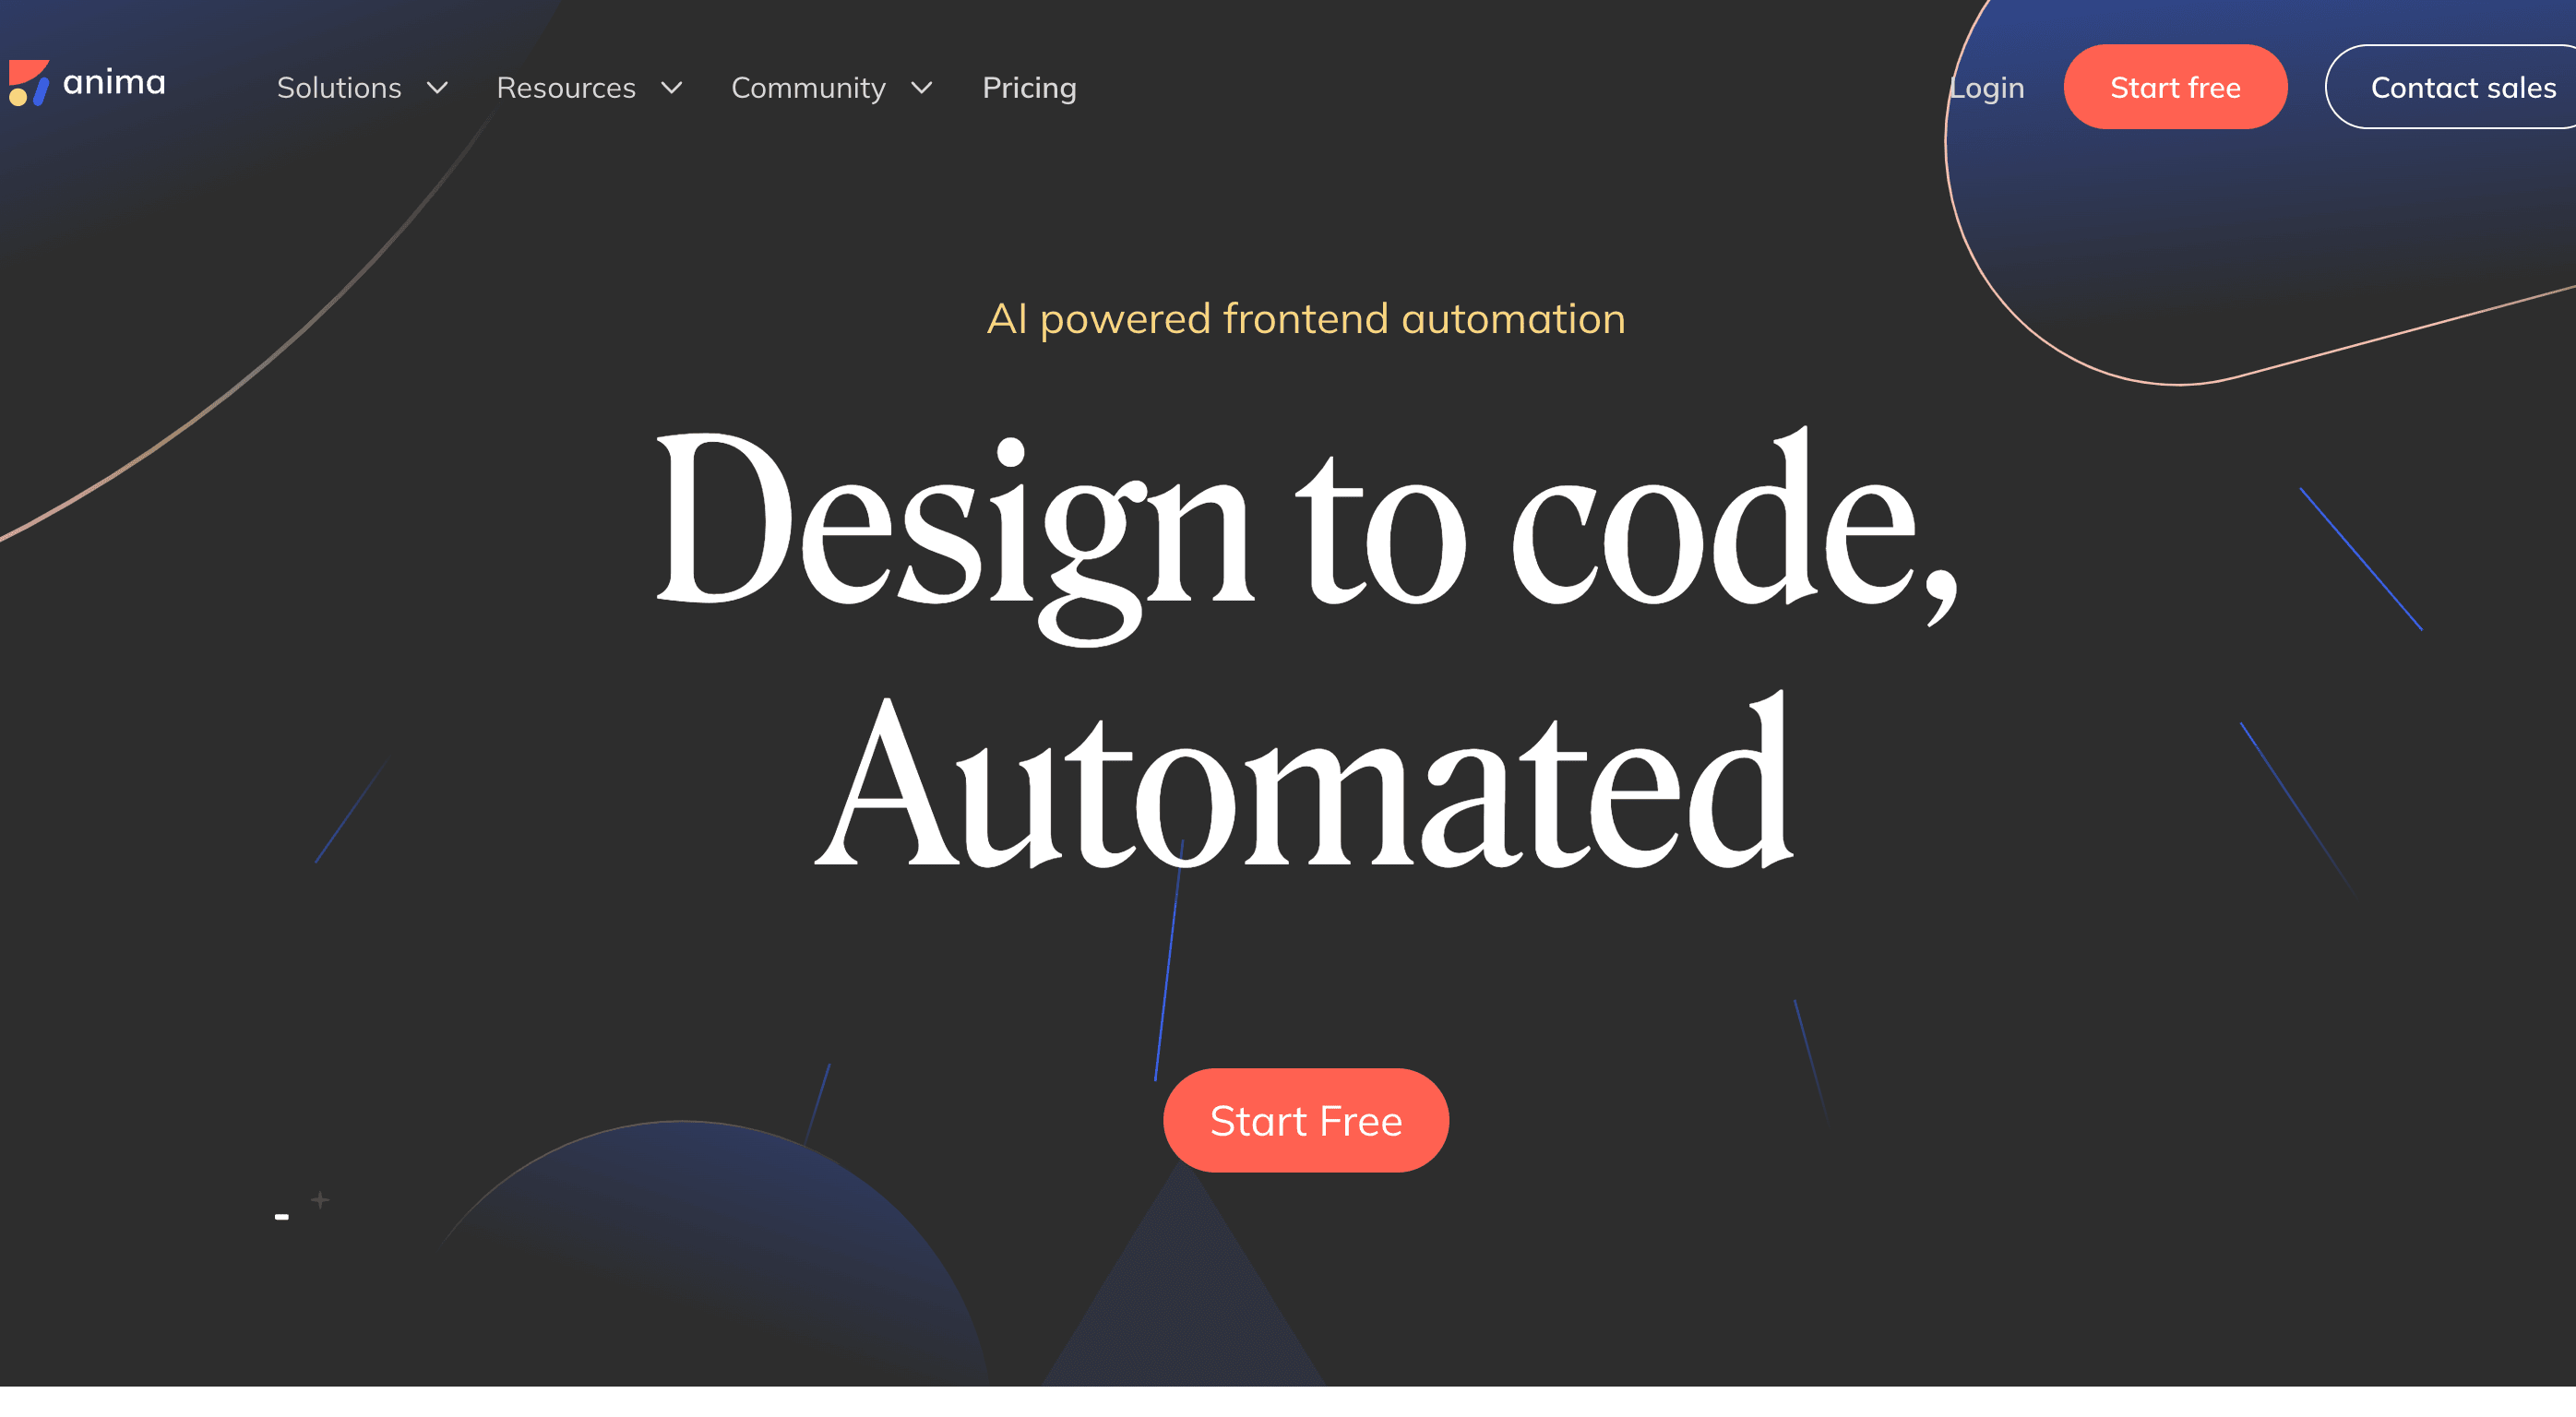
If manual coding is too time-consuming, these tools can assist in converting Figma designs into HTML, CSS, or Shopify-compatible code.
#1. Anima
-
Automates the conversion of Figma designs into HTML and CSS. It’s helpful for quickly prototyping responsive designs.
-
Best for: Speeding up the HTML/CSS conversion process.
#2. TeleportHQ
-
Converts Figma designs into React, Vue, or HTML code, which can then be adapted for Shopify themes.
-
Best for: Developers who want a jumpstart on custom Shopify themes.
Wrapped things up
Transitioning from Figma to Shopify doesn’t have to be a daunting task. By following a structured approach and using the right tools, you can bring your designs to life in a way that is both efficient and impactful. Whether you're a designer, a developer, or both, the key lies in clear communication and attention to detail.
Ready to take your Figma designs to the next level? Start building your Shopify store today!
