In the evolving world of eCommerce, Shopify Headless Commerce is revolutionizing how brands build, manage, and scale their online stores. By decoupling the front-end from the back-end, businesses gain full creative freedom to design unique user experiences. However, this flexibility depends on one key element - API integration.
This guide will walk you through how to connect APIs in Shopify Headless Commerce, manage data flow efficiently, and ensure seamless interaction between the Shopify back-end and your custom front-end.
I. Understanding Shopify Headless API
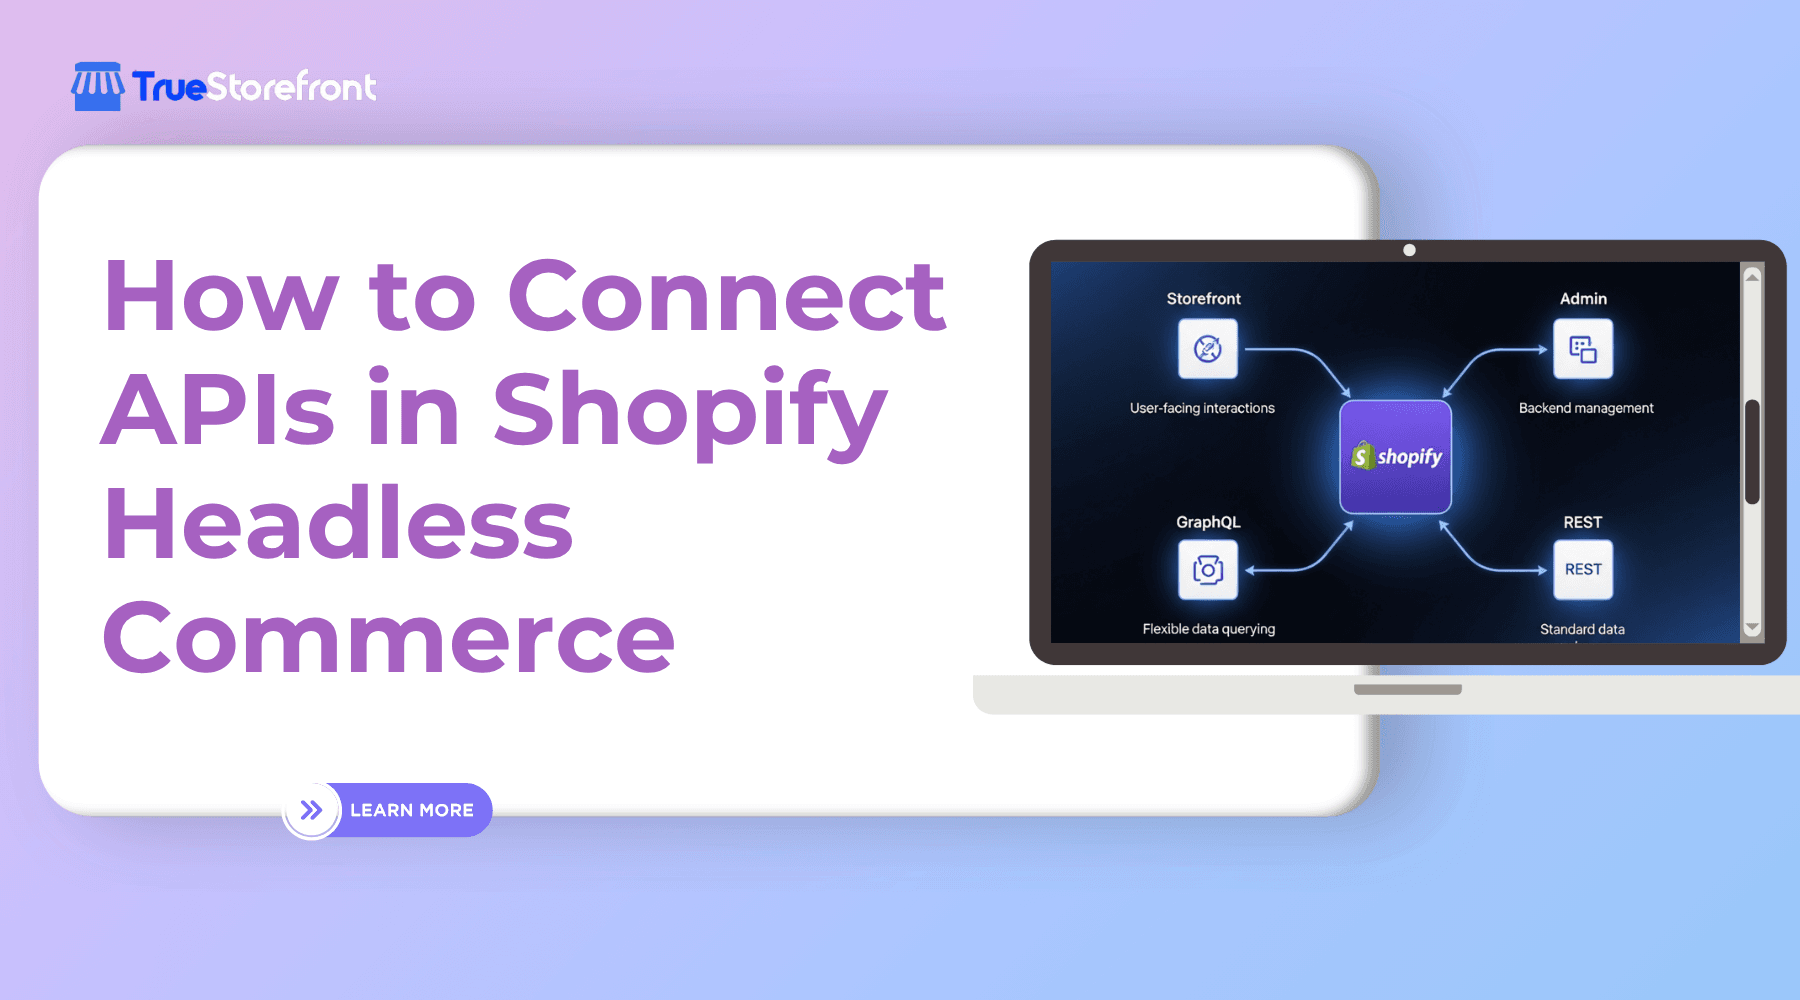
When you go headless, Shopify serves as your commerce engine, handling product data, inventory, and checkout logic through APIs. Instead of relying on traditional Liquid templates, developers connect external front-end frameworks (like Next.js, React, or Vue.js) via Shopify APIs.
Shopify provides multiple APIs to power your headless store:
Each API plays a role in maintaining data flow between your Shopify back-end and custom front-end, allowing you to craft tailored digital experiences across multiple channels.
II. Why API Integration Matters in Shopify Headless Commerce
Connecting APIs in Shopify Headless Commerce enables:
- Omnichannel consistency – Sync product data across websites, mobile apps, kiosks, and marketplaces.
- Real-time updates – Display live product availability and dynamic pricing.
- Performance optimization – Reduce front-end load time by fetching only necessary data.
- Scalable architecture – Add or remove APIs as your business grows.
In essence, APIs are the backbone that ensures your Shopify headless setup functions as one cohesive system.
III. Prerequisites for API Connection
Before integrating APIs, you’ll need to ensure the following setup is complete:
- Shopify Store – Have a live or development Shopify store.
- Headless Front-end – A framework like Next.js, Remix, or Nuxt.js to render your storefront.
- Access Tokens – Create private or custom app tokens from your Shopify Admin to authorize API calls.
- Environment Variables – Securely store API credentials using
.envfiles. - API Client – Choose a client such as
Apollo Client(for GraphQL) orAxios(for REST) to manage requests.
IV. Step-by-Step: How to Connect APIs in Shopify Headless Commerce
Let’s go through a practical approach to integrate APIs into a headless Shopify project.
Step 1: Create a Custom App in Shopify
- Log into your Shopify Admin Dashboard.
- Navigate to Settings → Apps and sales channels → Develop apps.
- Click Create an app, then assign it a name (e.g., Headless Storefront API).
- Under Configuration, choose the APIs you want to access (Storefront or Admin).
- Generate an Access Token and copy it securely.
Step 2: Choose Your API Type
Shopify supports two primary API structures:
- GraphQL API (Recommended): Efficient and flexible. You can query multiple data fields in one request.
- REST API: Simpler for beginners but can be slower for complex data fetching.
For most headless setups, GraphQL Storefront API is preferred due to its speed and precision.
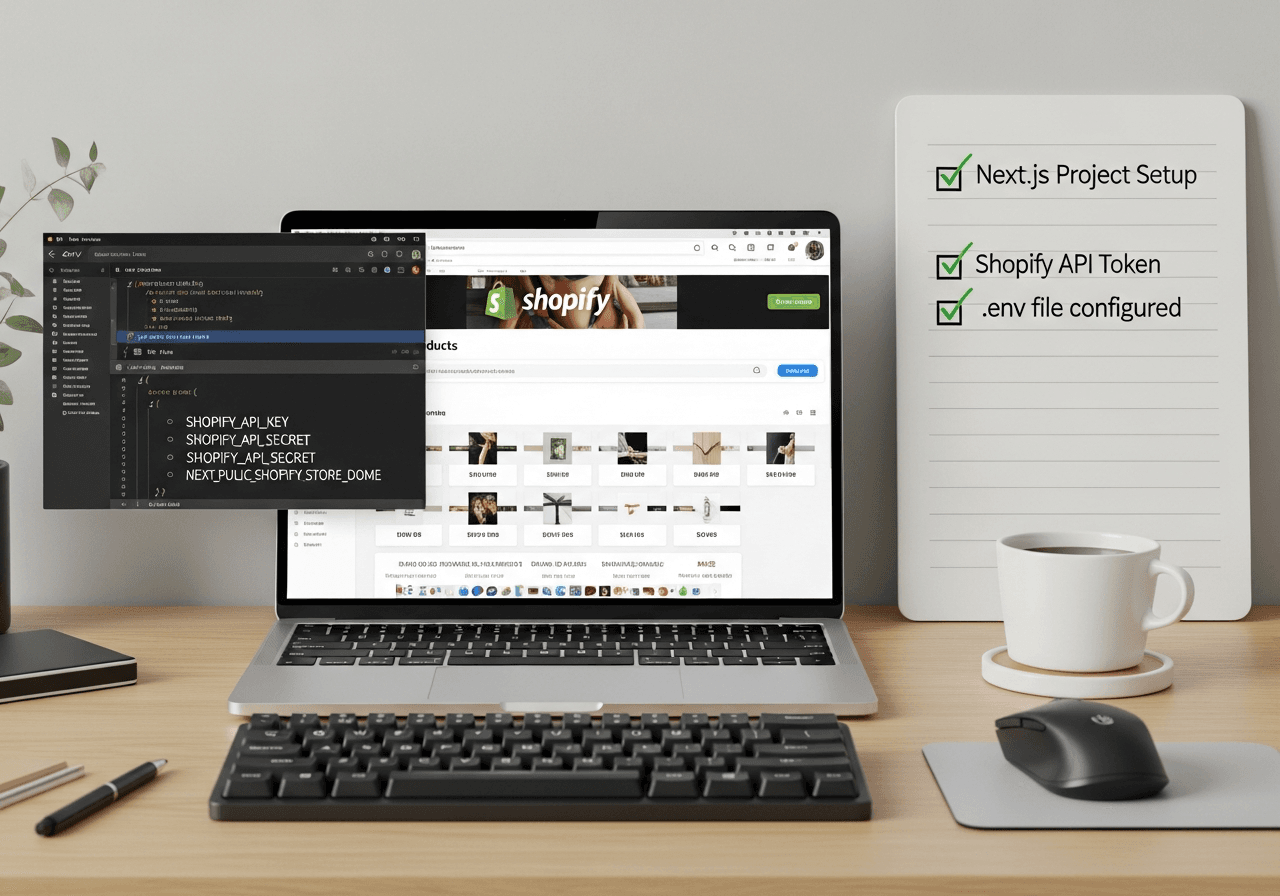
Step 3: Set Up the Environment
In your front-end project (e.g., built with Next.js), create a .env file:
SHOPIFY_STORE_DOMAIN=your-store.myshopify.com
SHOPIFY_STOREFRONT_TOKEN=your_generated_token
These variables keep sensitive credentials secure and make deployment easier.
Step 4: Fetch Data Using the Storefront API
Here’s a basic example using GraphQL with fetch:
const domain = process.env.SHOPIFY_STORE_DOMAIN;
const token = process.env.SHOPIFY_STOREFRONT_TOKEN;

export async function getProducts() {
  const query = `
    {
      products(first: 10) {
        edges {
          node {
            id
            title
            handle
            images(first: 1) {
              edges {
                node {
                  url
                  altText
                }
              }
            }
          }
        }
      }
    }
  `;

  const response = await fetch(`https://${domain}/api/2024-07/graphql.json`, {
    method: "POST",
    headers: {
      "Content-Type": "application/json",
      "X-Shopify-Storefront-Access-Token": token,
    },
    body: JSON.stringify({ query }),
  });

  const data = await response.json();
  return data.data.products.edges.map(edge => edge.node);
}
This example retrieves the first 10 products from your Shopify store. You can then render them dynamically in your front-end component.
Step 5: Manage Data Flow Between APIs
To maintain efficient data synchronization, follow these practices:
- Cache responses: Use caching tools (like SWR or React Query) to minimize redundant API calls.
- Handle rate limits: Shopify imposes API rate limits; queue requests to avoid throttling.
- Use webhooks: Enable Shopify Webhooks for real-time updates on orders, inventory, or products.
- Implement error handling: Log API errors and handle failed requests gracefully.
V. Common API Use Cases in Headless Shopify
API integration opens up endless customization possibilities. Some practical use cases include:
These use cases show how APIs empower your headless architecture to function more intelligently and responsively.
VI. Best Practices for Shopify Headless API Integration
- Use GraphQL whenever possible for efficient, single-request data fetching.
- Secure API keys with environment variables and never expose them in client-side code.
- Optimize performance through caching and server-side rendering.
- Structure reusable API utilities to simplify maintenance.
- Document your data flow to make collaboration easier for development teams.
VII. Troubleshooting API Connection Issues
 If your API isn’t working as expected, check:
- Invalid or expired access tokens
- Incorrect endpoint version (e.g.,
/api/2024-07/graphql.json) - Missing CORS headers when calling APIs from browsers
- Rate limit exceeded errors due to too many requests
Shopify’s developer dashboard provides detailed API logs that can help identify and resolve these issues.
VIII. Learn API Integration to Build Smarter Shopify Stores
Connecting APIs in Shopify Headless Commerce is not just about data exchange - it’s about enabling flexibility, performance, and control. With the right API strategy, you can build a future-proof store that delivers seamless user experiences across all touchpoints.
To take your skills further, explore Shopify’s developer documentation and start experimenting with Storefront and Admin APIs today.
CTA: Learn API Integration and take your Shopify Headless project to the next level.
Read more: